

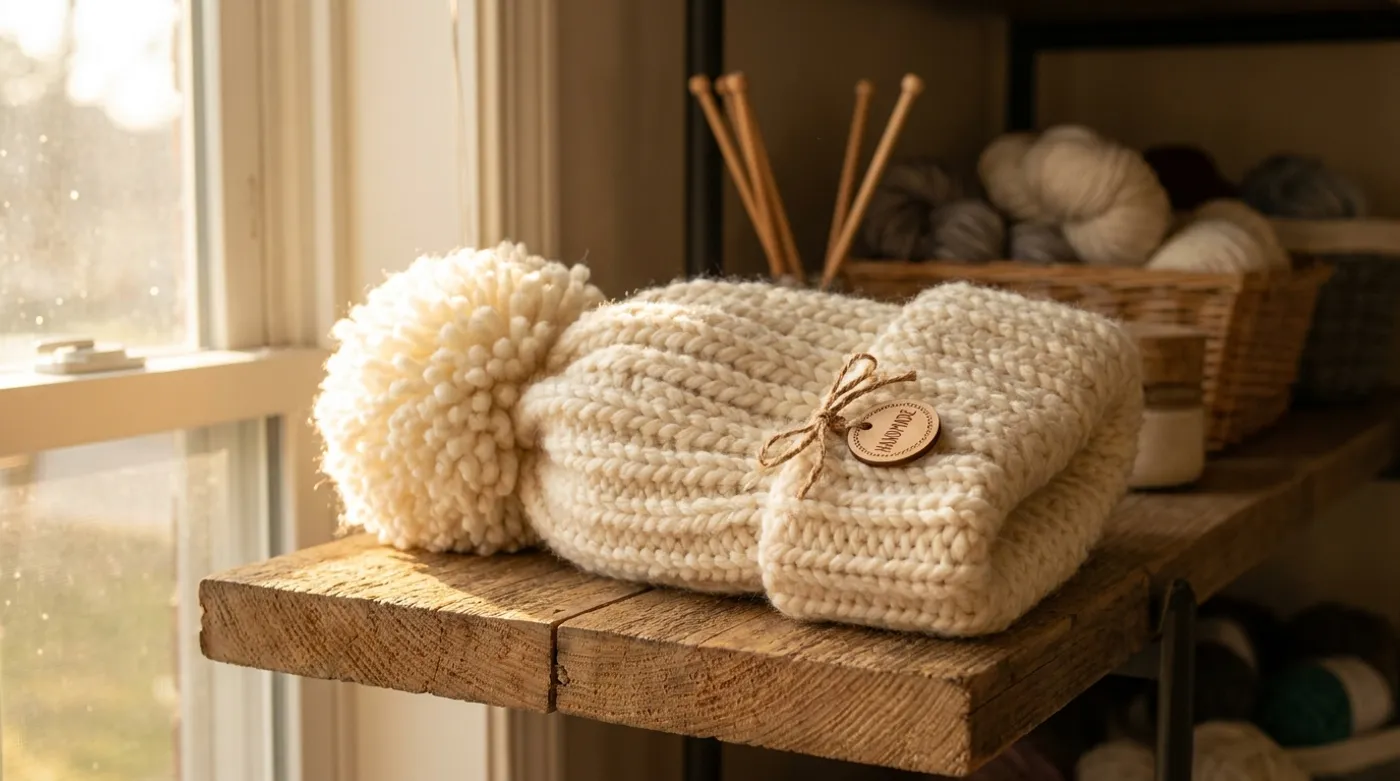
White Cute Beanie: Free Crochet Pattern & Tutorial
Crochet a cozy cream beanie with thick vertical ribbing, a folded cuff, and a fluffy pom-pom. Beginner-friendly pattern with step-by-step photos and video tutorial.

Pattern Specifications
1. Introduction & Design Inspiration
There is a particular quiet magic in the first stitch of a winter beanie — the way bulky wool slides over an aluminum hook, the rhythmic click of each half double crochet settling into the back loop only, the slow emergence of those deep, satisfying vertical ribs that promise warmth before the piece is even finished. This White Cute Beanie was born from a desire to distill that magic into its purest form: a single skein of plush cream wool, one hook, one evening, and a finished object that feels like a small, wearable hug.
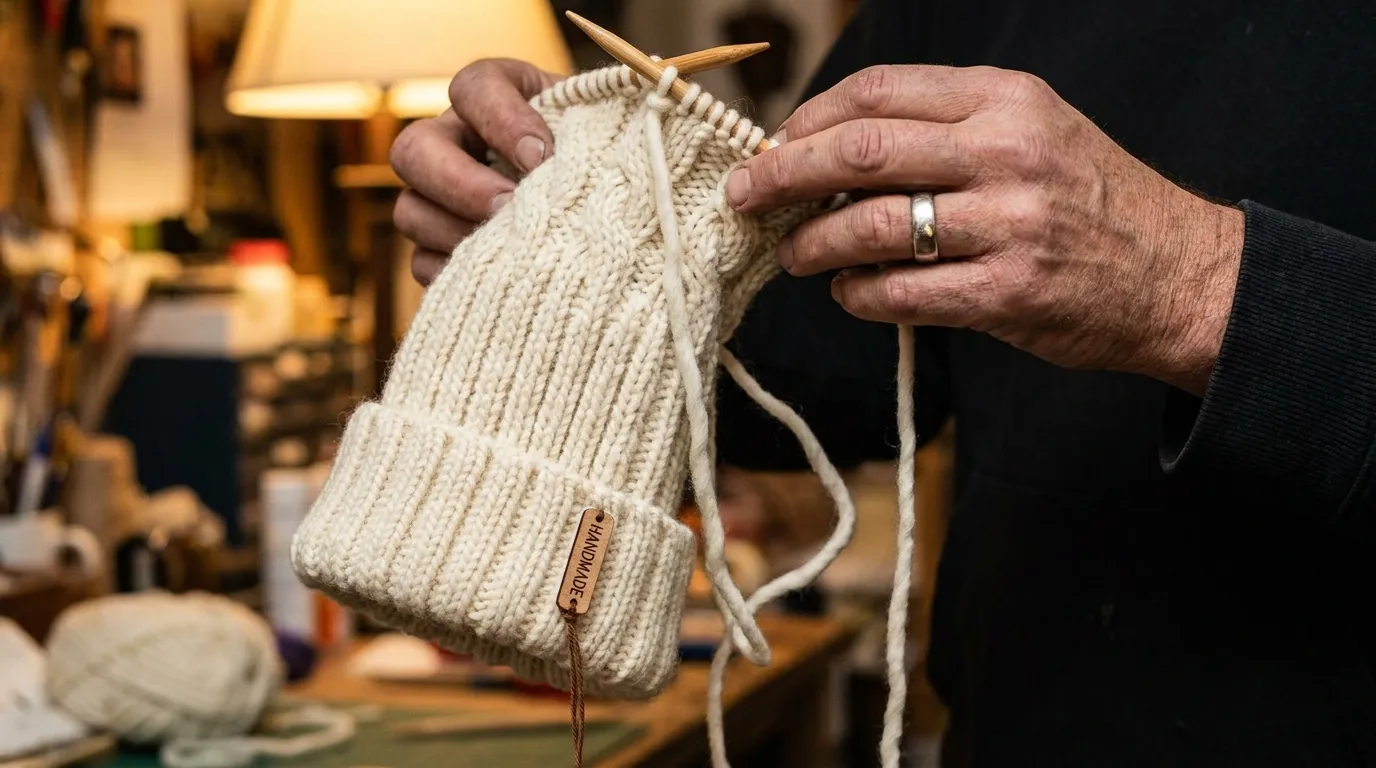
The design draws its soul from the classic fisherman’s rib — that timeless, masculine texture of deep vertical channels — but softens it through a matte, off-white plush wool that catches morning light like fresh snow. The thick folded cuff serves double duty: it adds structural integrity at the brim where tension matters most, and it creates a doubled layer of warmth over the ears. At the crown, a generous handmade pom-pom crowns the dome like a cloud caught at the summit, while a tiny laser-engraved wooden tag reading “HANDMADE” anchors the piece in honest craft.
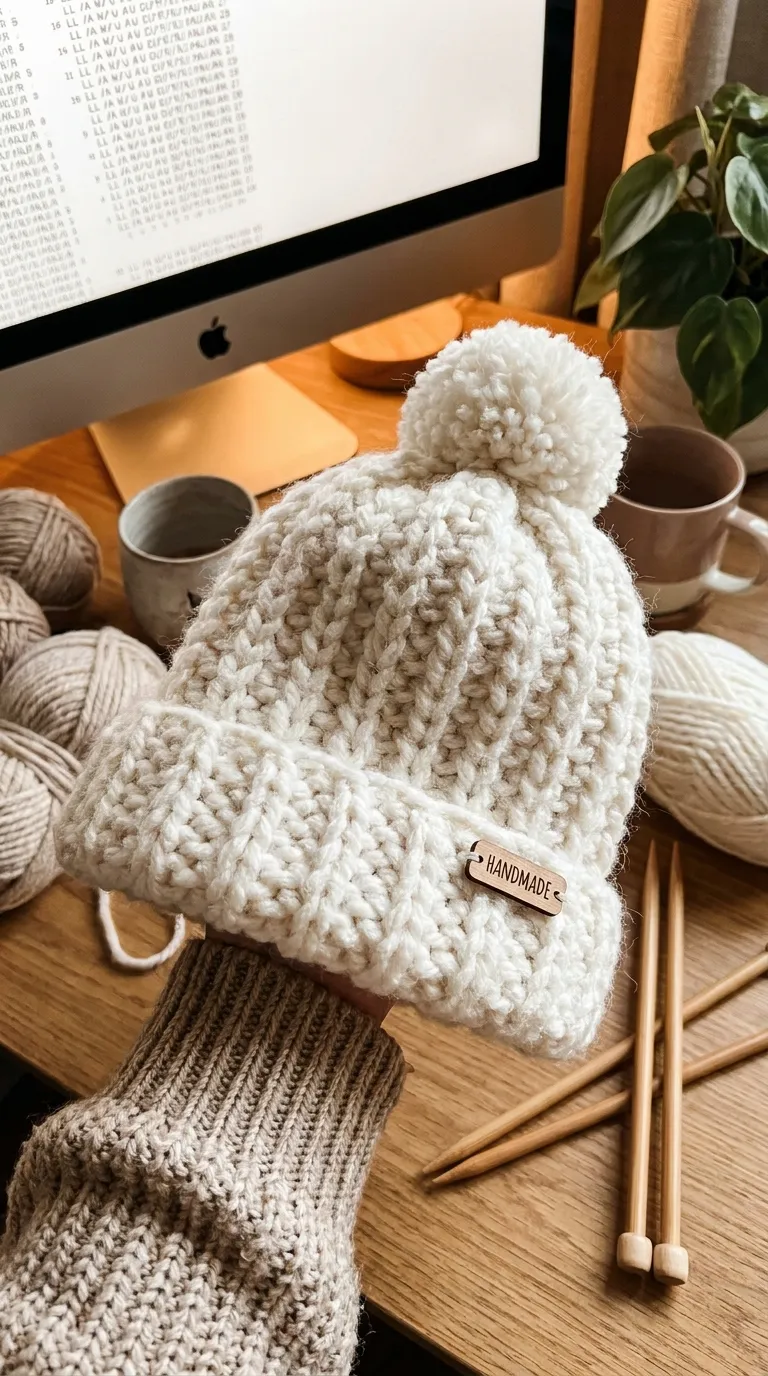
Whether this is your first hat or your fiftieth, the rhythm of BLO half double crochet is meditative enough for mindless evening stitching, yet the architecture teaches foundational skills — working in the round, ribbing via back-loop manipulation, crown shaping through strategic decreases, and professional finishing — that you will carry into every future wearable. Let us begin.
2. Pattern Overview & Finished Dimensions
-
Circumference (unstretched): 17 inches (43 cm) — fits average adult head 20–22 inches (51–56 cm) with 2–3 inches of negative ease
-
Circumference (stretched): 23 inches (58.5 cm)
-
Height (total, including folded cuff): 9 inches (23 cm)
-
Cuff depth (folded): 3 inches (7.5 cm) — brim folds up once for double thickness
-
Crown diameter (after decreases): 6.5 inches (16.5 cm)
-
Pom-pom diameter: 3.5 inches (9 cm)
-
Construction: Bottom-up, worked in joined rounds with a seamless spiral crown
-
Fit notes: The vertical BLO hdc ribbing provides significant horizontal stretch. For a slouchier fit, add 2–3 extra rounds before crown decreases. For a child size (18–20 inch head), reduce foundation chain by 8 stitches and work 2 fewer decrease rounds.
3. Materials, Fiber & Hardware Checklist
Yarn
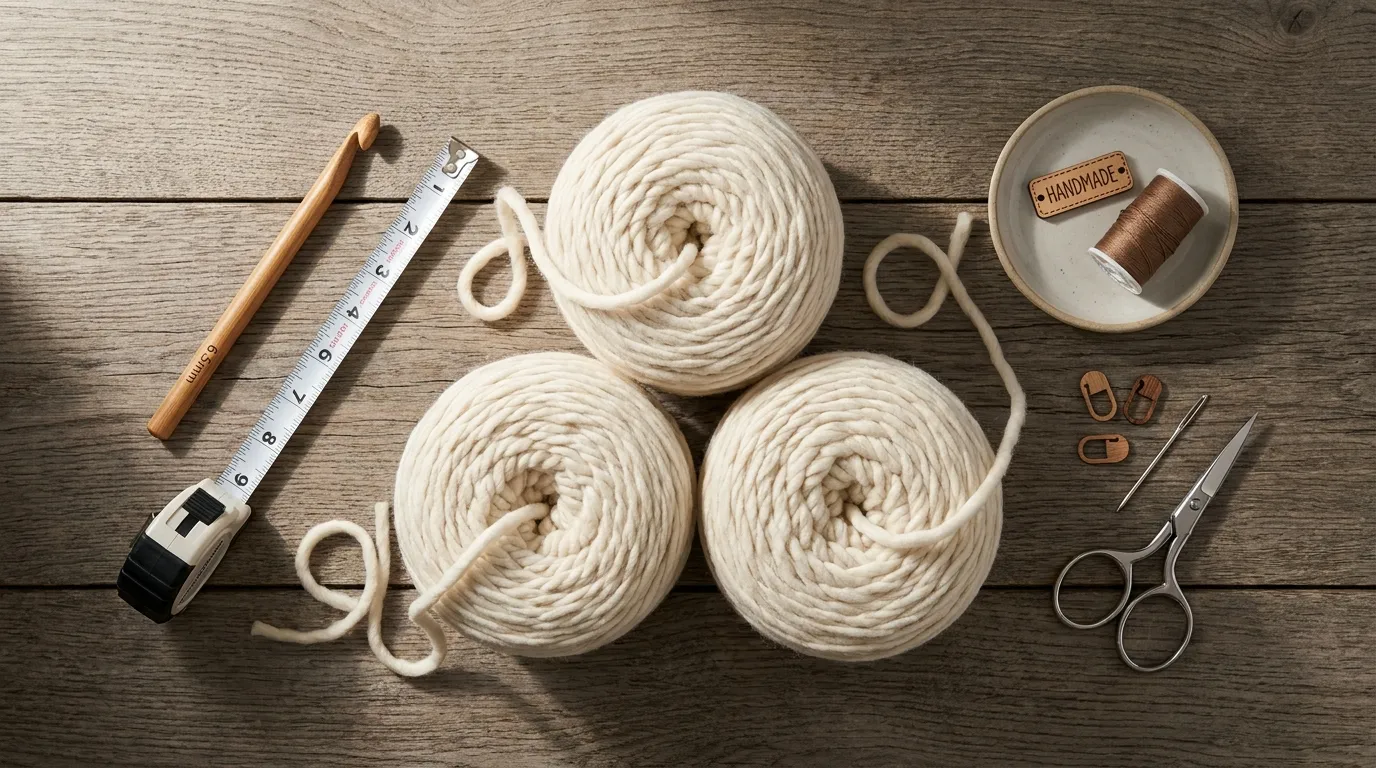
- Main Color (Cream/Off-White): 1 skein bulky (CYC #5) plush wool yarn, matte finish — approximately 180 yds (165 m) / 100 g
- Recommended: Malabrigo Rasta (Natural), Lion Brand Wool-Ease Thick & Quick (Fisherman), or Cascade Magnum (Cream)
- Substitution note: Any bulky yarn achieving 11 sts × 8 rows = 4” in BLO hdc will work. Super bulky (6) held double-stranded fingering also works beautifully.
Tools & Notions
-
Hook: 8.0 mm (L-11) crochet hook — aluminum or bamboo; size up to 9.0 mm if you crochet tightly
-
Tapestry needle: Large-eye blunt needle for seaming crown and weaving ends
-
Scissors: Sharp craft scissors
-
Measuring tape: Flexible tape for checking circumference and height
-
Pom-pom maker: 3.5-inch (9 cm) diameter — Clover Large or cardboard template
-
Stitch markers: 2 locking markers (one for beginning of round, one for decrease marker)
-
Wooden tag: 1 small laser-engraved wooden tag (approx. 1” × 0.5”) reading “HANDMADE” — pre-drilled with two small holes
-
Brown thread: Heavy polyester or cotton thread (matching tag holes) for attaching tag
-
Sewing needle: Sharp hand-sewing needle for tag attachment
Optional
- Blocking mat and T-pins for wet-blocking the finished beanie
- Fabric steamer for relaxing stitches post-blocking
4. Stitch Abbreviations (US Terms)
| Abbreviation | Meaning |
|---|---|
| ch | chain |
| sl st | slip stitch |
| sc | single crochet |
| hdc | half double crochet |
| dc | double crochet |
| BLO | back loop only — insert hook under the back loop of the stitch only (the loop farthest from you) |
| FLO | front loop only — insert hook under the front loop only (the loop closest to you) |
| st(s) | stitch(es) |
| rnd(s) | round(s) |
| rep | repeat |
| inc | increase — work 2 stitches into the same stitch |
| dec | decrease — hdc2tog (half double crochet two together): [yo, insert hook, yo, pull up loop] in next st, [yo, insert hook, yo, pull up loop] in next st, yo, pull through all 5 loops on hook |
| RS | right side (public side) |
| WS | wrong side (inside) |
| [ ] | repeat instructions within brackets the number of times indicated |
| ( ) | stitch count at end of round |
5. Architectural Mechanics / Technique Deep-Dive
Why BLO Half Double Crochet Creates Vertical Ribbing
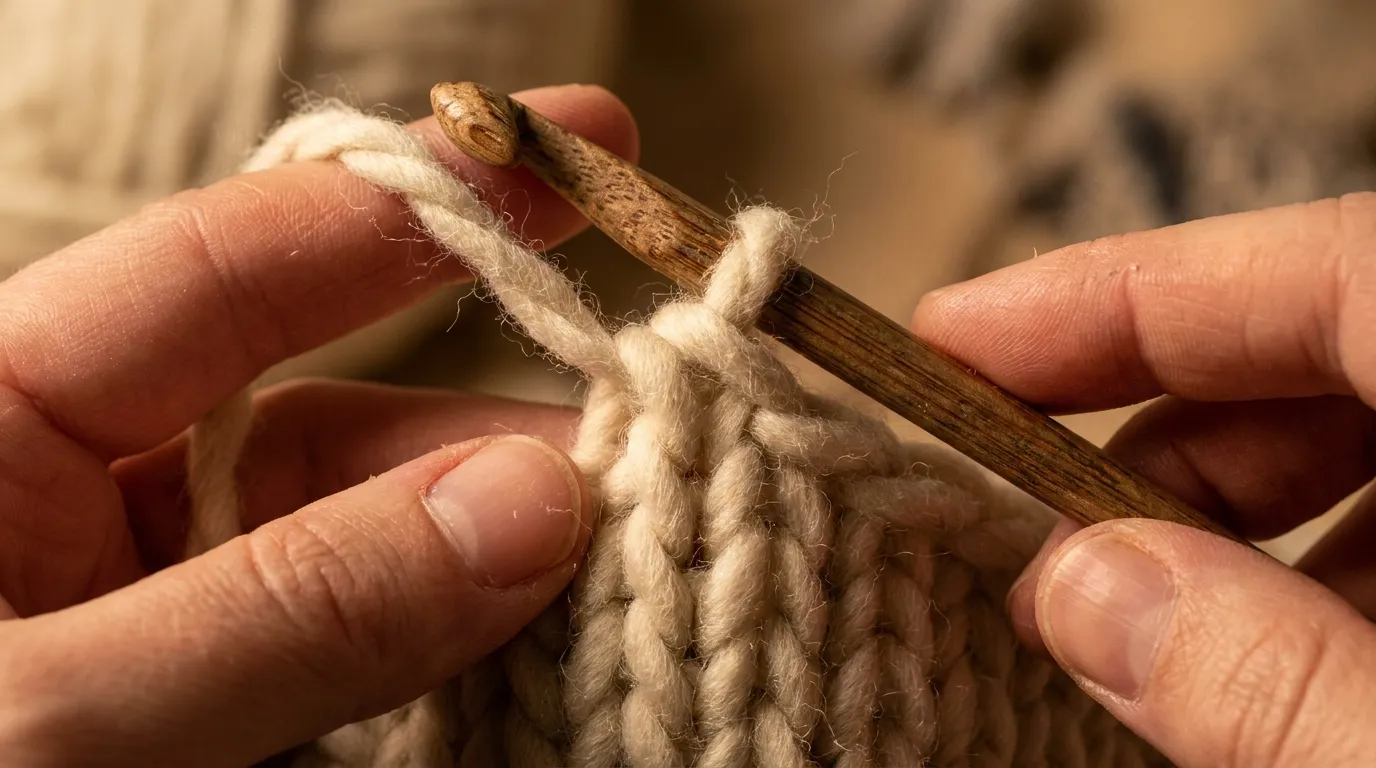
When you work a standard half double crochet through both loops, the stitch sits flat and creates a dense, uniform fabric. By inserting your hook only under the back loop (the loop farthest from you), you leave the front loop unworked and exposed on the fabric surface. This unworked front loop rolls forward slightly, creating a visible horizontal ridge — but because you are working in rounds, these horizontal ridges stack vertically, producing the illusion of deep vertical columns. The result is a fabric with remarkable horizontal elasticity (the ribs accordion open and shut) while maintaining vertical stability — perfect for a hat that must stretch over a head but not grow longer with wear.
The Folded Cuff: Structural Intelligence
The first 12 rounds form the cuff. By folding these rounds upward at Round 13, you create a double-thickness brim without any seaming. This serves three purposes: (1) the doubled fabric resists curling at the raw edge, (2) the fold line creates a clean, professional finish that mimics knitted ribbing, and (3) the extra thickness anchors the hat securely over the ears. The fold occurs after Round 12 is complete — you simply fold the work toward the wrong side and continue working into the back loops of the stitches from Round 1 (the very first round), joining the live stitches to the foundation. This “hemmed” join is invisible from the right side and eliminates the bulk of a traditional sewn hem.
Crown Shaping: The Mathematics of the Dome
A flat circle increases evenly (e.g., 6 increases per round). A dome decreases evenly. Our crown begins with 88 stitches (a multiple of 11, chosen for clean decrease math). We decrease 8 stitches per round (88 → 80 → 72 → 64 → 56 → 48 → 40 → 32 → 24 → 16 → 8 → close). Eight decreases per round distributed evenly (every 11th stitch initially, then every 10th, 9th, etc.) creates a gentle, rounded crown that sits smoothly on the head without pointiness or gathering. The final 8 stitches are drawn tight with a tapestry needle — the classic “drawstring close” — leaving a tiny aperture perfect for anchoring the pom-pom.
Pom-Pom Density: The Secret to a Full Sphere
A limp pom-pom betrays a handmade piece. The key is wrapping density: wrap the yarn around the 3.5” pom-pom maker (or cardboard template) until the center channel is completely packed — you should struggle to close the arms. Trim aggressively with sharp scissors, rotating constantly, then give it a “haircut” over a trash bowl. The final sphere should feel firm, not squishy, and spring back when pressed.
6. Step-by-Step Stitch Instructions
Phase 1: Foundation & Cuff (Rounds 1–12)
Round 1 (Foundation): With 8.0 mm hook, ch 88 loosely. Tip: Chain over a larger hook (10 mm) if your foundation chains tend to be tight. Join with sl st in first ch to form a ring, being careful not to twist. Place marker (PM) in joining stitch to mark beginning of round. (88 ch)
Round 2: Ch 2 (counts as first hdc here and throughout), hdc in each ch around. Join with sl st to top of beginning ch-2. (88 hdc)
Round 3 (Establish Ribbing): Ch 2, *hdc in BLO of next st; rep from * around. Join with sl st to top of beginning ch-2. (88 hdc)
Rounds 4–12: Rep Round 3 exactly. (88 hdc per round)
At the end of Round 12, your tube measures approximately 6 inches (15 cm) from the foundation edge. Do not fasten off.
Phase 2: The Folded Hem Join (Round 13 — The Magic Round)
Fold the cuff upward toward the wrong side (inside of hat), aligning the live stitches of Round 12 with the back loops of the foundation chain (Round 1). The right side of the fabric faces you; the folded edge sits at the bottom.
Round 13 (Hem Join): Ch 2. Insert hook through BLO of next live stitch (Round 12) AND through the back bump of the corresponding foundation chain (Round 1), yo, pull up loop (3 loops on hook), yo, pull through all 3 loops — this is a “hemmed hdc” joining the two layers. Rep from * around. Join with sl st to top of beginning ch-2. (88 joined sts)
You have now created a seamless, double-thick folded brim. The join is invisible on the right side. Move your beginning-of-round marker to the first stitch of this round.
Phase 3: Body — Vertical Ribbing Continues (Rounds 14–30)
Rounds 14–30: Ch 2, hdc in BLO of each st around. Join with sl st to top of beginning ch-2. (88 sts)
Work these 17 rounds (Rounds 14–30 inclusive) without counting obsessively — the rhythm is the point. At the end of Round 30, the hat body (above the cuff) measures approximately 6 inches (15 cm). Total height from folded brim: ~9 inches. Try it on; if you prefer a slouch, work 2–3 additional rounds before decreases.
Phase 4: Crown Decreases (Rounds 31–41)
Switch to a smaller hook (7.0 mm) for the decrease rounds if your tension loosens on decreases. Place a second marker (Decrease Marker) 44 stitches from the beginning marker — this marks the halfway point for symmetry.
Round 31 (Dec 8): Hdc in BLO of next 9 sts, hdc2tog (dec) over next 2 sts; rep from * around. Join. (80 sts)
Round 32: Ch 2, hdc in BLO of each st around. Join. (80 sts)
Round 33 (Dec 8): Hdc in BLO of next 8 sts, dec; rep from * around. Join. (72 sts)
Round 34: Ch 2, hdc in BLO of each st around. Join. (72 sts)
Round 35 (Dec 8): Hdc in BLO of next 7 sts, dec; rep from * around. Join. (64 sts)
Round 36: Ch 2, hdc in BLO of each st around. Join. (64 sts)
Round 37 (Dec 8): Hdc in BLO of next 6 sts, dec; rep from * around. Join. (56 sts)
Round 38: Ch 2, hdc in BLO of each st around. Join. (56 sts)
Round 39 (Dec 8): Hdc in BLO of next 5 sts, dec; rep from * around. Join. (48 sts)
Round 40: Ch 2, hdc in BLO of each st around. Join. (48 sts)
Round 41 (Dec 8): Hdc in BLO of next 4 sts, dec; rep from * around. Join. (40 sts)
Rounds 42–45 (Accelerated Decreases — no plain rounds between):
-
Round 42: *Hdc in BLO of next 3 sts, dec; rep from * around. (32 sts)
-
Round 43: *Hdc in BLO of next 2 sts, dec; rep from * around. (24 sts)
-
Round 44: *Hdc in BLO of next 1 st, dec; rep from * around. (16 sts)
-
Round 45: *Dec; rep from * around. (8 sts)
Fasten off, leaving a 12-inch (30 cm) tail.
Phase 5: Crown Closure & Pom-Pom
Thread the 12-inch tail onto a tapestry needle. Insert needle through the front loop only of each of the 8 remaining stitches, drawing snug but not tight. Pull firmly to close the center completely. Pass needle through the center to the inside, knot securely, and weave in the tail through the crown stitches for 2 inches. Trim.
Make the Pom-Pom: Using your 3.5-inch pom-pom maker (or cardboard template), wrap the cream yarn densely — approximately 180–200 wraps for a full sphere. Tie the center tightly with a 12-inch length of the same yarn, triple-knotting. Remove from maker. Trim loops open. Give the pom-pom a “haircut” over a bowl: rotate constantly, trimming stragglers until a perfect, firm sphere forms. Leave the two long tying tails attached.
Attach Pom-Pom: Thread one tying tail onto tapestry needle. Pass through the exact center of the closed crown (the tiny hole from the drawstring close) to the inside. Thread the second tail and pass through the same spot. Pull both tails snug so the pom-pom sits flush against the crown. Tie the two tails together securely on the inside with a surgeon’s knot (double overhand). Weave both tails into the crown stitches. Trim.
7. Assembly, Mounting & Structural Integration
This beanie requires no lining, no seaming (beyond the hem join), and no structural reinforcement — the BLO hdc ribbing is the structure. However, the wooden “HANDMADE” tag adds a beautiful, professional finish that marks the piece as intentionally crafted.
Attaching the Wooden Tag:
- Position the tag on the outside of the folded cuff, centered at the back (opposite the pom-pom when worn), approximately ½ inch (1.3 cm) above the folded edge. The tag should sit horizontally, readable when the hat is worn.
- Thread a sharp hand-sewing needle with doubled brown polyester thread (approx. 18 inches). Knot the end.
- From the inside of the cuff (between the two layers), bring the needle up through one pre-drilled hole in the tag, down through the other hole, and back to the inside. Repeat 3–4 times for security.
- On the final pass, knot the thread securely on the inside of the cuff, burying the knot between the two fabric layers. Trim thread tails to ¼ inch.
If your tag lacks pre-drilled holes, use a 1/16” drill bit or a heated needle to create two holes ¼ inch apart before attaching.
8. Hardware, Accents & Embellishment Assembly
The only “hardware” on this piece is the pom-pom (covered in Phase 5) and the wooden tag (covered in Section 7). There are no D-rings, chains, clasps, zippers, or magnetic snaps — the beauty of this design lies in its material honesty. The yarn is the structure; the tag is the signature.
If you wish to personalize further:
-
Leather tag: Substitute a small vegetable-tanned leather rectangle stamped with your initials or a tiny motif.
-
Contrast pom-pom: Use a complementary color (soft sage, warm oatmeal, pale blush) for the pom-pom only.
-
Embroidered initials: Duplicate-stitch a single initial onto the cuff front using a contrasting worsted-weight yarn.
9. Blocking, Care & Maintenance
Wet Blocking (Recommended for First Wash):
- Fill a basin with lukewarm water and a capful of wool wash (Eucalan, Soak, or mild shampoo).
- Submerge the beanie fully. Soak 15 minutes. Do not agitate.
- Drain. Press gently against the basin to remove excess water — never wring.
- Roll in a clean towel, pressing to absorb moisture.
- Lay flat on a blocking mat. Pat into shape: cuff flat and even, body smooth, crown round. Pin the cuff edge if needed to prevent curling. Air dry completely (24–48 hours).
Steam Blocking (Quick Refresh): Hold a garment steamer or iron on steam setting 2 inches above the fabric. Steam lightly, then pat into shape with your hands. Do not press the iron directly on the plush wool — it will flatten the ribs.
Washing:
- Hand wash only in cool water with wool wash. Rinse thoroughly.
- Machine wash only if yarn label explicitly permits: delicate cycle, cold water, mesh bag, lay flat to dry.
- Never tumble dry. The heat and agitation will felt the wool and destroy the rib definition.
Storage: Store flat or loosely folded in a breathable cotton bag. Avoid hanging — the weight will stretch the ribbing vertically. Add a cedar block or lavender sachet for moth protection.
Pom-Pom Care: If the pom-pom flattens over time, steam it gently and fluff with fingers. If it becomes misshapen, you can remove it (snip the tying tails inside the crown), remake it, and reattach using the same method.
10. Frequently Asked Questions (FAQ)
Q: Can I use worsted weight (4) yarn instead of bulky? A: Yes, but you must adjust. Hold two strands of worsted together throughout, use a 6.5 mm (K-10.5) hook, and increase your foundation chain to 112 stitches (multiple of 14 for decrease math). The resulting fabric will be denser and slightly less plush. Gauge swatch first.
Q: My hat is too tight / too loose. How do I fix it? A: Too tight: Go up one hook size (9.0 mm) and re-do the foundation chain and first 3 rounds only — the ribbing will relax. Too loose: Go down one hook size (7.0 mm) for the cuff rounds (1–13) only, then return to 8.0 mm for the body. You can also add a row of single crochet around the inside of the cuff (through both layers) to cinch it slightly.
Q: The pom-pom keeps falling off. What am I doing wrong? A: The drawstring closure must be tight — only a tiny pinhole should remain. When attaching, pass both tying tails through that same pinhole, pull the pom-pom flush to the crown, and tie a surgeon’s knot (double overhand) on the inside. Weave each tail in opposite directions through the crown stitches for 2 inches before trimming.
Q: Can I make this in the round without joining (spiral) instead of joined rounds? A: Absolutely. For a spiral version: omit the joining sl st and beginning ch-2 on every round. Use a locking marker to track the first stitch of each round. Work hdc in BLO continuously. For the hem join (Round 13), you will still need to join the live stitches to the foundation — work the hemmed hdc as written, then continue in spiral. Crown decreases work identically; just omit the “join” and “ch 2” on decrease rounds.
11. Community Call-to-Action
You have done it — a complete, wearable, heirloom-quality beanie from a single skein and a few hours of quiet stitching. The ribs catch the light. The cuff folds perfectly. The pom-pom bounces with every step. The wooden tag whispers I made this.
Now, share it with us.
📸 Post your finished beanie on Instagram and tag @NailItHome with #NailItHomeBeanie — we feature maker spotlights every Friday in our Stories.
📌 Pin this pattern to your “Crochet Wearables” or “Winter Makes” board on Pinterest — it helps other fiber artists discover the pattern.
💬 Leave a comment below — tell us your yarn choice, any modifications, or the name of the lucky recipient (even if it’s you).
🧶 Knit/crochet along with us — join the #NailItHomeKAL Discord channel (link in bio) for real-time help, progress pics, and community cheerleading.
Every stitch you make is a small act of resistance against the disposable. You are building a handmade wardrobe, one beanie at a time. We cannot wait to see yours.
— Aurelia Thorne, Master Fiber Artist & Lead Pattern Curator, Nail It Home


