

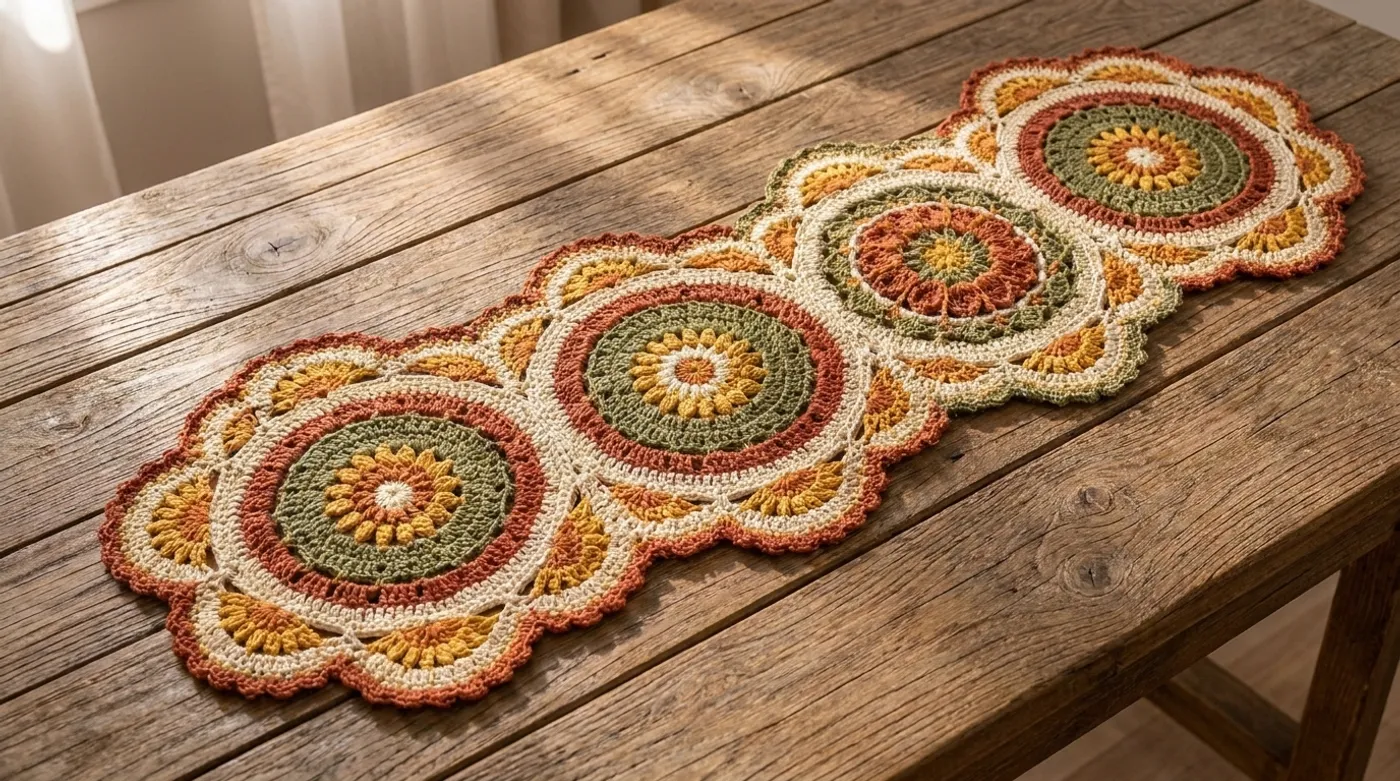
Multicolor Floral Mandala Tablerunner: Free Crochet Pattern & Tutorial
Create a 64-inch scalloped table runner from five joined floral mandalas featuring puff stitch centers, front-post rings, popcorn petals, and a rust-red picot shell border. All cotton, no hardware.

Pattern Specifications
1. Introduction & Design Inspiration
Inspired by sun-drenched Mediterranean courtyards, this runner began as a single mandala sketched on a napkin during a late‑afternoon tea. Each concentric ring echoes the ripple of heat on terracotta tiles, while the popcorn petals recall wild mustard fields swaying in a warm breeze. The ecru mesh arches frame the composition like delicate lace curtains, and the rust‑red picot edging ties the whole piece to the ironwork of old villa balconies. Working the piece feels like stitching sunlight into fiber — every puff stitch a tiny burst of warmth, every front‑post ridge a shadow line that catches the light.
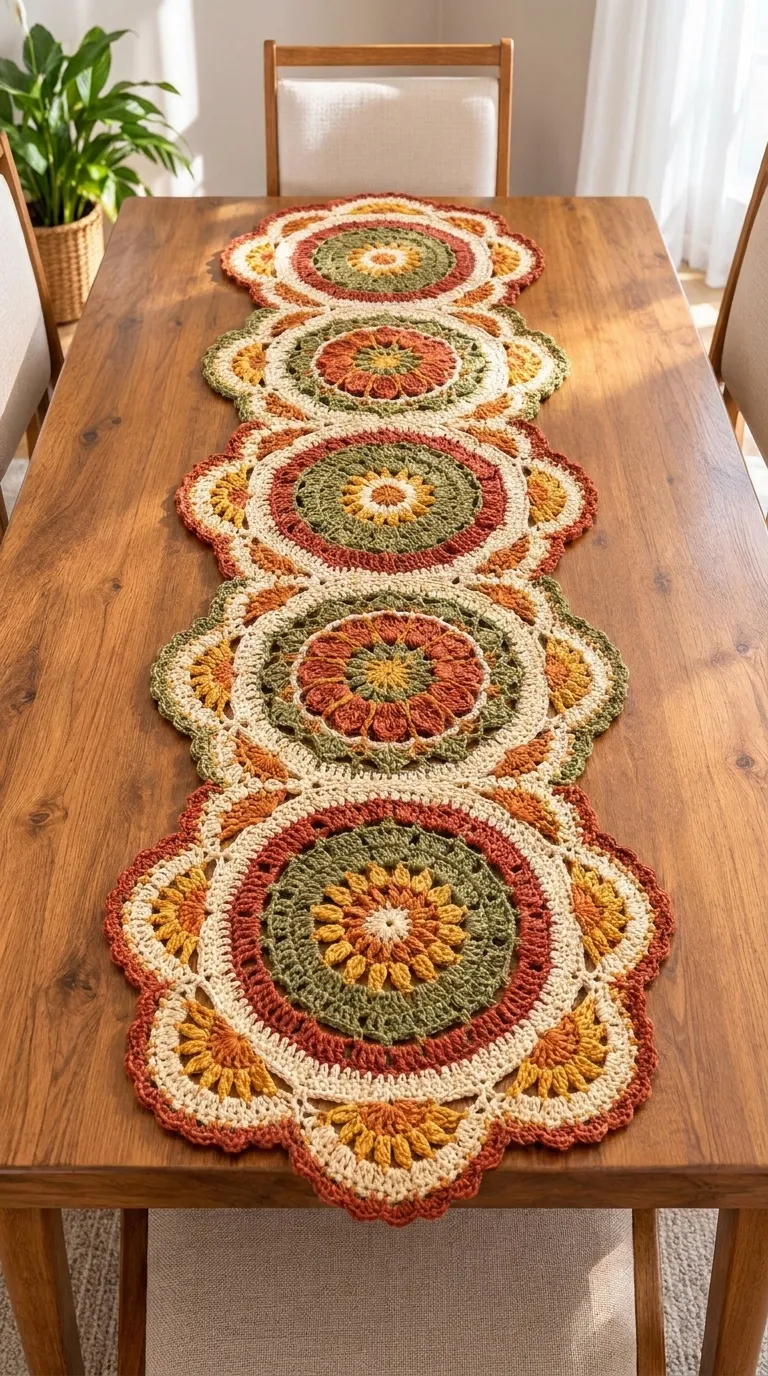
Palette: Ecru (neutral base), Terracotta (earthy warmth), Mustard Yellow (bright accent), Olive Green (organic depth), Rust Red (border definition). The fabric is firm yet pliable; wet‑blocking and a light spray starch give a crisp, flat lay that holds the scalloped edge without curling. Style it on a natural oak table, layered with linen napkins and ceramic serveware for a rustic‑elegant tablescape.
Completed Make Showcase Gallery
Examine the finished handcrafted piece from every vantage point before picking up your hook—from overall symmetry to textural stitch relief and organic drape.
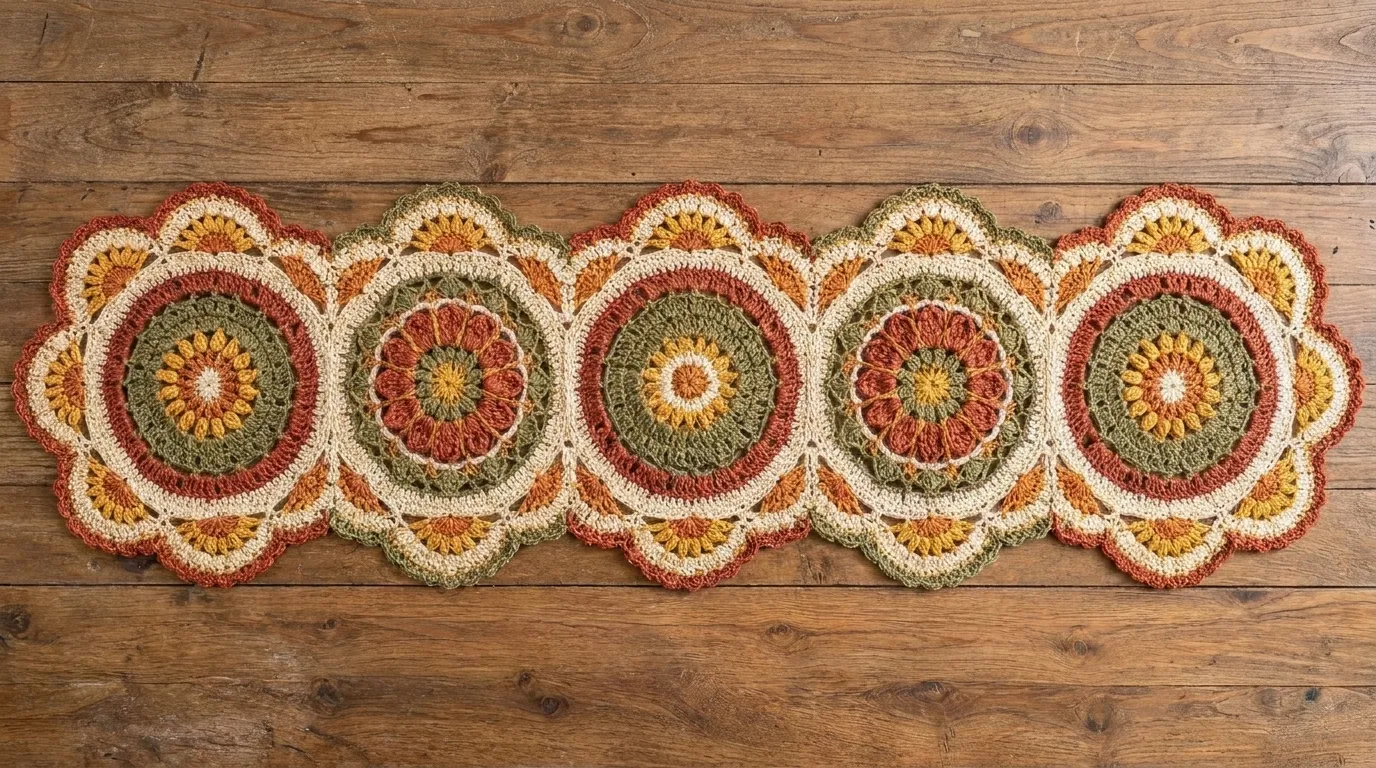
Full silhouette & geometric balance
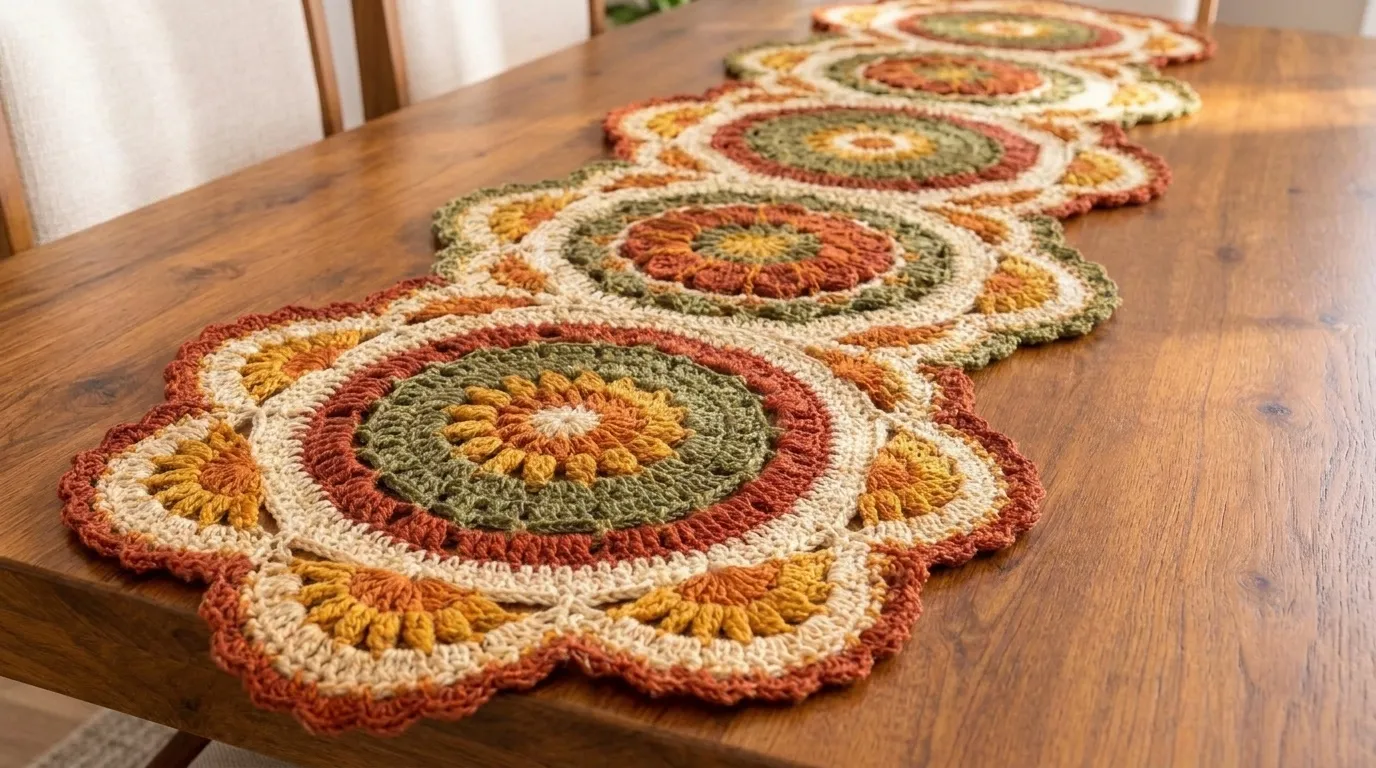
Tactile stitch relief & ribbing depth
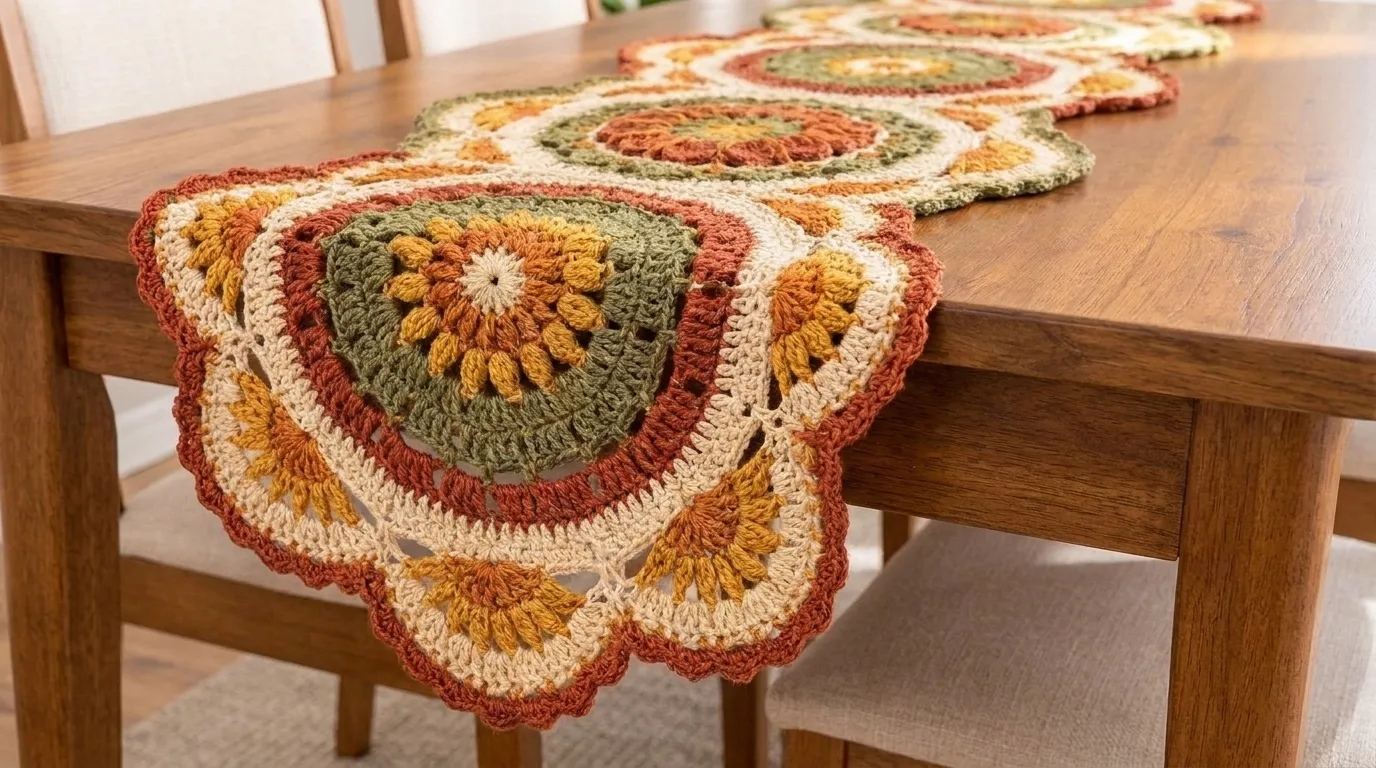
Scalloped edging & natural fall
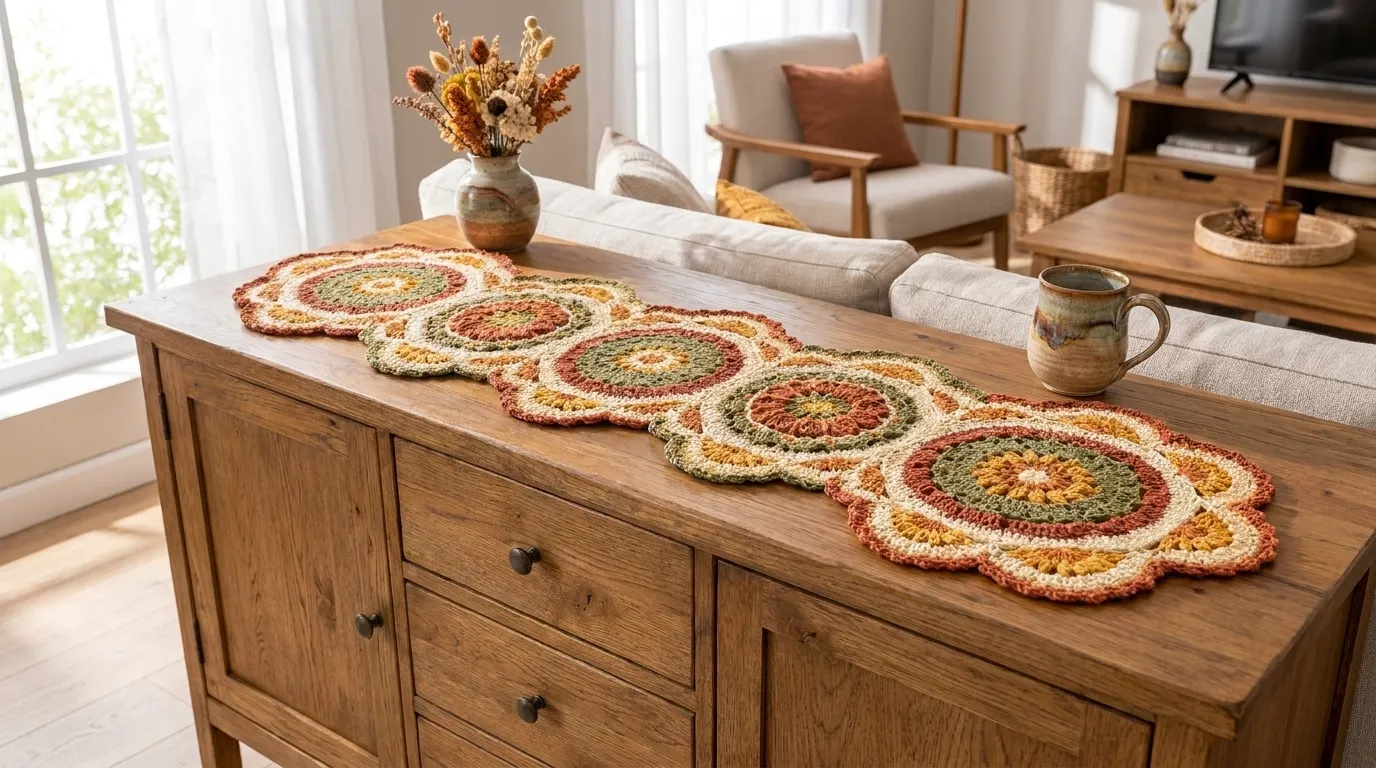
Living space ambient styling
2. Pattern Overview & Finished Dimensions
Silhouette & Architecture: Linear runner composed of five 11‑inch diameter circular mandalas joined by four 2.5‑inch rosette connectors. Outer edge is a continuous undulating scalloped border of 7‑dc fan shells in Mustard Yellow separated by Rust Red picots.
Drape & Texture: Medium‑dense cotton fabric with pronounced 3‑D texture. The puff‑stitch centers and popcorn petals create a tactile relief of ~4 mm; front‑post rings add subtle ribbing. After blocking, the piece lies flat with minimal curl.
Maker Adaptation Tip: To lengthen: add additional mandala + connector pairs (each adds ~13.5 inches). To shorten: omit a mandala and its adjacent connector. For a narrower runner, reduce mandala diameter by working two fewer increase rounds (approx 9‑inch mandala). Adjust border stitch count proportionally (perimeter ≈ 2×(L+W) × 3.5 sts/in).
3. Materials, Fiber & Tools Checklist
Yarns & Palette Requirements:
Used for mesh arches, joining connectors, and border foundation round.
Primary color for puff‑stitch centers and front‑post concentric rings.
Used for popcorn petal rounds and 7‑dc fan shells in outer border.
Accent color for secondary petal layer and occasional stitch highlights.
Used exclusively for picot edging and joining slip stitches.
Hook & Essential Notions:
- Crochet Hook: 4.0 mm (G-6) (or size needed to meet gauge)
4. Standard Crochet Abbreviations (US Terms)
This pattern follows standard Craft Yarn Council (CYC) US crochet terminology. Refer to this quick-reference visual dictionary as you work through each round:
5. Architectural Mechanics & Special Stitches
Each mandala builds from a magic ring outward: a puff‑stitch sunburst (Round 2) creates a raised dome; front‑post double crochet rounds (Rounds 3‑4) form concentric ridges that lock the fabric flat; a popcorn petal round (Round 5) adds 3‑D petals; an ecru mesh arch round (Round 6) provides a flexible joining edge. Four rosette connectors (small 8‑petal motifs) are worked separately and slip‑stitched between mandalas. The final border is worked in the round around the entire assembled piece: a setup round of single crochet establishes stitch count, then alternating 7‑dc fan shells (Mustard) and Rust Red picots create the scalloped edge.
Special Stitches for This Project:
[Yarn over, insert hook in indicated stitch, yarn over, pull up a loop] 4 times in same stitch (9 loops on hook), yarn over, pull through all 9 loops, ch 1 to close.
Yarn over, insert hook from front to back around the post of the next stitch, yarn over, pull up a loop (3 loops on hook), [yarn over, pull through 2 loops] twice.
Work 5 dc in indicated stitch, drop loop from hook, insert hook into first dc of the group, pick up dropped loop, pull through first dc (popcorn formed), ch 1 to secure.
Ch 3, slip stitch into the third chain from hook (or into the base stitch as indicated).
In indicated stitch or space: (dc, ch 1) 3 times, dc — total 7 dc with ch‑1 spaces between each pair, creating a fan.
6. Step-by-Step Pattern Instructions
Follow each round card in sequence. Click or tap any row card once you complete it to check it off and automatically track your progress across the 5 Pattern Checkpoints!
Phase 1: First Mandala – Foundation & Center
Complete the first 11‑inch mandala (Rounds 1‑6) which sets the template for the remaining four.With Terracotta, make a magic ring. Ch 2 (counts as first dc), 11 dc into ring. Join with sl st to top of ch‑2. (12 dc)
💡 NB: Pull ring tight; leave a 6‑inch tail for weaving.
Ch 2, ps in next dc, ch 1 repeat around. Join with sl st to first ps. (12 ps, 12 ch‑1 spaces)
💡 NB: Keep puff stitches uniform; the ch‑1 spaces become the base for Round 3.
Sl st into next ch‑1 space. Ch 2, fpdc around the post of the dc directly below the ch‑1 space (the Round 1 dc). Ch 1, fpdc around next Round 1 dc repeat around. Join with sl st to top of ch‑2. (12 fpdc, 12 ch‑1)
💡 NB: Work fpdc loosely to avoid puckering.
Ch 2, fpdc around each fpdc of previous round. Ch 1, fpdc around next fpdc around. Join. (12 fpdc, 12 ch‑1)
💡 NB: This ring adds ridge depth; maintain even tension.
Join Mustard Yellow with sl st in any ch‑1 space. Ch 1, pc in same space, ch 2, skip next ch‑1 space repeat around. Join with sl st to first pc. (12 pc, 12 ch‑2 spaces)
💡 NB: Popcorns should stand proud; block gently after Round 6.
Join Ecru with sl st in any ch‑2 space. Ch 3 (counts as dc), dc in same space, ch 3, skip next pc, (dc, ch 3, dc) in next ch‑2 space around. End with ch 3, join with sl st to top of beginning ch‑3. (12 dc pairs, 12 ch‑3 arches)
💡 NB: These arches are the connection points for rosette connectors.
Info:
Mandala diameter after Round 6 should measure ~11 inches (28 cm) across. Lightly steam‑block now to set shape before making connectors.
Phase 2: Remaining Four Mandalas
Replicate the mandala from Phase 1 four more times for a total of five mandalas.Repeat Phase 1 Rounds 1‑6 exactly four more times. Use the same color sequence for each mandala. Keep a stitch marker in the first ch‑3 arch of each mandala to identify the joining edge later.
💡 NB: Work all five mandalas before moving to connectors to ensure consistent blocking.
Info:
After completing all five mandalas, wet‑block each to 11‑inch diameter. Pin to blocking mats, spray with starch, and allow to dry completely. This guarantees flat joining.
Phase 3: Rosette Connectors & Assembly
Create four 2.5‑inch rosette connectors and join the five mandalas into a 64‑inch linear runner.With Ecru, ch 4, join with sl st to form a ring. Round 1: ch 2, 11 dc in ring, join (12 dc). Round 2: ch 1, pc in next dc, ch 2 around (12 pc, 12 ch‑2). Round 3: sc in next ch‑2 space, ch 3, sc in next ch‑2 space around (12 sc, 12 ch‑3). Fasten off leaving 12‑inch tail for sewing.
💡 NB: Connectors are small 8‑petal rosettes; the ch‑3 loops align with mandala arches.
Lay mandalas in a line, right sides up. Using the Ecru tails from connectors, whipstitch each connector between two adjacent mandalas: align a connector’s ch‑3 loop with a mandala’s ch‑3 arch, sew through both loops with a tapestry needle. Repeat for all four gaps. Weave in all tails.
💡 NB: Keep tension even; the runner should now measure ~64 inches end‑to‑end.
Info:
Verify total length: 5 mandalas × 11 in = 55 in + 4 connectors × 2.5 in = 10 in → 65 in (allow 1 in for seam overlap). Adjust connector spacing slightly if needed before final border.
Phase 4: Scalloped Outer Border
Work a continuous border around the entire assembled runner: setup round of single crochet, then alternating Mustard Yellow 7‑dc fan shells and Rust Red picots.With Ecru, join with sl st at any outer edge stitch (start at a mandala arch). Ch 1, work sc evenly around entire perimeter, placing 3 sc in each ch‑3 arch, 2 sc in each ch‑2 space of connectors, and 1 sc in each dc along straight edges. Join with sl st to first sc. (Approx 560 sc)
💡 NB: Count stitches; adjust by adding or skipping a sc in straight sections to hit an even multiple of 8 for shell placement.
Join Mustard Yellow with sl st in first sc. Ch 1, sh7 in next sc, ch 1, skip 2 sc, join Rust Red with sl st in next sc, p in same sc, ch 1, skip 2 sc repeat around. End with sl st to first ch‑1 of round. Fasten off both colors.
💡 NB: Shells consume 3 sc (center + 1 each side); picots sit on single sc. The pattern repeats every 8 sc.
Info:
The border adds ~1 inch to width and length. Final dimensions after border: ~64 in × 15 in. Block once more after border to open shells fully.
Phase 5: Finishing, Blocking & Accents
Final wet‑block, starch, and optional decorative touches to complete the runner.Submerge runner in cool water with mild wool wash for 15 minutes. Gently squeeze out excess (do not wring). Lay flat on blocking mats, pin to 64 in × 15 in, shaping scallops outward. Allow to dry 24 hours.
💡 NB: Use T‑pins every 2 inches along edges; place extra pins at shell peaks.
Lightly mist the dry runner with spray starch, especially the scalloped edge. Press with a cool iron over a pressing cloth if desired for extra crispness.
💡 NB: Test starch on a swatch first; cotton takes starch well.
Using a tapestry needle, weave all remaining yarn tails into the back of the work, following stitch paths for invisibility. Trim excess.
💡 NB: Leave a 2‑inch tail before trimming to prevent unraveling.
Info:
Your Multicolor Floral Mandala Tablerunner is now ready to grace the table. The tactile puff centers, ridged front‑post rings, and popcorn petals invite touch, while the scalloped border frames the composition like a sunrise.
7. Assembly, Mounting & Structural Integration
After all five mandalas and four connectors are joined, wet‑block the full runner: soak in cool water with gentle detergent 15 min, press out water in a towel, lay on blocking mats, pin to 64 in × 15 in, shape each scallop outward, and dry 24 hrs. Lightly spray with starch for crisp edges; press with cool iron over a cloth if desired.
8. Accents, Hardware & Finishing Details
Inspect all outer margins, secure tails with a blunt tapestry needle through dense stitch posts on the Wrong Side, and steam press gently to lock fiber memory.
9. Common Mistakes & How to Fix Them
Even seasoned makers run into tension hiccups or stitch drift. Here are the top troubleshooting solutions for this design:
Tension too tight on increase rounds or skipping the ch‑1 spaces in FPdc rounds reduces circumference.
Setup round stitch count not a multiple of 8, causing the 8‑stitch repeat (shell + picot) to drift.
Insufficient yarn over loops in popcorn (using 4 dc instead of 5) or over‑stretching during blocking.
Sewing connector loops too tightly or using a yarn weight heavier than Ecru for sewing.
10. Blocking, Care & Maintenance
After all five mandalas and four connectors are joined, wet‑block the full runner: soak in cool water with gentle detergent 15 min, press out water in a towel, lay on blocking mats, pin to 64 in × 15 in, shape each scallop outward, and dry 24 hrs. Lightly spray with starch for crisp edges; press with cool iron over a cloth if desired.
Care & Longevity Guidelines:
11. Frequently Asked Questions (FAQ)
Can I use worsted weight yarn instead of DK?
Yes, but you must increase hook size to 5.5 mm (I‑9) and expect a larger runner (~72 in long). Adjust mandala round counts: add one extra increase round to maintain 11‑inch diameter, and recalculate border stitch count (approx 3 sts/in).
How do I make the runner shorter for a small table?
Omit one mandala and its adjacent connector (removes ~13.5 inches). Work only four mandalas and three connectors for a ~50‑inch runner. Adjust border setup round stitch count proportionally (multiply perimeter by 3.5 sts/in).
What if I don’t have rust red yarn for the picots?
Substitute any contrasting DK cotton (e.g., deep burgundy or navy). The picot color defines the scallop edge; choose a hue that complements the terracotta and mustard palette.
Is the pattern suitable for a confident beginner?
The pattern uses intermediate techniques (fpdc, popcorn, puff stitch, working in the round on a large piece). A confident beginner who has completed a few amigurumi or granny‑square projects can follow the step‑by‑step instructions and video tutorial links provided on the blog.
How do I join the mandalas without visible seams?
The ecru mesh arches (ch‑3 loops) on each mandala align perfectly with the connector’s ch‑3 loops. Whipstitch through both loops using the same ecru yarn; the stitches disappear into the mesh, creating an almost invisible join.
12. Community & Maker Showcase
✨ Share Your Handcrafted Make
Thank you for stitching this sunrise of texture into your home. May each puff and petal remind you that beauty grows stitch by stitch. Share your finished runner with #NailItHomeMandala — I can’t wait to see your table bloom. Happy hooking, Aurelia Thorne
Pattern © 2026 Nail It Home / Aurelia Thorne. For personal maker use only. Do not reproduce, redistribute, or resell without written permission.


