

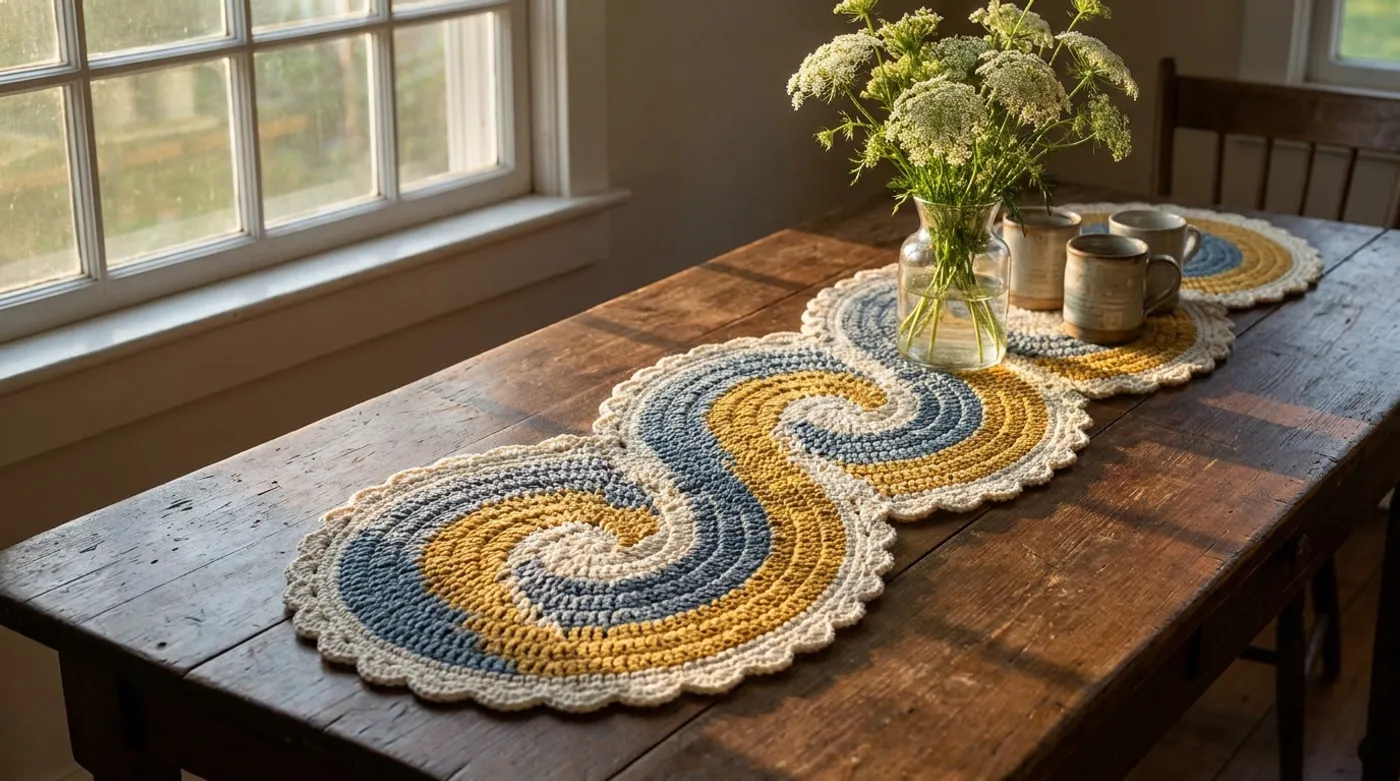
Tricolor Interlocking Spiral Shell Crochet Tablerunner: Free Crochet Pattern & Tutorial
Create a stunning heirloom table runner featuring interlocking tricolor spirals in cream, muted blue, and mustard yellow. This intermediate pattern uses fan and shell stitches to form a continuous serpentine design with scalloped edges.

Pattern Specifications
1. Introduction & Design Inspiration
There is a quiet magic in watching three distinct colors chase each other across a length of fabric, never quite touching, yet forever linked — like braided rivers or the slow turn of a nautilus shell. This table runner was born from a desire to capture that helical rhythm in cotton: a piece that feels both architectural and organic, structured enough to anchor a dining table yet fluid enough to suggest motion even when perfectly still.
The design draws from traditional shell stitch motifs — those beloved fans that bloom outward like sea foam — but reimagines them as three interlocking spirals that wind around a central serpentine spine. Each spiral is worked in its own colorway: warm Cream for the backbone, cool Muted Blue for the counter-current, and golden Mustard Yellow for the bright accent that catches the light. The result is a tricolor helix that reads as a single continuous surface, yet reveals its component strands when you lean in close.
I chose DK-weight cotton for its crisp stitch definition and the way it holds a blocked edge without stiffness. The fabric drapes beautifully over a table’s curve while the dense fan-and-shell construction resists snagging from silverware or candleholders. The scalloped fan border — worked as a final unifying round — ties the three spirals together visually and structurally, giving the runner a finished silhouette that echoes the internal geometry.
Whether you’re dressing a harvest table for autumn gatherings or adding a handmade touch to a weekday breakfast nook, this runner brings a sculptor’s sensibility to the everyday. Let’s begin.
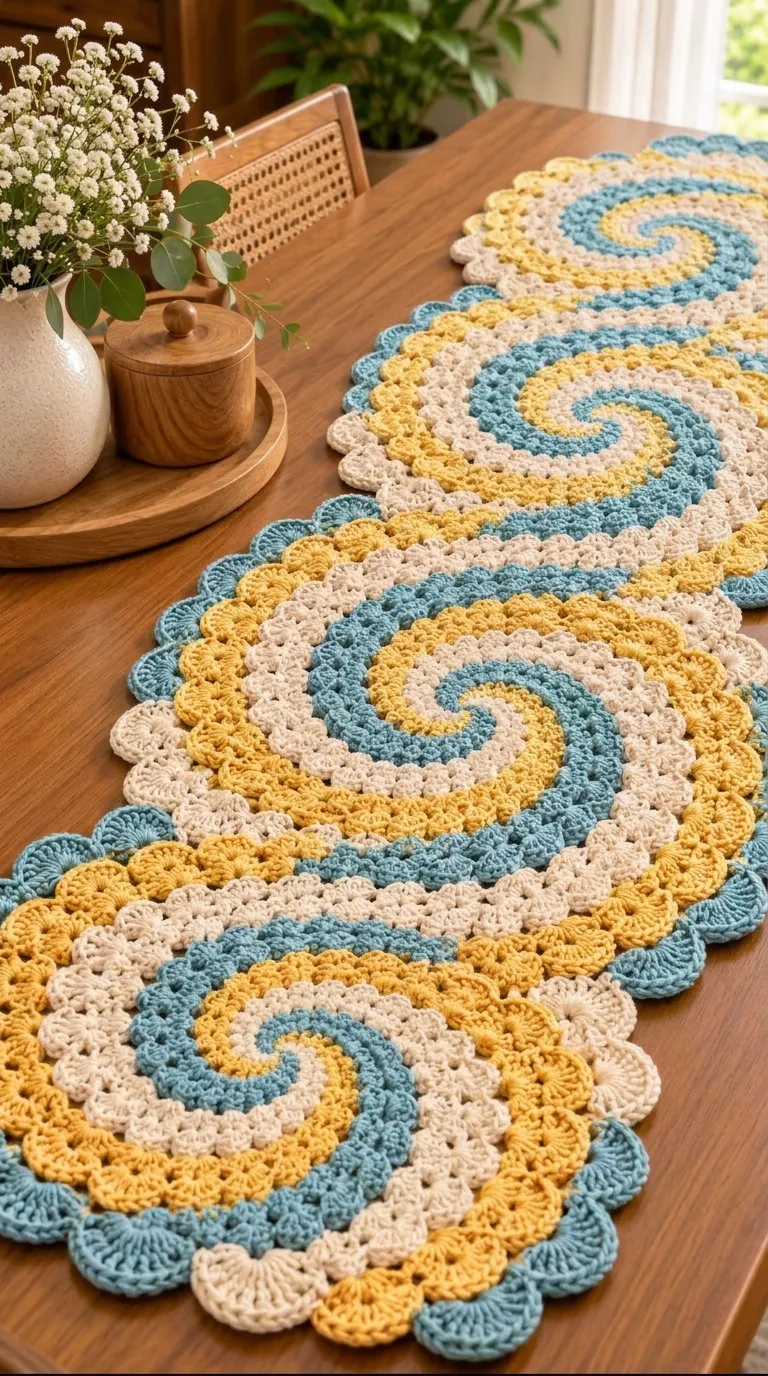
2. Pattern Overview & Finished Dimensions
-
Finished Length: 50 inches (127 cm)
-
Finished Width: 14 inches (35.5 cm) at widest spiral points; 10 inches (25.5 cm) at narrowest waist
-
Spiral Repeat Unit: 4 main helical motifs (each approx. 12.5 inches long)
-
Border Depth: 1.5 inches (3.8 cm) scalloped fan edging on all sides
-
Construction: Worked flat in joined rows from center spine outward, alternating color spirals; border worked in the round
-
Structure: Dense, reversible fabric with pronounced 3D shell texture; lies flat after blocking
-
Yarn Weight: DK (3) cotton — 100% mercerized cotton recommended for stitch clarity and washability
-
Skill Level: Intermediate — requires comfort with shell/fan stitches, color changes within rows, reading stitch anatomy for spiral placement, and consistent tension across long rows
3. Materials, Fiber & Hardware Checklist
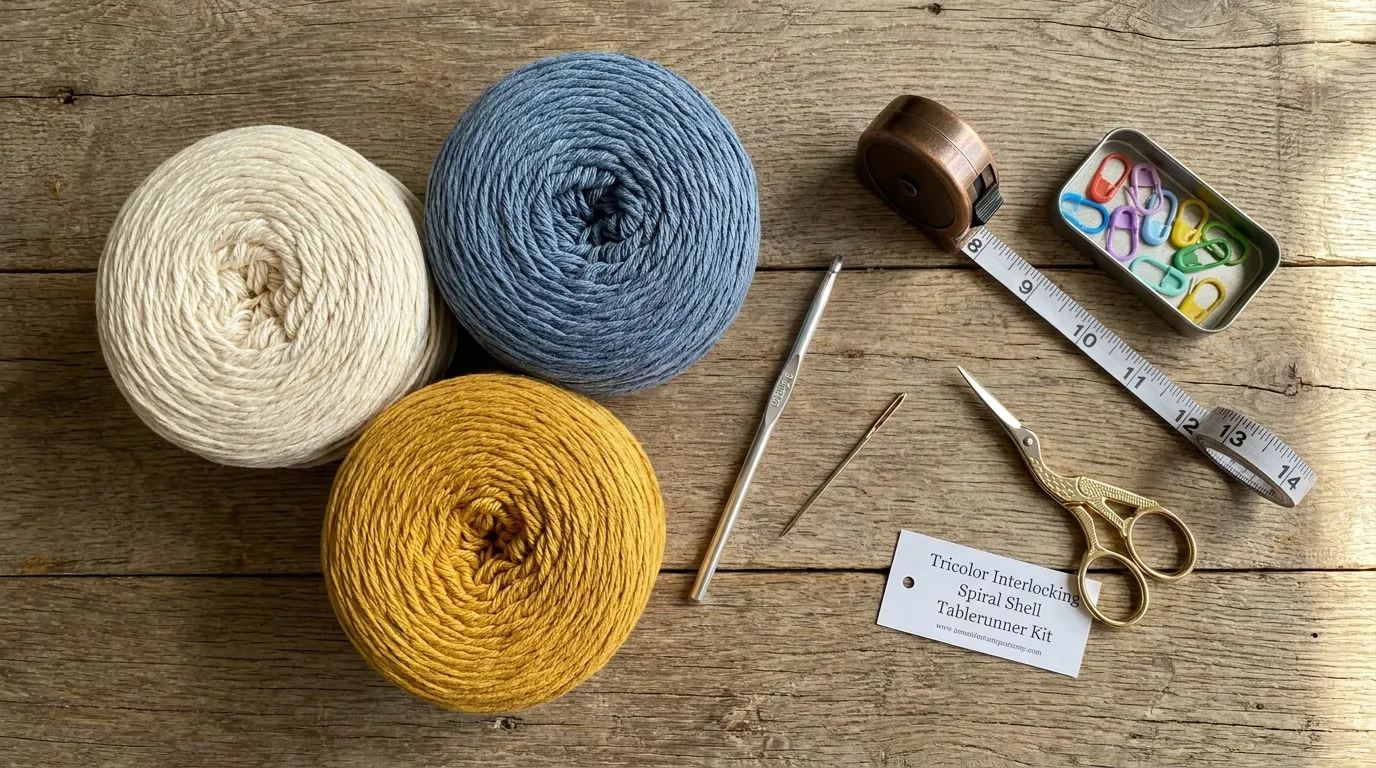
Yarn (DK / Light #3 weight, 100% mercerized cotton recommended):
-
Color A — Cream: 240 yds (220 m) / 100 g — spine & primary spiral
-
Color B — Muted Blue (steel/teal tone): 240 yds (220 m) / 100 g — counter-spiral
-
Color C — Mustard Yellow (warm golden ochre): 240 yds (220 m) / 100 g — accent spiral
-
Suggested brands: Cascade Ultra Pima, Lion Brand 24/7 Cotton, Scheepjes Catona, or equivalent mercerized DK cotton
Tools & Notions:
- 4.0 mm (US G-6) crochet hook — or size needed to obtain gauge
- 3.75 mm (US F-5) hook — for tighter border tension if desired
- Tapestry needle (blunt tip, large eye) for weaving ends
- Sharp scissors
- Blocking mats and T-pins (or rust-proof blocking wires)
- Measuring tape
- Stitch markers (4–6, locking style) — for marking spiral transition points
- Row counter (optional but helpful for 50-inch length)
No lining, hardware, or stabilizer required. This piece is fully self-supporting through stitch density and blocking.
4. Stitch Abbreviations (US Terms)
| Abbreviation | Stitch Name |
|---|---|
| ch | chain |
| sl st | slip stitch |
| sc | single crochet |
| hdc | half double crochet |
| dc | double crochet |
| tr | treble crochet |
| dtr | double treble crochet |
| BLO | back loop only |
| FLO | front loop only |
| sp | space |
| sk | skip |
| rep | repeat |
| RS | right side |
| WS | wrong side |
| Shell (5-dc) | 5 dc in indicated stitch or space |
| Fan (3-dc, ch-1, 3-dc) | 3 dc, ch 1, 3 dc in indicated stitch or space |
| Cluster (dc3tog) | yo, insert hook, yo, pull up loop, yo, pull through 2 loops 3 times, yo, pull through all 4 loops on hook |
Special Notes:
- All stitch counts refer to visible stitch tops on the current row unless noted as “in sp”
- Color changes are worked at the last yarn-over of the stitch before the change (complete the final yo with the new color)
- Carry unused colors loosely along the wrong side (WS) when they will be needed within 6–8 stitches; otherwise cut and rejoin to avoid long floats
- Turning chains do not count as stitches unless explicitly stated
5. Architectural Mechanics / Technique Deep-Dive
The soul of this runner lives in how three independent spirals interlock without joining — each color traces its own helical path around a shared central axis, and the geometry of fan and shell stitches creates the physical “teeth” that mesh them together.
Why Fan & Shell Stitches Create Spirals
A standard shell (5 dc in one stitch) fans outward symmetrically. A fan (3 dc, ch 1, 3 dc) creates a pointed apex with a tiny hinge at the ch-1. When you stack fans offset from the shells below — placing each new fan’s center dc into the ch-1 space of the fan two rows down — the fabric naturally curves. Repeat this offset stacking, and the curve becomes a spiral. The three colors each follow this logic on staggered starting points, so their spirals nest like gears.
The Central Spine (Color A — Cream)
Color A establishes the runner’s backbone: a continuous line of fan stitches worked down the center. Every other row, the fan apex shifts one stitch left or right, creating the serpentine wave. This spine is never cut; it runs the full 50 inches, anchoring the other two spirals.
Counter-Spiral (Color B — Muted Blue)
Color B begins at Row 3, worked into the sides of Color A’s fans. Its fans point in the opposite rotational direction (mirrored), filling the negative space between Color A’s shells. Because Color B’s fans sit in the “valleys” of Color A’s shells, the two colors physically interlock — the dc posts of one color wrap around the ch-1 hinges of the other.
Accent Spiral (Color C — Mustard Yellow)
Color C enters at Row 7, occupying the tertiary gaps — the small triangular windows formed where Color A and Color B shells nearly meet. Its fans are smaller (3-dc shells instead of full fans) and act as “pinions” that lock the two main spirals together. This three-tier hierarchy (spine → counter → pinion) is what gives the fabric its remarkable stability despite being a single layer.
Color Management Strategy
You will carry all three colors actively for most of the project. The key is strategic float management:
- Color A (spine) is worked every row — never cut
- Color B is worked every row from Row 3 onward — carry along WS edge when not in use
- Color C is worked every 4th row (Rows 7, 11, 15…) — cut and rejoin each time to avoid 12-row floats
- At each color change point, twist the old and new yarns once around each other on the WS to prevent holes
Blocking Is Non-Negotiable
The spiral geometry relies on the ch-1 hinge spaces opening to precise angles. Wet-blocking (or steam-blocking for cotton) relaxes the dc posts into their final positions and sets the scalloped border’s points. Skip blocking, and the runner will curl at the spirals’ outer edges.
6. Step-by-Step Stitch Instructions
Phase 1: Foundation & Central Spine (Color A — Cream)
Row 1 (RS): With Color A, ch 62.
Foundation note: This chain count yields 60 working stitches after the first row. The extra 2 ch serve as the first turning ch + 1 stitch anchor.
Dc in 4th ch from hook (counts as 1 dc + turning ch), dc in each ch across. Turn. — 60 dc
Row 2 (WS): Ch 3 (counts as dc), sk 2 sts, Fan in next st, sk 2 sts, sc in next st; rep from * to * across to last 3 sts, sk 2 sts, dc in last st. Turn.
You now have 10 Fans separated by sc anchors. The sc anchors mark the future spiral transition points. — 10 Fans, 11 sc anchors
Row 3 (RS): Ch 3, dc in first st (base of turning ch), Shell in ch-1 sp of next Fan, sc in next sc anchor; rep from * to * across, ending with dc in top of turning ch. Turn.
Shells bloom upward from the Fan hinges. Color A’s spine is established. — 10 Shells, 10 sc anchors
Row 4 (WS): Ch 3, sk 2 sts, Fan in center dc of next Shell, sk 2 sts, sc in next sc anchor; rep across, dc in last st. Turn.
Fans now sit centered on Shells — the offset begins. — 10 Fans, 11 sc anchors
Rows 5–6: Rep Rows 3–4.
After Row 6, Color A has completed 3 full fan/shell cycles. The spine now has a visible wave.
Row 7 (RS) — Color B Joins: Ch 3, dc in first st. Shell in ch-1 sp of next Fan (Color A), sc in next sc anchor; rep across. At the 5th sc anchor (center of row), do not cut Color A. Instead, drop Color A to WS, pick up Color B, and work the next sc with Color B. Continue Row 7 in Color B: Shell in next Fan ch-1 sp (Color A), sc in next sc anchor (Color B); rep to end. Turn.
Color B now shares the sc anchors with Color A, alternating every anchor. This is the interlock initiation.
Row 8 (WS) — Color B Establishes Counter-Spiral: With Color B, ch 3. Sk 2 sts, Fan in center dc of next Shell (Color A), sk 2 sts, sc in next sc anchor (Color B); rep across. At row end, drop Color B, pick up Color A (waiting on WS), dc in last st with Color A. Turn.
Color B’s Fans now sit in the “valleys” between Color A’s Shells. The two spirals are meshed.
Rows 9–10: Rep Rows 3–4 logic, but alternate colors at each sc anchor:
- Color A works Shells into Color B’s Fan ch-1 sps
- Color B works Fans into Color A’s Shell centers
- sc anchors alternate: A, B, A, B… across the row
This alternating rhythm continues for the full length. Use stitch markers at the 1st, 10th, and center sc anchors to track alignment.
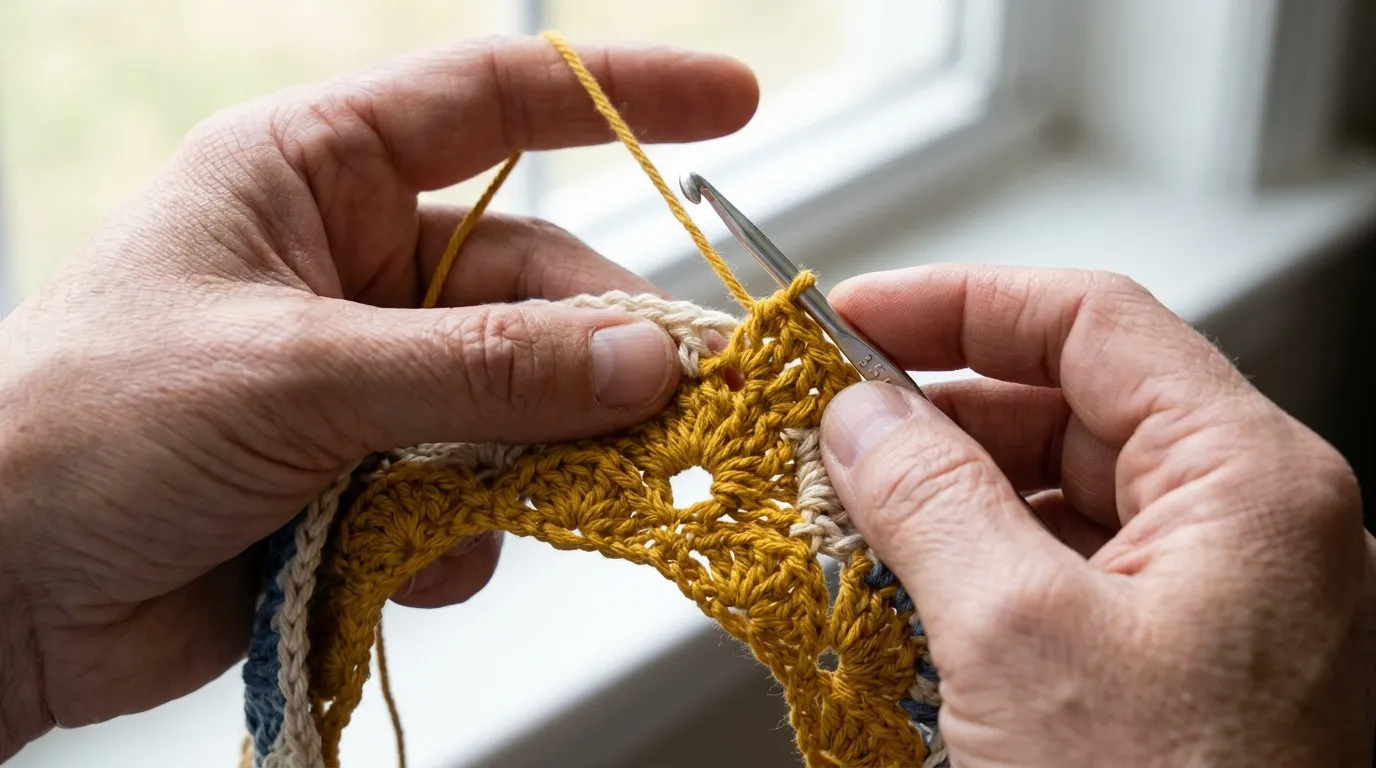
Rows 11–14: Continue established 4-row repeat (Shell row / Fan row / Shell row / Fan row) with alternating colors at anchors. Row 11 (RS) — Color C Joins at Center Anchor: At the center sc anchor (marked), drop current color, join Color C with a standing sc (sl st to join, ch 1, sc in same sp). Work Color C only at the center anchor for this row — all other anchors remain A/B alternating. Turn.
Row 12 (WS) — Color C’s First Pinion Fan: Color C works a 3-dc Shell (not a full Fan) into the center dc of the Color A Shell directly above its Row 11 sc. Color A and B continue their alternating pattern at all other anchors. Turn.
Rows 13–14: Color C rests (cut yarn, leaving 6” tail). Colors A & B continue 2-row repeat.
Rows 15–18: Rep Rows 11–14. Color C rejoins at center anchor every 4th RS row (Rows 15, 19, 23…), working a 3-dc Shell into the Color A Shell center above. Color C’s pinions march down the center line, locking the two main spirals.
Phase 2: Main Body — Spiral Extension (All Three Colors)
Rows 19–160 (approx.) — The Long Repeat
From Row 19 onward, the pattern settles into a 12-row macro-cycle that advances each spiral by one full rotation:
| Row Type | Color A (Spine) | Color B (Counter) | Color C (Pinion) |
|---|---|---|---|
| RS Shell rows (odd) | Shell in B’s Fan ch-1 | Shell in A’s Fan ch-1 | Rows 19, 31, 43…: 3-dc Shell in center A Shell |
| WS Fan rows (even) | Fan in B’s Shell center | Fan in A’s Shell center | Rest (cut/rejoin) |
| sc Anchors (every row) | Alternating A/B at all anchors | Alternating B/A at all anchors | Center anchor only on C rows |
Work Rows 19–160 following this 12-row macro-cycle.
-
Every RS row: Colors A & B alternate at all 11 sc anchors (A, B, A, B…). Color C joins only at the center anchor on Rows 19, 31, 43, 55, 67, 79, 91, 103, 115, 127, 139, 151 (12 total pinion placements).
-
Every WS row: Colors A & B work Fans into each other’s Shell centers. Color C does not work on WS rows.
-
Stitch counts remain constant: 10 Fans/Shells per color per row, 11 sc anchors per row.
-
Spiral drift: Because Color A’s Fans shift left/right every other row, and Color B mirrors this, the three spirals visually rotate around the center. The center anchor (Color C’s domain) stays geometrically fixed — it is the runner’s true north.
Practical Tip: Place a locking stitch marker in the center sc anchor of every 4th RS row. When you reach a marked row, you know Color C joins. Count 12 pinion joins total — the 12th lands near Row 151, leaving ~9 rows for the taper.
Phase 3: Taper & Border Preparation
Rows 161–168 (Taper — 8 rows):
Gradually reduce the spiral width by working decrease Fans at the outer edges:
-
Row 161 (RS): Work as established, but at the 1st and 10th Fan positions: sk 3 sts (instead of 2), Shell in next ch-1 sp, sk 3 sts. This removes one Shell per side. — 8 Shells per color
-
Row 162 (WS): Sk 3 sts, Fan in next Shell center, sk 3 sts at edges. — 8 Fans per color
-
Rows 163–164: Rep Rows 161–162. — 6 Shells/Fans per color
-
Rows 165–166: Rep once more. — 4 Shells/Fans per color
-
Rows 167–168: Rep once more. — 2 Shells/Fans per color (center only)
Row 169 (Final RS Row — All Colors):
Color A: Shell in center Fan ch-1 sp.
Color B: Shell in center Fan ch-1 sp (adjacent).
Color C: 3-dc Shell in center anchor (final pinion).
All colors: sc in final center anchor. Fasten off all colors, leaving 12” tails for border join.
Border Setup:
With RS facing, join Color A with sl st at any corner stitch along the long edge. You will work the scalloped fan border in the round around the entire perimeter.
7. Assembly, Mounting & Structural Integration
This table runner requires no seaming, lining, or mounting — it is a single-layer, self-supporting textile. The structural integrity comes from:
- Interlocking stitch architecture — the three spirals physically mesh like gear teeth
- Dense stitch gauge — 16 sts/4” in shell stitch creates a firm, non-gaping fabric
- Mercerized cotton’s memory — the fiber holds blocked shape without stiffening agents
- Unified border — the final round locks all edge stitches into a continuous frame
If you wish to add a non-slip backing (optional):
Cut a piece of cotton/linen blend fabric to 49” x 13” (1” smaller on all sides). Hand-baste to WS of runner using matching cream thread, catching only the back loops of border stitches. Do not machine-sew — the crochet fabric needs to breathe and flex.
8. Hardware, Accents & Embellishment Assembly
No hardware, straps, or charms are used in this design. The scalloped fan border is the embellishment — each scallop point echoes the internal spiral geometry at the macro scale.
Border Pattern (Worked in the Round — All Colors):
Round 1 (Color A — Cream):
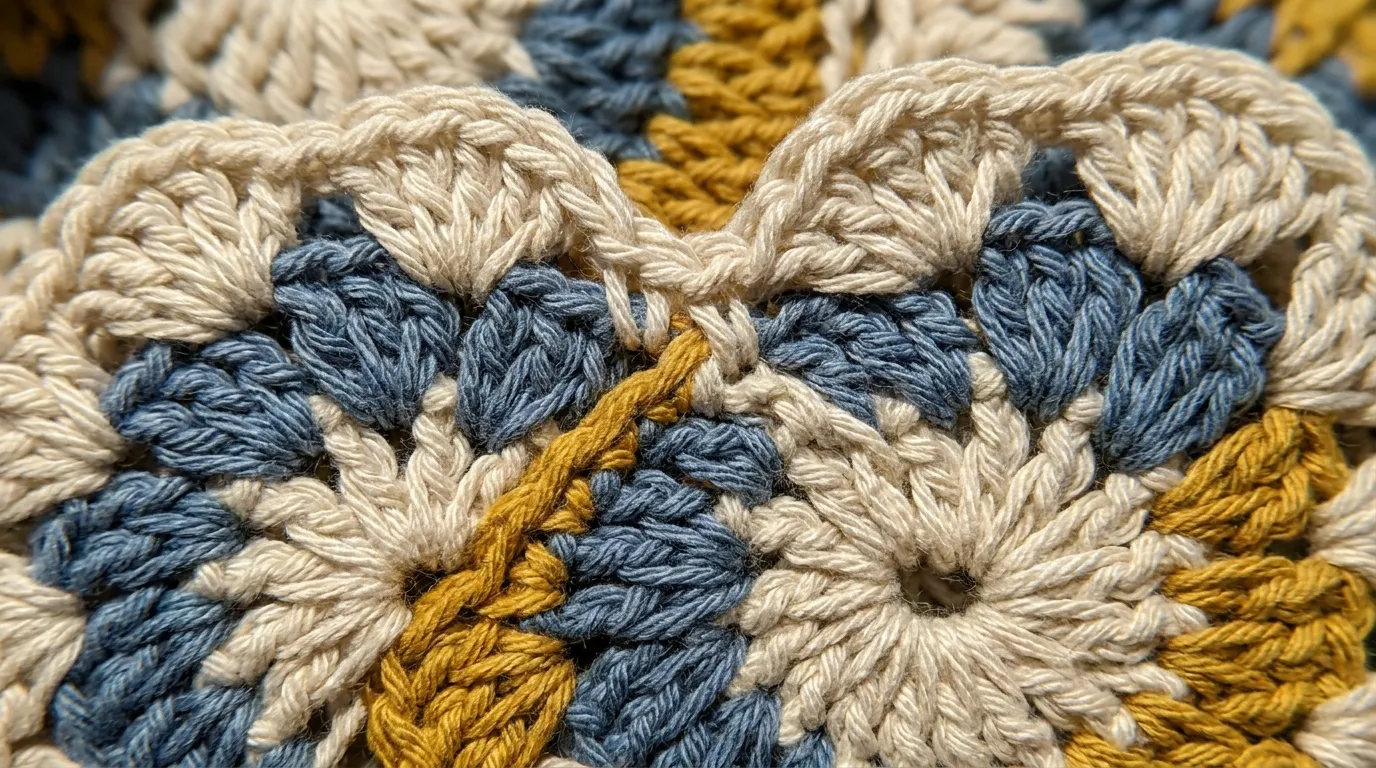
Ch 1, sc in next 3 sts, [3 dc, ch 2, 3 dc] in next st (scallop point), sc in next 3 sts; rep around all four sides, placing scallop points at each corner and at the center of each long edge (aligned with Color C’s pinion line). Join with sl st to first sc. Fasten off Color A.
Round 2 (Color B — Muted Blue):
Join Color B at any ch-2 scallop corner. Ch 3 (counts as dc), 2 dc in same ch-2 sp, ch 1, sk 3 sc, sc in next sc, ch 1, sk 3 sc, [3 dc, ch 2, 3 dc] in next ch-2 sp; rep around. Join with sl st to top of beg ch-3. Fasten off Color B.
Round 3 (Color C — Mustard Yellow — Final Round):
Join Color C at any ch-2 corner sp. Ch 1, sc in each dc and ch-1 sp across to next ch-2 sp, (sc, ch 3, sc) in ch-2 sp (picot point); rep around. Join with sl st to first sc. Fasten off, weave all ends.
The three-color border creates a subtle ombré frame: Cream grounds it, Blue defines the scallop structure, Yellow adds the final picot sparkle at every point.
9. Blocking, Care & Maintenance
Blocking (Essential — Do Not Skip):
- Fill a basin with cool water + wool wash (e.g., Soak, Eucalan). Submerge runner fully, soak 20 minutes.
- Gently press out water (do not wring). Roll in a clean towel, press firmly.
- Lay flat on blocking mats. Pin to exact finished dimensions: 50” x 14” at widest, 10” at narrowest waist.
- Critical: Pin each scallop point individually. Use T-pins at 1/2” intervals along curves. Ensure the three spiral centers align in a straight line down the runner’s length.
- Air dry completely (24–36 hours for cotton). Remove pins.
Washing:
- Hand wash cool with mild detergent, or machine wash delicate cycle, cold water, mesh bag
- Lay flat to dry; re-block if dimensions shift
- Do not bleach, tumble dry, or iron directly (steam from 6” away if needed)
Storage:
Roll (don’t fold) around an acid-free tube. Store in cotton bag, not plastic. Cedar blocks deter moths without scent transfer.
10. Frequently Asked Questions (FAQ)
Q: Can I use worsted weight yarn instead of DK?
A: You can, but the runner will be wider (~18–20”), shorter (~38–42”), and significantly heavier. Adjust hook to 5.0 mm (H-8) and expect ~40% more yarn usage. The spiral geometry scales, but the delicate scallop border may lose definition. For true-to-pattern results, stick with DK.
Q: My spirals are curling inward at the edges before blocking. Is this normal?
A: Yes — absolutely. The offset fan/shell construction creates inherent curvature that only resolves with wet-blocking. The ch-1 hinge spaces need moisture to relax into their final 120° angles. Pin aggressively at the scallop points during blocking; the fabric will hold.
Q: How do I avoid holes at color changes where the yarns twist?
A: Work the color change on the last yarn-over of the stitch before the change, then give the old and new yarns a single firm twist around each other on the WS before continuing. This locks the transition. For Color C (cut/rejoin), use a standing stitch (sl st to join, ch for turning, then work stitch) — no hole possible.
Q: Can I make this runner longer or shorter?
A: Length is fully modular. Each 12-row macro-cycle adds ~3.75” (9.5 cm). Add or subtract cycles in multiples of 12 rows before the taper phase. For a 72” runner, work 24 pinion joins (Rows 19–283). For a 36” placemat, work 6 pinion joins and taper early. Width is fixed by the 60-stitch foundation chain.
11. Community Call-to-Action
You’ve crocheted a helix. You’ve woven three colors into one continuous breath. Now — show it off.
Drape it across your table. Style it with ceramics, candles, a bowl of late-season apples. Photograph it in morning light, in candlelight, in the messy glory of a Sunday brunch. Then share it with us.
Tag @NailItHome on Instagram or Pinterest with #NailItHomeSpiralRunner so we can celebrate your make. Every finished object teaches us something new about tension, color, patience — and we learn from your hands, too.
Found a clever color combo? A yarn sub that sang? A blocking hack that saved the day? Drop it in the comments on the blog post or in our Discord community. This pattern lives because makers like you bring it to life.
Happy hooking,
Aurelia Thorne
Master Fiber Artist & Lead Pattern Curator, Nail It Home


