

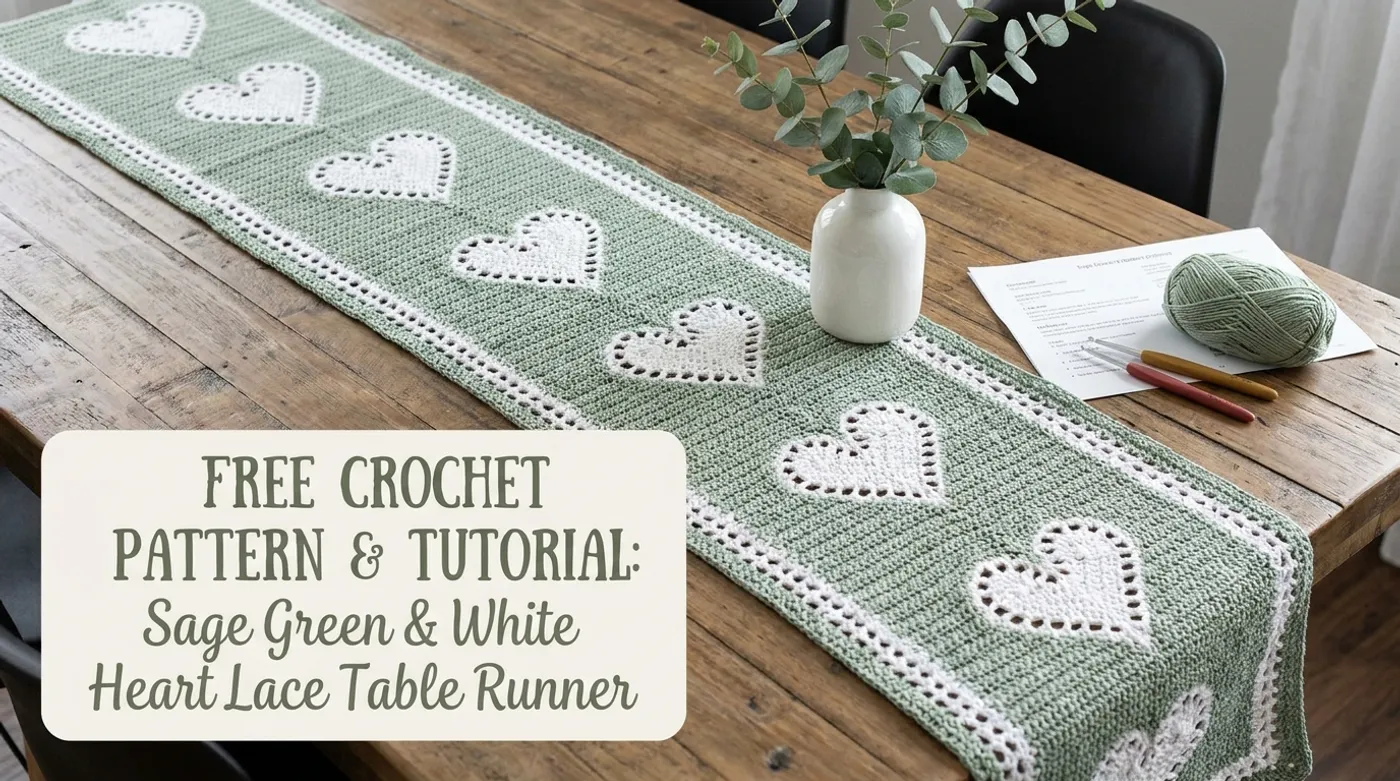
Sage Green And White Heart Lace Table Runner: Free Crochet Pattern & Tutorial
Create an heirloom-quality table runner featuring three suspended white lace hearts on a sage green pineapple lace field, finished with a picot-trimmed scalloped border. Free pattern with detailed instructions.

Pattern Specifications
1. Introduction & Design Inspiration
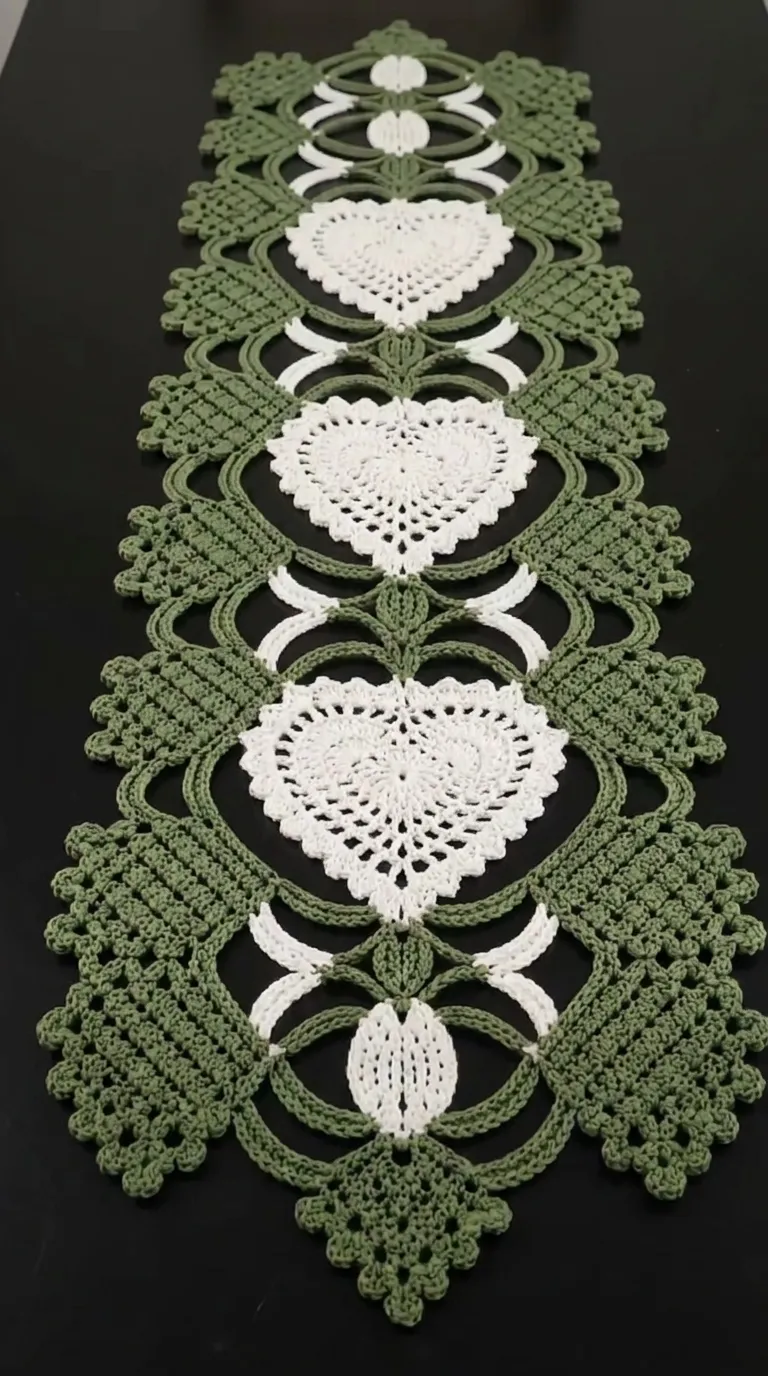
There is a particular quiet magic in a table runner that catches the morning light through its openwork, casting lace shadows across a polished surface. This piece was born from a desire to merge two distinct lace traditions: the architectural grandeur of pineapple stitch — those sweeping, fan-like structures that evoke Victorian parlors — and the tender symbolism of the heart motif, rendered here in crisp white cotton against a sage green field.
The design centers on three large heart modules suspended along the central axis, each constructed from interlocking chain arches and clustered stitches that create a lattice of negative space. These hearts do not merely sit upon the fabric; they are structurally integrated, bridged by white chain arches that arc gracefully from heart to heart, creating a visual rhythm that draws the eye along the runner’s 44-inch length.
Flanking this central corridor, the sage green pineapple panels unfurl in symmetrical waves. Each panel begins at the foundation chain and builds upward in tiered fans, their graduated heights creating a subtle undulation that frames the hearts without competing for attention. The entire composition is bound by a scalloped shell border trimmed with delicate picots — a final flourish that catches light along every curved edge.
I chose 100% mercerized sport-weight cotton for its luminous matte finish and exceptional stitch definition. The mercerization process swells the fibers, lending each loop a slight sheen that makes the white hearts appear to glow against the sage, while the cotton’s inherent stiffness ensures the lace blocks open and holds its architecture permanently. No lining, no hardware — just fiber, hook, and patience.
2. Pattern Overview & Finished Dimensions
-
Finished Length: 44 inches (112 cm) from picot tip to picot tip
-
Finished Width: 13 inches (33 cm) at widest point (center of pineapple panels)
-
Heart Motif Dimensions: Each heart measures approximately 3.5 inches (9 cm) wide by 3 inches (7.5 cm) tall
-
Border Depth: Scalloped shell border adds 1.5 inches (3.8 cm) to each long edge
-
Structure: Rectangular, symmetrical, worked flat in rows from a long foundation chain
-
Construction Method: Foundation chain establishes full length; body worked in rows with three heart motif insertions at predetermined intervals; border worked in rounds around entire perimeter
-
Drape: Firm but flexible; blocks to a flat, stable textile suitable for daily use
-
Reversible: Yes — both faces present the same pattern, though the picot border faces one direction
3. Materials, Fiber & Hardware Checklist
Yarn
-
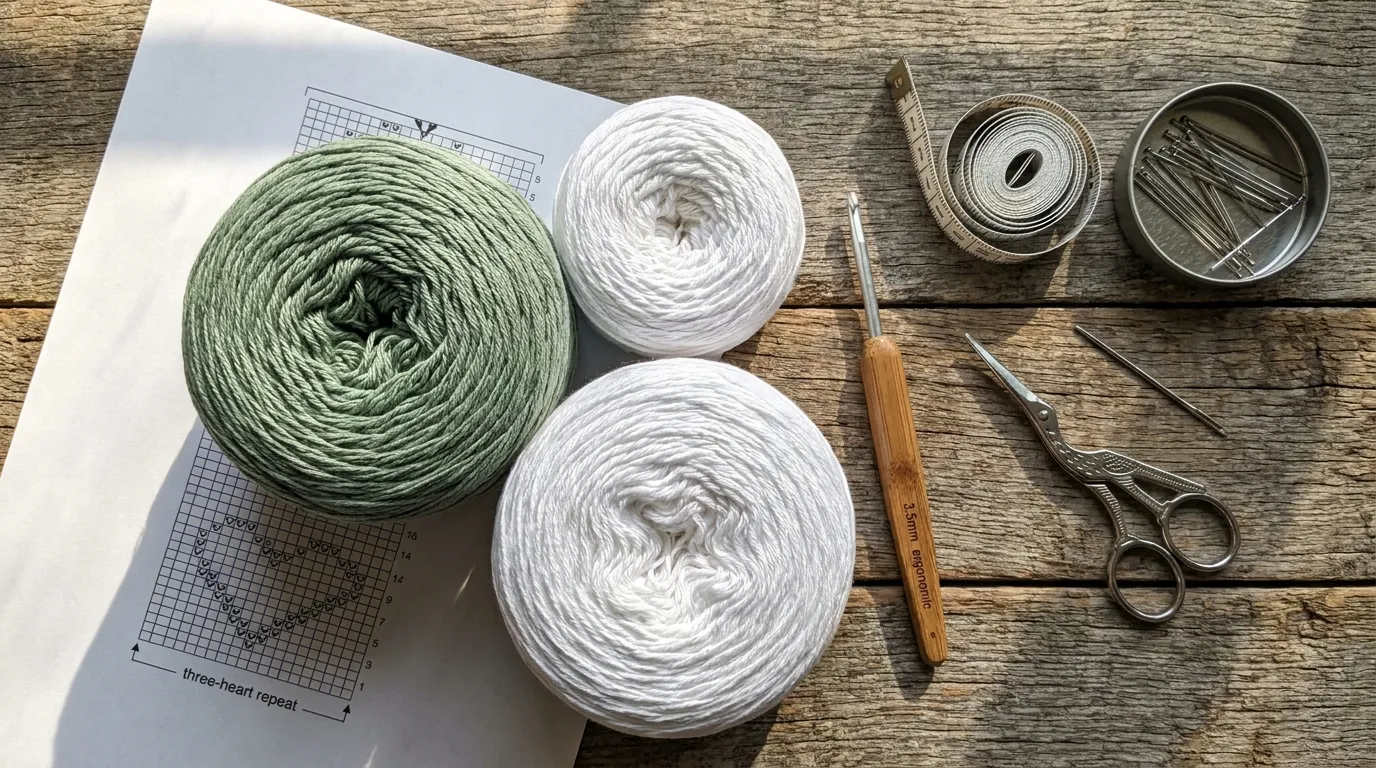
Color A (Sage Green): 280 yds (256 m) — 100% mercerized sport-weight cotton, smooth matte finish. Recommended: Cascade Yarns Ultra Pima in “Sage” or equivalent (50g / 110 yds per skein; 3 skeins)
-
Color B (Bright White): 200 yds (183 m) — Same yarn base in clean optic white. Recommended: Cascade Yarns Ultra Pima in “White” (2 skeins)
Tools & Notions
- Crochet hook: 3.5 mm (US E-4) steel or aluminum — steel preferred for lace tension control
- Tapestry needle: Blunt tip, large eye for weaving ends
- Blocking supplies: Foam blocking mats, T-pins (minimum 100), spray bottle with water
- Measuring tape: Flexible, 60-inch minimum
- Stitch markers: 6 locking markers (for heart placement and panel symmetry)
- Scissors: Sharp embroidery scissors
Optional but Recommended
- Row counter or digital tally app
- Magnifying lamp for picot work
- Cotton pressing cloth for steam blocking
4. Stitch Abbreviations (US Terms)
| Abbreviation | Stitch Name |
|---|---|
| ch | chain |
| sl st | slip stitch |
| sc | single crochet |
| hdc | half double crochet |
| dc | double crochet |
| tr | treble crochet |
| dtr | double treble crochet (yarn over 3 times) |
| picot | ch 3, sl st in 3rd ch from hook |
| sk | skip |
| sp | space |
| RS | right side |
| WS | wrong side |
| rep | repeat |
| * * | repeat instructions between asterisks |
| [ ] | stitch group worked in same stitch or space |
| ( ) | stitch count at row/round end |
Special Stitch Definitions
-
Pineapple Fan (PF): In indicated ch-sp: (ch 3, dc, ch 1) 4 times, dc, ch 3, sl st in same sp. Creates a 9-dc fan with ch-1 separators and a ch-3 peak.
-
Heart Cluster (HC): In indicated ch-sp: (dc, ch 2, dc) twice, ch 2, sl st in same sp. Forms the upper lobes of the heart.
-
Arch Bridge (AB): ch 15, sk next 5 sts, sc in next st. Creates the white bridging arches between hearts.
-
Scallop Shell (SS): In indicated st: (sc, hdc, 3 dc, hdc, sc). Standard 7-stitch shell for border.
-
Picot Trim (PT): ch 3, sl st in 3rd ch from hook (worked at peak of each scallop).
5. Architectural Mechanics / Technique Deep-Dive
This runner’s architecture relies on three interlocking systems: the pineapple lattice, the heart suspension, and the border unification.
Pineapple Lattice Mechanics The pineapple panels are not merely decorative; they are the structural field that holds the hearts in suspension. Each panel begins at the foundation chain with a row of established mesh (ch-2, sk 2, dc) that creates a stable grid. Subsequent rows build fans in staggered alignment — each new fan sits in the ch-3 peak of the fan two rows below. This offset creates the characteristic pineapple “scales” and distributes tension evenly across the width. The key to clean fans is consistent ch-1 spacing between dc stitches within the fan; if these tighten, the fan cups inward. Maintain a relaxed golden loop on each dc.
Heart Suspension System Each heart motif is worked as an independent module directly into the live stitches of the central corridor. The heart’s upper lobes (formed by HC stitches) anchor into the ch-2 spaces of the preceding row, while the heart’s lower point extends downward via a centered dc that engages the row below. The white AB arches then bridge from the heart’s lower point to the next heart’s upper lobes, creating a continuous white line that visually stitches the three hearts into a single column. Critical: work all heart and arch stitches in Color B only; carry Color A loosely along the WS of the central corridor (do not cut between hearts).
Border Unification The scalloped border is worked in a single continuous round around the entire perimeter after the body is complete. This round serves two structural purposes: it locks the edges of the pineapple panels (which naturally want to ruffle) into a flat plane, and it integrates the short ends of the foundation chain and final row into the same aesthetic language. The picot at each scallop peak adds microscopic weight that encourages the scallops to lie flat rather than curl.
Tension Protocol Lace demands a specific tension philosophy: the working loop must remain generous (approximately 1/4 inch / 6 mm tall) throughout. A tight working loop collapses ch-spaces, distorts fans, and makes subsequent rows impossible to enter. Pause every 10 rows to gently stretch the work widthwise and verify that ch-2 spaces measure approximately 3/8 inch (1 cm) across.
6. Step-by-Step Stitch Instructions
Phase 1: Foundation & Central Corridor Establishment
Row 0 (Foundation Chain): With Color A, ch 221. This establishes the full 44-inch length. Do not twist.
Row 1 (Foundation Mesh - RS): Dc in 4th ch from hook (counts as ch-1, dc), *ch 2, sk 2 ch, dc in next ch; rep from * across. Final dc in last ch. Turn. — [73 dc, 72 ch-2 sps]
Row 2 (Mesh Continuation): Ch 3 (counts as dc), dc in first dc, *ch 2, sk ch-2 sp, dc in next dc; rep from * across. Turn. — [73 dc, 72 ch-2 sps]
Rows 3–4: Rep Row 2 twice more. Four rows of mesh establish a stable base before pineapple fans begin. Place a locking stitch marker at the center dc (37th dc from either edge) — this marks the central axis for Heart 1 placement.
Phase 2: Pineapple Panel Development & Heart Insertion
Row 5 (First Pineapple Tier - RS): Ch 3, dc in first dc, *ch 2, sk ch-2 sp, dc in next dc; rep from * to 6 sts before center marker, work Pineapple Fan (PF) in next ch-2 sp, *ch 2, sk ch-2 sp, dc in next dc; rep from * to 6 sts past center marker, work PF in next ch-2 sp, *ch 2, sk ch-2 sp, dc in next dc; rep from * to end. Turn. — [2 PF inserted symmetrically at panel centers]
Rows 6–8: Work even in mesh pattern (as Row 2) over all sts, working dc into dc and ch-2 over ch-2 sps, including into the ch-3 peak of each PF from Row 5. The PF peaks become new ch-2 sps for the mesh grid.
Row 9 (Second Pineapple Tier): Ch 3, dc in first dc, *ch 2, sk ch-2 sp, dc in next dc; rep from * to ch-3 peak of first PF, work PF in this peak, *ch 2, sk ch-2 sp, dc in next dc; rep from * to ch-3 peak of second PF, work PF in this peak, *ch 2, sk ch-2 sp, dc in next dc; rep from * to end. Turn.
Rows 10–12: Rep Rows 6–8 (mesh even).
Row 13 (Third Pineapple Tier & Heart 1 Placement): Work mesh to center marker. Heart 1 Insertion (Color B — join with sl st in center ch-2 sp):
- Heart Row 1: Ch 3 (counts as dc), work HC in same sp, ch 2, sk next 2 ch-2 sps, sc in next dc (heart lower point), ch 2, sk next 2 ch-2 sps, work HC in next ch-2 sp. Fasten off Color B.
- Resume Color A: ch 2, sk next ch-2 sp, dc in next dc, continue mesh to end. Turn.
Rows 14–16: Work mesh even. The heart now sits embedded in the central corridor; the mesh rows above it will form the base for the next heart’s arch bridge.
Row 17 (Arch Bridge 1 - Color B): Join Color B with sl st in heart lower point (the sc from Heart Row 1). AB: ch 15, sk 5 sts (mesh dc + ch-2 sps), sc in next dc. Fasten off Color B. Resume Color A mesh across row. Turn.
Rows 18–28: Continue pineapple tier progression (PF every 4 rows at panel centers) and mesh even. At Row 21 (approximately), work Heart 2 Insertion at center marker using same Heart Row 1 instructions. At Row 25, work Arch Bridge 2 from Heart 2 lower point to position for Heart 3.
Rows 29–32: Final pineapple tier (Row 29 PF at panel centers), then 3 rows mesh even.
Row 33 (Heart 3 Insertion): Work Heart 3 at center marker. No arch bridge follows — this is the terminal heart.
Rows 34–36: Mesh even to complete body.
Phase 3: Scalloped Picot Border (Worked in Rounds)
Round 1 (Border Foundation - RS): Do not turn. Ch 1, rotate to work down long edge. *Sc in each row-end dc and ch-2 sp evenly spaced (approx 1 sc per row), placing 3 sc in each corner; rep from * around all four sides. Join with sl st to first sc. — Stitch count will vary; aim for multiple of 7 + 4 for scallop symmetry.
Round 2 (Scallop Shells): Ch 1, sc in same st, *sk 3 sts, work SS in next st, sk 3 sts, sc in next st; rep from * around. Join with sl st to first sc.
Round 3 (Picot Trim): Sl st into first hdc of first shell, *ch 1, work PT in next dc (shell peak), ch 1, sl st in next hdc, sl st in next sc; rep from * around. Fasten off. Weave all ends.
7. Assembly, Mounting & Structural Integration
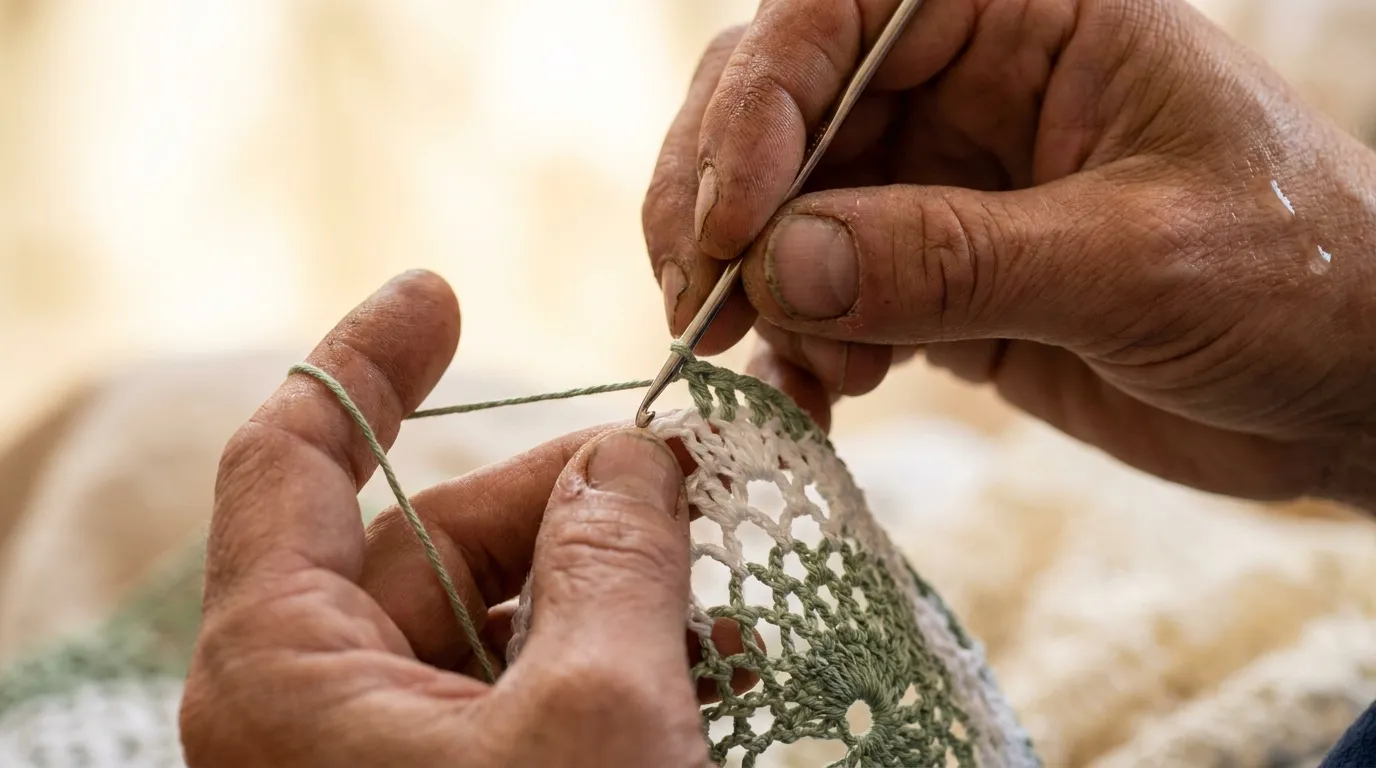
This piece requires no seaming, lining, or mounting hardware — it is a single continuous textile. However, the blocking process is where the architecture locks into its final geometry. Treat blocking as a mandatory construction phase, not an afterthought.
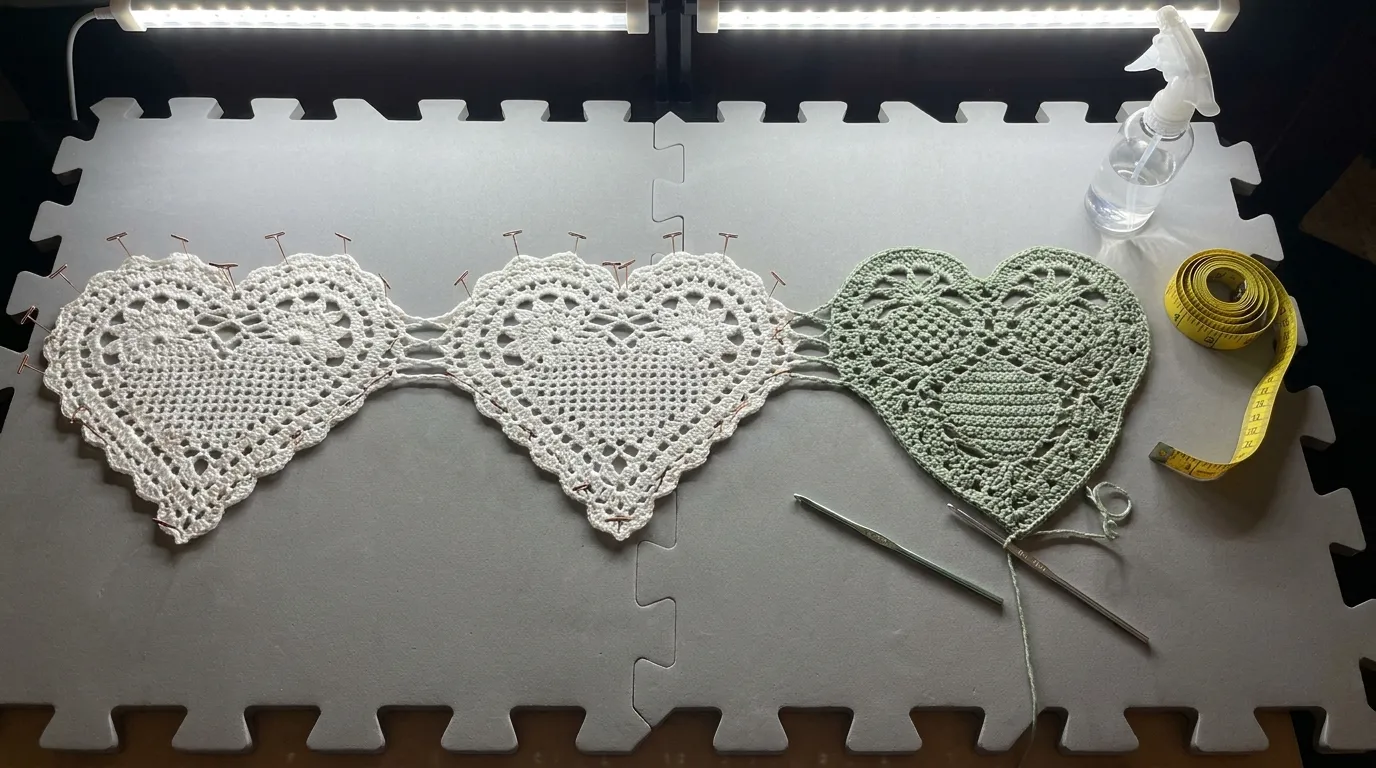
Blocking Protocol
- Submerge the finished runner in cool water with a drop of wool wash (Eucalan or similar) for 15 minutes. Do not agitate.
- Press water out between towels — never wring. The pineapple fans will be heavy with water; support the full length.
- Lay flat on blocking mats. Pin the foundation chain edge first: place pins at each scallop peak, stretching gently to 44 inches.
- Pin the final row edge to match, ensuring the three hearts align vertically. Use a T-square or laser level to verify the central axis is perfectly straight.
- Pin the long edges at each scallop peak, coaxing the pineapple panels to lie flat. The fans should open to approximately 1.75 inches (4.5 cm) wide at their broadest.
- Pin each picot individually — this is tedious but essential. The picots are the visual signature; they must stand proud.
- Allow to dry completely (24–36 hours in moderate humidity). Do not remove pins until bone dry.
- Light steam press (cotton setting, pressing cloth) on WS only if any residual curling persists at edges.
End Weaving Strategy Weave all tails along the WS of the pineapple panel dc posts, following the diagonal path of the stitches. For Color B tails at heart motifs, weave into the white stitches only — do not cross into sage green. Leave 2-inch tails before trimming; cotton relaxes over time.
8. Hardware, Accents & Embellishment Assembly
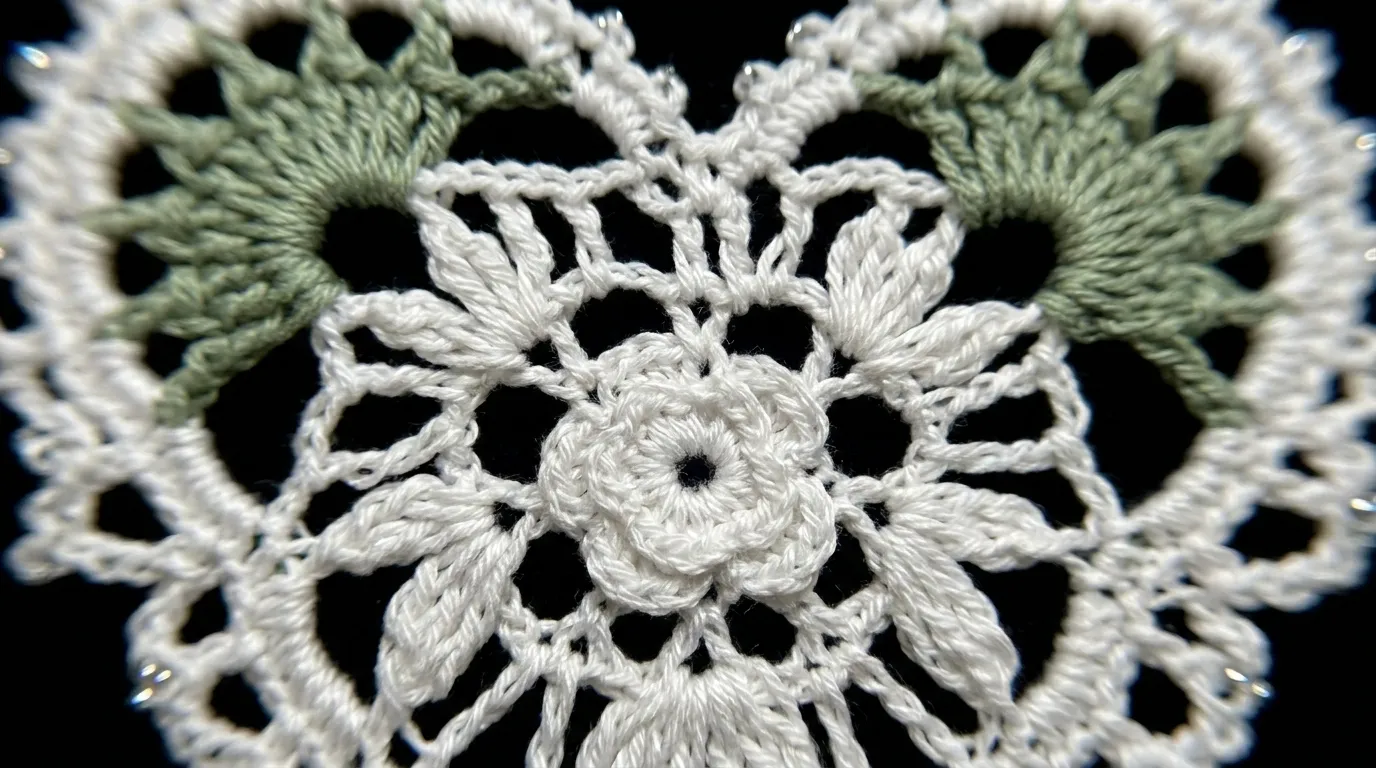
No hardware is used in this design. The integrated accents are the picot-trimmed scallops and the white arch bridges — both are structural stitch elements, not applied decorations. If you wish to add a subtle talisman, consider sewing a single mother-of-pearl button at the intersection of the central axis and the lower border scallop (center bottom), using white cotton thread. This is entirely optional and not included in the yardage or instructions.
9. Blocking, Care & Maintenance
Washing: Hand wash only in cool water (max 85°F / 30°C) with pH-neutral detergent. Submerge, soak 10 minutes, rinse thoroughly in cool water. Press water out in towels — never wring or twist.
Drying & Re-blocking: After washing, re-block following the Blocking Protocol above. The piece will relax slightly with each wash; re-blocking restores the precise geometry. Expect 0.5–1% shrinkage in length after first wash.
Storage: Store flat, rolled around an acid-free cardboard tube (minimum 2-inch diameter), wrapped in unbleached muslin. Do not fold — creases become permanent in mercerized cotton lace. Avoid plastic bags; cotton needs air exchange.
Ironing: If pressing is needed between washes, use a dry iron on cotton setting with a pressing cloth. Press WS only. Never press directly on picots or pineapple fans — the heat flattens the three-dimensional structure permanently.
Long-Term Care: Mercerized cotton resists pilling and fading but weakens with prolonged UV exposure. Rotate the runner’s position on the table seasonally. Inspect annually for any stitches that have worked loose at stress points (heart anchors, arch bridges) and reinforce with a few invisible stitches in matching thread.
10. Frequently Asked Questions (FAQ)
Q: Can I substitute a different yarn weight or fiber? A: This pattern is engineered for sport-weight mercerized cotton. Fingering weight (1) will produce a smaller, denser runner (~36 x 11 inches) with tighter fans; DK weight (3) will yield a larger, heavier piece (~50 x 15 inches) with less stitch definition. Non-mercerized cotton lacks the sheen and stiffness — the picots will not stand proud. Linen blends work beautifully but require more aggressive blocking. Acrylic is not recommended; it cannot be blocked to hold lace architecture.
Q: My pineapple fans are cupping inward instead of lying flat. What went wrong? A: Cupping indicates the ch-1 spaces within the fan are too tight. On the next fan, consciously elongate each ch-1 to match the height of the adjacent dc (approximately 3/8 inch). You can also go up 0.5 mm in hook size for the fan rows only, then return to your main hook for mesh rows. Blocking will correct minor cupping; severe cupping requires frogging the affected tier.
Q: How do I keep the white yarn clean while working with the sage green? A: Wind two separate center-pull balls for Color B (one for hearts, one for arches) and keep them in zip-top bags when not in use. Work all Color B sections in a single session per heart/arch to minimize handling. If a speck transfers, it will wash out in blocking — mercerized cotton releases surface particles easily.
Q: The pattern says 221 foundation chains, but my gauge swatch suggests a different stitch count. How do I adjust? A: The foundation chain must be a multiple of 3 + 2 (for the turning chain) to maintain the mesh grid symmetry, AND the center must fall on a dc (not a ch-2 sp) for heart placement. 221 = (73 × 3) + 2. For a different width, calculate: (desired dc count × 3) + 2. Ensure the dc count is odd so a true center dc exists. Adjust pineapple panel placement accordingly — fans should sit equidistant from center.
Q: Can I make this with only two hearts instead of three? A: Yes. Work Heart 1 at Row 13, Arch Bridge at Row 17, Heart 2 at Row 25, then continue mesh to Row 36. The runner will be approximately 36 inches long. Adjust foundation chain to 179 (59 dc × 3 + 2). The visual rhythm changes from a triplet to a dyad — equally elegant, more minimal.
11. Community Call-to-Action
You’ve spent eighteen hours coaxing cotton into architecture. You’ve counted chains until the numbers dreamed themselves, you’ve pinned two hundred picots one by one, you’ve watched sage and white bloom into something that catches light like frozen breath. That runner now holds your attention, your patience, your quiet evenings — it is, in every sense, yours.
We would be honored to see it in your home. Share your finished make on Instagram with @NailItHome and #NailItHomeHeartRunner — tag the yarn, the hook, the playlist that kept you company. Tell us which heart gave you trouble, which picot felt perfect, where the light falls on it at 3 PM.
Your make becomes part of the pattern’s living archive. Other crocheters will see your tension, your color choices, your blocking decisions — and they will be brave enough to begin.
Happy stitching, Aurelia Thorne Master Fiber Artist & Lead Pattern Curator, Nail It Home


