

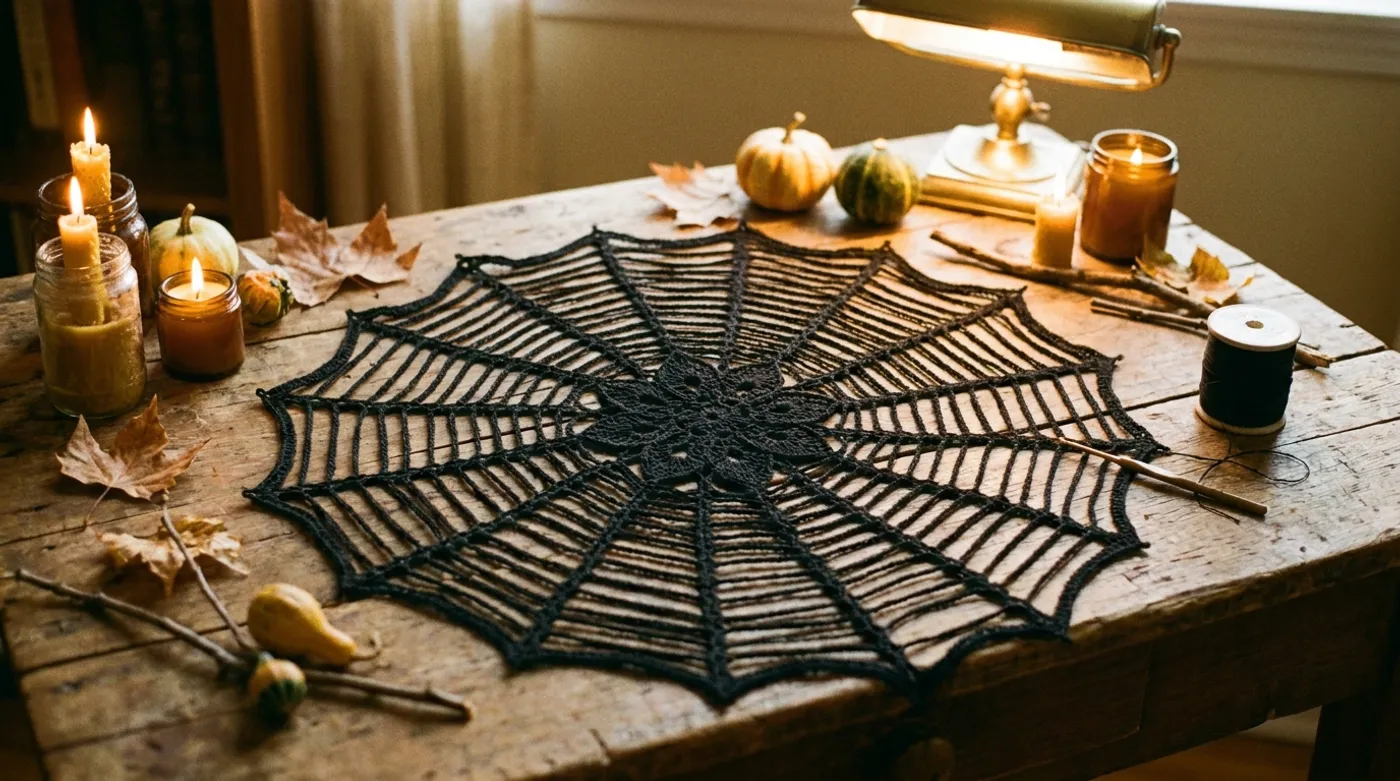
The Arachnomancer's Lace Web
A vertical hand‑crocheted black lace web spirals upward from a tiny matte‑black cauldron, featuring filet‑crochet mesh cut‑outs, ribbed ribs, and three‑dimensional black amigurumi spiders; a 12–15 in cascade of wooden spools, bone beads, and amber‑filled potion bottles dangles...

Pattern Specifications
1. Introduction & Design Inspiration
There is a particular hush that settles over a workroom when the only sound is the whisper of hook through yarn — a rhythm older than any written pattern. The Arachnomancer’s Lace Web was born from that silence, conceived during long autumn evenings when candlelight flickers against windowpanes and the veil between the ordinary and the uncanny grows thin.
This piece does not merely hang; it inhabits space. A vertical spiral of charcoal filet lace rises nearly three feet from a miniature pewter cauldron, its hexagonal and circular cut-outs catching warm light like dew on a true spider’s architecture. Front-post and back-post double crochet ribs spiral upward like vertebrae, giving the web structural memory so it holds its helical form without wire armature. Three diminutive amigurumi spiders — each no larger than a thimble — cling to the ribs at staggered intervals, their bead eyes catching the glow.
Below, a 12–15 inch cascade of talismans tells its own story: miniature wooden thread spools wound with invisible silk, white bone beads polished to a soft sheen, and tiny resin potion bottles in amber and violet that seem to hold captured twilight. The whole assembly suspends from a single black nylon cord through a metal eyelet, disappearing into shadow above.

This pattern asks you to work in concentric rounds that spiral continuously upward — no joining, no turning — creating a seamless helix. You will master filet mesh with intentional voids, post-stitch rib columns that create three-dimensional depth, and tiny amigurumi worked in the round. The cauldron integration and talisman cascade are assembled separately, then unified in a final ritual of attachment.
Whether you hang this in a sunlit window to cast lace shadows across the floor, or suspend it above an altar of curiosities, the Arachnomancer’s Lace Web rewards patience with presence. Let us begin.
2. Pattern Overview & Finished Dimensions
- Overall Height (including cascade): 34–38 inches (86–97 cm)
- Spiral Web Height: ~24–26 inches (61–66 cm) from cauldron rim to apex
- Spiral Diameter (widest point): 6–7 inches (15–18 cm) at base, tapering to 1.5 inches (3.8 cm) at apex
- Number of Full Spiral Turns: 2.5–3 complete revolutions
- Cauldron Dimensions: 1.25 inches (3.2 cm) diameter × 1 inch (2.5 cm) tall (miniature pewter/oxidized copper)
- Cascade Length: 12–15 inches (30–38 cm) from lower edge of web
- Suspension Cord Length: Adjustable; 24 inches (61 cm) default from eyelet to hanging point
- Weight: ~3.2 oz (91 g) total including hardware and talismans
- Structure Type: Self-supporting 3D crochet spiral; no internal wire, foam, or stiffener required
- Skill Notes: Requires comfort with working in continuous spiral rounds, front/back post stitches, filet mesh reading, and basic amigurumi (magic ring, invisible decrease). Not suitable for absolute beginners.
3. Materials, Fiber & Hardware Checklist
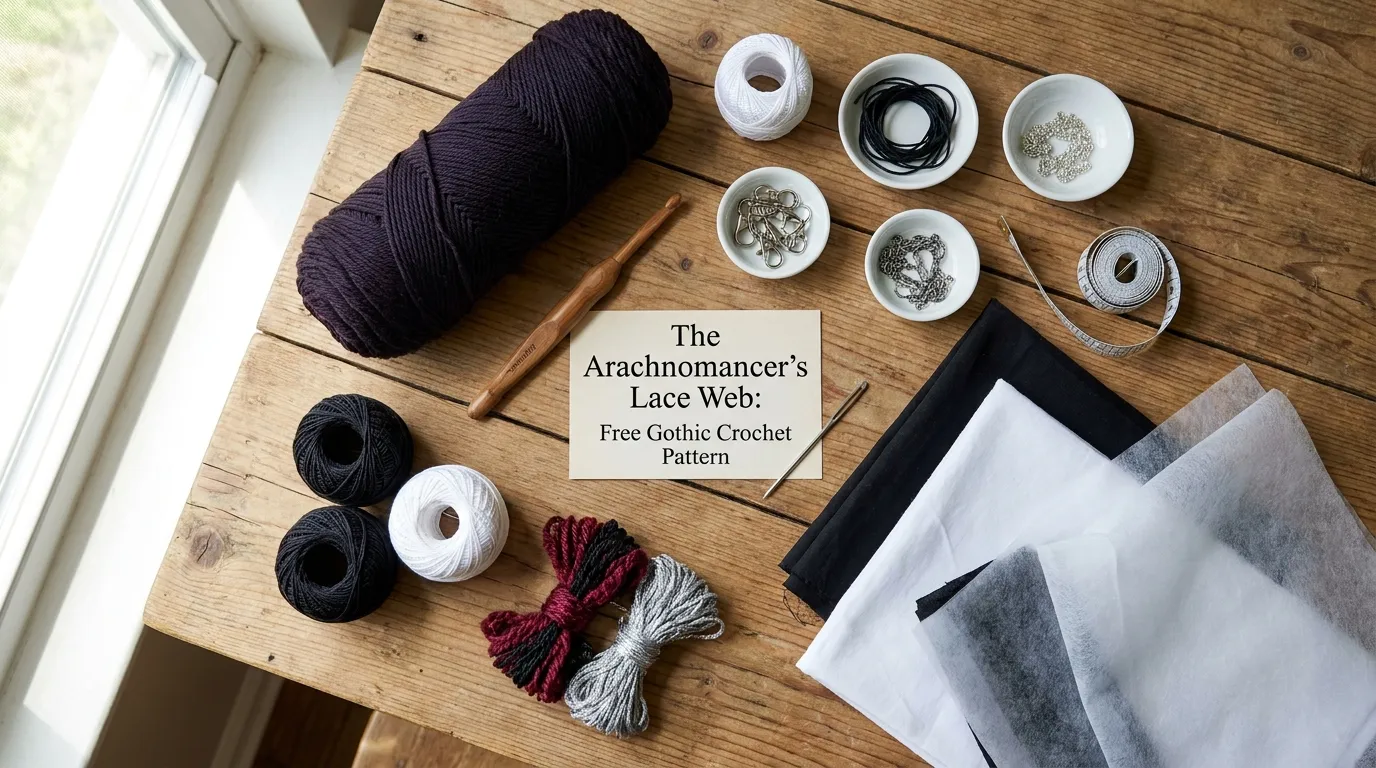
Yarn & Thread
- Main Yarn: 380 yds (347 m) worsted weight (CYC #4) acrylic in charcoal black — recommended: Lion Brand Vanna’s Choice “Charcoal” or Red Heart Super Saver “Charcoal” (approx. 2 skeins)
- Accent Thread: 40 yds (37 m) pewter/oxidized copper metallic thread, fingering weight — for cauldron rim reinforcement and spider leg detailing
- Optional Substitution: Cotton worsted (e.g., Lily Sugar ‘n Cream) yields crisper mesh but less drape; add 10% yardage.
Tools
- Hook: 4.0 mm (US G-6) — susan bates or boye inline shaft recommended for consistent post stitches
- Tapestry Needle: Blunt tip, large eye (for weaving ends and assembling cascade)
- Stitch Markers: 6 locking markers (1 distinct color for round start, 5 for rib column placement)
- Scissors: Sharp embroidery snips
- Blocking Tools: T-pins, blocking mats, spray bottle, measuring tape
Hardware & Talismans
- Miniature Cauldron: 1 × pewter/oxidized copper, ~1.25” diameter, with integral handle lugs
- Metal Eyelet/Suspension Ring: 1 × 8 mm inner diameter, antiqued brass or blackened steel
- Black Nylon Suspension Cord: ~36 inches (91 cm) of 2 mm diameter
- Antiqued Brass/Steel Chain Links: 12–15 × 4 mm oval links (for cascade connectors)
- Miniature Wooden Thread Spools: 5–7 × 8–10 mm height, natural/unfinished wood
- White Bone Charms/Beads: 8–10 × 6–8 mm (skulls, vertebrae, or simple rounds)
- Potion Bottle Charms: 4–6 × 10–12 mm tall, amber and violet resin with cork stoppers
- Black Chain Links (Accent): 6–8 × 3 mm for spider attachment points
4. Stitch Abbreviations (US Terms)
| Abbreviation | Meaning |
|---|---|
| ch | chain |
| sl st | slip stitch |
| sc | single crochet |
| hdc | half double crochet |
| dc | double crochet |
| tr | treble crochet |
| fpdc | front post double crochet |
| bpdc | back post double crochet |
| fptr | front post treble crochet |
| bptr | back post treble crochet |
| inc | increase (2 sts in same stitch) |
| dec | decrease (sc2tog or invisible dec) |
| sp | space |
| ch-sp | chain space |
| RS | right side |
| WS | wrong side |
| rnd(s) | round(s) |
| st(s) | stitch(es) |
Special Techniques:
- Magic Ring (MR): Adjustable loop start for amigurumi.
- Invisible Decrease (inv dec): Insert hook through front loops only of next 2 sts, yarn over, pull through both front loops, yarn over, pull through both loops.
- Filet Mesh Unit: (dc, ch 1, skip 1 st) — creates open square; solid square = 2 dc in same ch-1 sp or over next dc.
- Continuous Spiral: Do not join rounds with sl st; do not turn. Use a locking marker in the first stitch of each round to track beginning.
5. Architectural Mechanics / Technique Deep-Dive
The Arachnomancer’s Lace Web relies on three interlocking structural systems working in concert: filet mesh lattice, post-stitch rib columns, and spiral geometry.
Filet Mesh as Lattice: Standard filet crochet alternates dc and ch-1 to create a grid of open and solid squares. Here, we strategically omit dc stitches to form hexagonal and circular voids — the “cut-outs” that give the web its lace identity. Each void is framed by a single round of dc border, preventing distortion. The mesh provides lateral stability while remaining lightweight and translucent.
Post-Stitch Rib Columns as Vertebrae: Five fpdc/bpdc columns spiral upward around the tube, offset by 72° each round. Because post stitches are worked around the post of the stitch below rather than into its top loops, they create raised vertical ridges that stand proud of the mesh surface. These ribs serve triple duty: (1) they act as structural spines preventing the spiral from collapsing, (2) they guide the spiral’s helical trajectory by creating differential tension, and (3) they provide attachment points for the amigurumi spiders. The fpdc/bpdc alternation every round creates a subtle cable-like texture.
Spiral Geometry: Working in a continuous spiral (no join, no turn) means each round begins exactly one stitch after the previous round ended. This creates a seamless helix. To maintain the taper, we decrease 5 stitches per round (one at each rib column) after the establishment phase. The decrease is distributed by working fpdc2tog or bpdc2tog at each rib — effectively merging two post stitches into one — which pulls the circumference inward while preserving rib continuity.
Amigurumi Integration: The three spiders are worked separately in tight single crochet (approx. 5 sts/inch) using the same charcoal yarn, then sewn onto the rib columns at Rounds 18, 36, and 54. Their legs are embroidered with pewter metallic thread using surface slip stitch for fine detail.
Cauldron Anchor: The final round of the web (Round 75) is worked directly into the cauldron’s handle lugs and rim via surface crochet, fusing yarn to metal. A reinforced dc round with pewter thread locks the junction.
6. Step-by-Step Stitch Instructions
Phase 1: Foundation & Center Motif (Rounds 1–8)
Setup: With 4.0 mm hook and charcoal yarn, make a magic ring (MR). Do not tighten fully yet.
Rnd 1: Ch 3 (counts as dc), 11 dc into MR. Pull tail to close ring. Place marker (PM) in first dc (the ch-3). [12 dc]
Rnd 2 (Filet Mesh Establishment): Ch 1, skip next st, dc in next st — repeat from * around. End with ch 1. Do not join. PM in first dc of this round. [12 dc, 12 ch-1 sps]
Rnd 3 (First Rib Column Placement): Ch 2 (counts as fpdc), fpdc around next dc, [ch 1, skip ch-1 sp, dc in next dc] twice — repeat from * around 2 more times (3 rib columns placed), then ch 1, skip ch-1 sp, dc in next dc 3 times to complete round. [12 dc, 12 ch-1 sps, 3 fpdc ribs]
Note: We establish 3 rib columns initially; Rounds 4–8 will add the remaining 2 columns to reach 5 total, evenly spaced.
Rnd 4: Ch 2, fpdc around next fpdc (rib), ch 1, skip ch-1 sp, dc in next dc, ch 1, skip ch-1 sp, dc in next dc, ch 1, skip ch-1 sp, dc in next dc — repeat from * around. [15 dc, 15 ch-1 sps, 3 fpdc ribs]
Rnd 5 (Add Rib Columns 4 & 5): Ch 2, fpdc around next fpdc, [ch 1, skip ch-1 sp, dc in next dc] 3 times, ch 1, skip ch-1 sp, fpdc around next dc (new rib), ch 1, skip ch-1 sp, dc in next dc — repeat from * around. [18 dc, 18 ch-1 sps, 5 fpdc ribs]
Rnd 6: Ch 2, fpdc around next fpdc, [ch 1, skip ch-1 sp, dc in next dc] 4 times — repeat from * around. [20 dc, 20 ch-1 sps, 5 fpdc ribs]
Rnd 7 (First Hexagonal Cut-Out): Work filet mesh as established, but at Rib 1 position: ch 3, skip next 3 mesh units (3 dc + 3 ch-1 sps), dc in next dc — this creates a 3-unit wide hexagonal void. Repeat at Rib 3 and Rib 5. Other ribs: standard fpdc. [20 dc, 20 ch-1 sps, 5 fpdc ribs, 3 hexagonal voids]
Rnd 8 (Void Border): Work dc into each ch-1 sp around void edges to stabilize: at each void, (dc, ch 1, dc) in each of the 3 skipped ch-1 sps from previous round, then resume filet mesh. Standard fpdc at ribs. [26 dc, 26 ch-1 sps, 5 fpdc ribs, 3 bordered hexagonal voids]
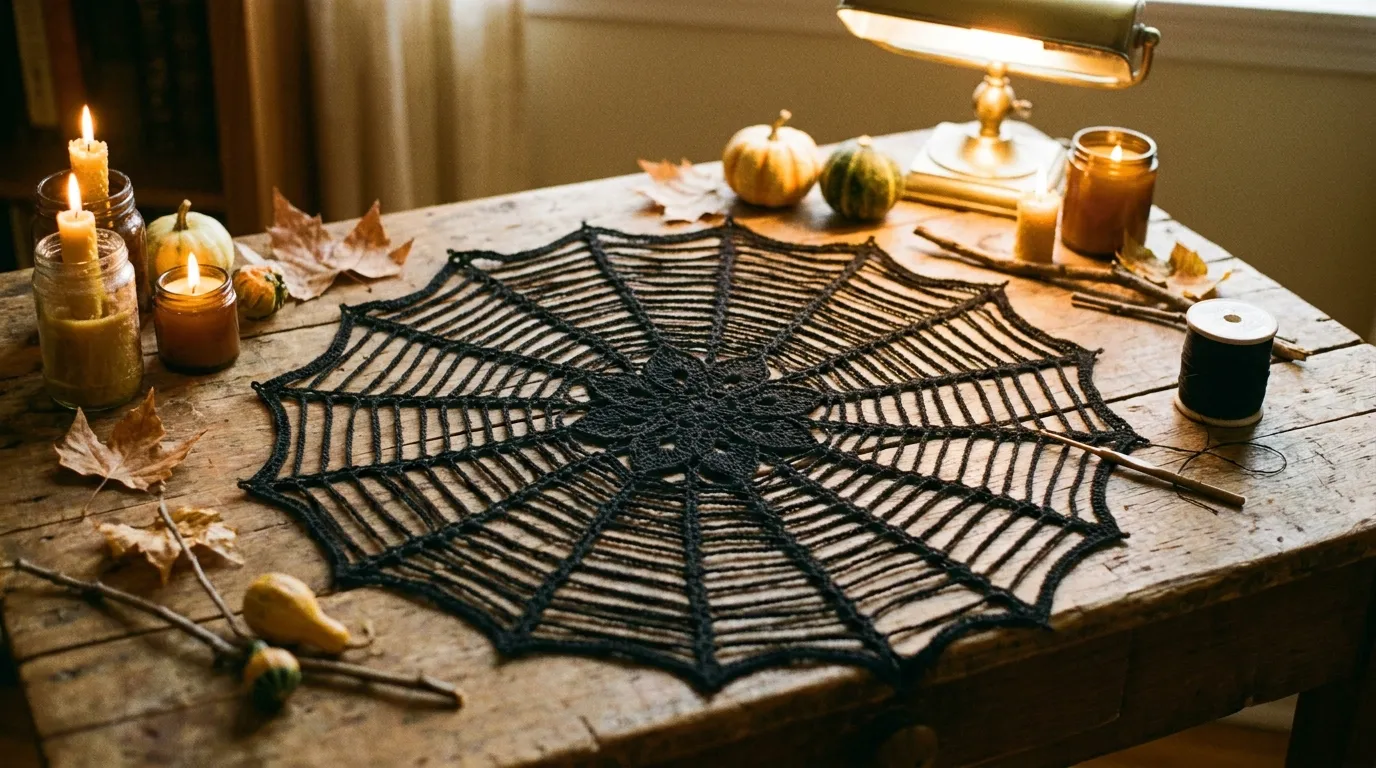
Phase 2: Spiral Body — Filet Mesh, Rib Columns & Taper (Rounds 9–75)
Rounds 9–18 (Establishment Phase — No Decreases): Continue in continuous spiral. Each round: ch 2, fpdc around next fpdc (rib), [ch 1, skip ch-1 sp, dc in next dc] across to next rib — repeat from * around.
- Void Pattern: Introduce one new hexagonal void every 3 rounds at the next rib clockwise (Rib 2, 4, 1, 3, 5…). Border each new void on the following round as in Rnd 8.
- Rib Alternation: Starting Rnd 10, alternate fpdc/bpdc at each rib every round (fpdc on odd rounds, bpdc on even rounds) for cable texture.
- Stitch Count: Increases by ~6 dc per round (mesh expansion). By Rnd 18: ~56 dc, 5 ribs, 6 bordered voids.
- Spider 1 Placement: At end of Rnd 18, sew Spider 1 (see Amigurumi Spider pattern below) to Rib 2 at this height.
Rounds 19–60 (Spiral Expansion & Taper Begin):
- Decrease Initiation (Rnd 19): At each rib, work fpdc2tog (or bpdc2tog on even rounds) around the current rib post and the next mesh dc post — this merges the rib into the adjacent mesh, reducing circumference by 5 sts per round.
- Void Rhythm: Continue adding one hexagonal void every 3 rounds. Introduce circular voids (4-unit diameter) at Rnds 27, 39, 51 — worked by ch 4, skip 4 mesh units, dc in next; border next round with (dc, ch 1) × 4.
- Spider 2 Placement: End of Rnd 36, sew Spider 2 to Rib 4.
- Spider 3 Placement: End of Rnd 54, sew Spider 3 to Rib 1.
- Stitch Count Trajectory: ~56 dc at Rnd 19 → ~36 dc at Rnd 60. Rib columns remain 5 throughout; they simply draw closer together.
Rounds 61–75 (Apex Taper & Cauldron Preparation):
- Aggressive Taper: Work fpdc3tog at each rib (merge 3 posts) on Rnds 61, 64, 67, 70, 73 — reduces 10 sts per decrease round.
- Final Mesh Rounds (71–75): Simple filet mesh (dc, ch 1) with bpdc at ribs (no decreases). Last 3 rounds: switch to sc for firm edge.
- Rnd 75 (Cauldron Join Round): With pewter metallic thread held double with charcoal yarn, work 1 sc into each st around, and work 3 sc into each cauldron handle lug, 2 sc into each rim eyelet. Sl st to first sc to join. Fasten off, leaving 12” tail for weaving.
Amigurumi Spider (Make 3)
Materials: Charcoal yarn, 4.0 mm hook, 2 × 2 mm black glass beads (eyes), pewter thread for legs.
Body (Continuous Spiral):
- Rnd 1: 6 sc in MR. [6]
- Rnd 2: Inc in each st. [12]
- Rnd 3: Sc, inc × 6. [18]
- Rnd 4–5: Sc in each st. [18]
- Rnd 6: Sc, inv dec × 6. [12]
- Rnd 7: Inv dec × 6. [6] — stuff firmly with polyfil.
- Close: Fasten off, thread tail through front loops of last 6 sts, pull tight, knot.
Legs (Make 8 per spider): With pewter thread and 2.5 mm hook, ch 10, sl st in 2nd ch from hook and each ch back. Fasten off leaving 4” tail. Sew 4 legs each side of body at Rnd 3/4 junction. Glue beads for eyes.
7. Assembly, Mounting & Cauldron Integration
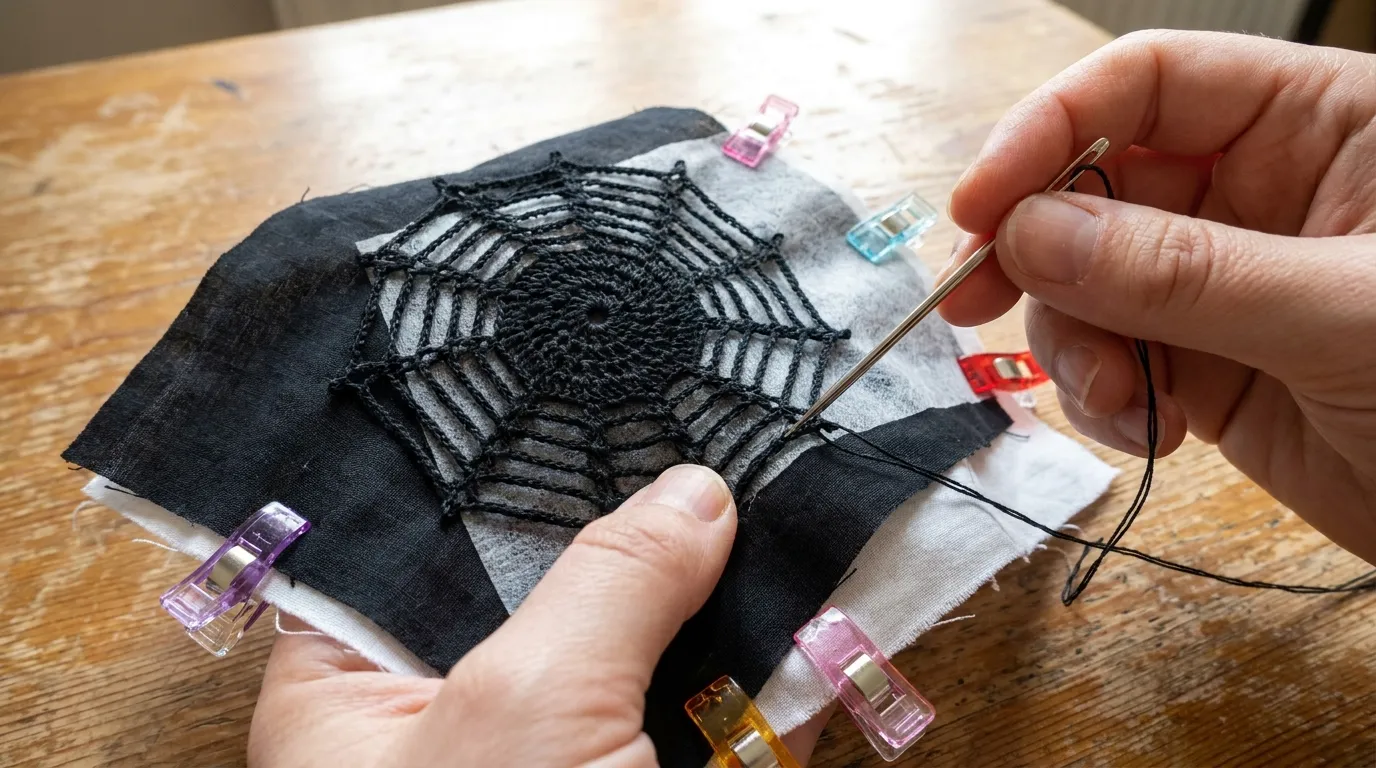
Cauldron Preparation:
- Clean cauldron with isopropyl alcohol; dry thoroughly.
- If cauldron lacks rim eyelets, drill 4 evenly spaced 1 mm holes 2 mm below rim using a pin vise.
- Test-fit: Lower web onto cauldron so Rnd 75 aligns with rim. Adjust eyelet positions if needed.
Surface Crochet Join (Rnd 75):
- With RS facing, hold web above cauldron. Insert hook through first sc of Rnd 75 and through a rim eyelet, yarn over (pewter+charcoal held together), pull through both, yarn over, pull through both loops (1 sc made).
- Repeat around: 1 sc in each web st, 3 sc in each handle lug (work through lug hole), 2 sc in each rim eyelet.
- Join with sl st to first sc. Weave in all ends securely through the metalwork.
Eyelet & Suspension Cord:
- Thread 2 mm black nylon cord through the metal suspension eyelet (8 mm ID).
- Tie a double fisherman’s knot 2 inches below eyelet to create a fixed loop for hanging.
- Thread cord up through the center of the spiral web (use a tapestry needle to guide through the apex opening), then down through the cauldron’s center drain hole (or drill one 2 mm hole in cauldron base).
- Pull taut so cauldron sits snug at web base. Tie off cord below cauldron with a surgeon’s knot; trim excess, melt end with lighter to seal.
Blocking the Spiral:
- Pin web to blocking mats in its natural helical shape: secure cauldron base, then spiral upward, pinning each rib column at 1-inch intervals.
- Lightly mist with water (do not soak — acrylic kills with steam, not water).
- Allow to dry 24 hours. Remove pins. The spiral will hold its form permanently.
8. Hardware, Charms & Talisman Assembly
Cascade Construction (Bottom-Up):
- Anchor: At the lower edge of the web (Rnd 75 join point), identify 5 evenly spaced dc stitches around circumference. Using tapestry needle and charcoal yarn, sew a 3-inch length of black nylon cord to each point (these are the 5 cascade strands).
- Strand 1 (Center — Longest, 15”): Thread: 1 potion bottle (amber) → 1 bone bead → 1 wooden spool → 1 bone bead → 1 potion bottle (violet) → 1 bone bead → 1 wooden spool. Secure bottom with overhand knot + crimp bead.
- Strands 2 & 3 (13”): Thread: 1 wooden spool → 1 bone bead → 1 potion bottle (amber) → 1 bone bead → 1 black chain link (3 links). Knot + crimp.
- Strands 4 & 5 (12” — Shortest): Thread: 1 bone bead → 1 potion bottle (violet) → 1 bone bead → 1 wooden spool. Knot + crimp.
- Connectors: Use 4 mm antiqued brass chain links to join adjacent strands at 3-inch intervals (creates a netted cascade effect). Open link with pliers, hook through cord of Strand 1 and Strand 2, close. Repeat around.
Spider Attachment Verification:
- Confirm all 3 spiders are securely sewn through rib posts (not just mesh) with 6–8 stitches each.
- Touch up any loose leg embroidery with pewter thread.
Final Inspection:
- Hang piece from suspension cord. Verify spiral hangs vertically without listing.
- Adjust cascade strand lengths if needed for visual balance.
- Trim all yarn tails to ¼ inch; dab with fabric glue if fraying.
9. Blocking, Care & Maintenance
Blocking (Post-Completion):
- As described in Section 7, wet-block the spiral on mats. Acrylic responds best to steam blocking: hold a garment steamer 6 inches from fabric, steam each section 10 seconds, shape immediately with pins. Do not press iron to fabric.
- Re-block annually or if spiral loses tension.
Cleaning:
- Spot Clean Only: Dampen a white cloth with cool water + drop of wool wash (e.g., Soak). Blot — do not rub. Air dry flat.
- Full Wash (Rare): Submerge in cool water with wool wash. Soak 15 min. Rinse in cool water. Press water out in towel (no wring). Re-block on mats.
- Metal Hardware: Wipe cauldron, eyelet, chain links with microfiber cloth. For tarnish, use jewelry polishing cloth (avoid contact with yarn).
Storage:
- Hang from suspension cord in a garment bag, or coil gently in acid-free tissue in a lidded box.
- Avoid compressing the spiral; the ribs hold memory but can crease if folded.
- Keep away from direct sunlight (acrylic fades over years) and humidity >60% (metal corrosion).
10. Frequently Asked Questions (FAQ)
Q: Can I use cotton yarn instead of acrylic? A: Yes, but with caveats. Cotton (worsted weight) yields crisper filet mesh and sharper void definition, but it lacks acrylic’s elastic memory — the spiral may not hold its helical shape as firmly without a light wire armature threaded through the rib columns. If substituting, use 4.5 mm hook, add 10% yardage, and consider inserting 20-gauge floral wire into the fpdc columns during Rnds 10–20.
Q: My filet mesh is puckering at the hexagonal voids. How do I fix this? A: Puckering usually means your ch-1 spaces are too tight relative to your dc height. On the void border round (the round after you create the void), work (dc, ch 2, dc) in each skipped ch-1 sp instead of (dc, ch 1, dc). The extra chain gives the border more circumference to lie flat. Also ensure you are not pulling the working yarn tight when skipping stitches.
Q: How do I keep track of rounds in a continuous spiral without losing count? A: Use a row counter app or a physical clicker. Place a distinct locking marker (different color) in the first stitch of every round — move it up each round. Additionally, place a second marker at Rib 1; when you reach it, you know one full revolution is complete. Count revolutions, not individual rounds, after Rnd 20.
Q: The cauldron I found has no handle lugs or rim holes. Can I still attach the web? A: Absolutely. Create your own anchor points: use a heavy-duty needle and pewter thread to stitch a “cage” of 8–10 vertical threads around the cauldron’s exterior, spaced evenly, knotted at top and bottom. Work your Rnd 75 sc stitches around these vertical threads instead of through metal holes. The cage becomes the join interface.
Q: Can I make this larger/smaller? A: Larger: Use bulky yarn (CYC #5) and 6.0 mm hook. Start with 18 dc in MR, 7 rib columns (instead of 5), and work 90–100 rounds. Cascade length scales to 18–22 inches. Smaller: Use DK yarn (CYC #3) and 3.5 mm hook. Start with 8 dc in MR, 4 rib columns, work 50–55 rounds. Cascade 8–10 inches. Adjust talisman sizes accordingly.
11. Community Call-to-Action
You’ve spun the web. You’ve bound the cauldron. You’ve strung the spools and beads and tiny bottles of captured light. Now the Arachnomancer’s Lace Web hangs in your space, casting lace shadows that shift with every candle flicker.
We want to see where it lives.
Share your finished make on Instagram or Pinterest with @NailItHome and #ArachnomancersLaceWeb. Tag us in your process shots, your blocking setups, your talisman selections — every choice you made is part of the pattern’s evolving story.
Found a clever modification? A yarn substitution that sings? A display idea we never imagined? Drop it in the comments below or in our Ravelry project group. Your notes become the marginalia for the next maker.
And if this pattern brought a little uncanny beauty into your hands, consider supporting the studio: Buy Aurelia a Coffee or explore our Pattern Archive for more gothic fiber rituals.
The web is never truly finished. It only waits for the next spider.
— Aurelia Thorne, Master Fiber Artist & Lead Pattern Curator, Nail It Home


