Custom Name Sign with Wood Burning or Vinyl Letters
Nail It Home Editorial
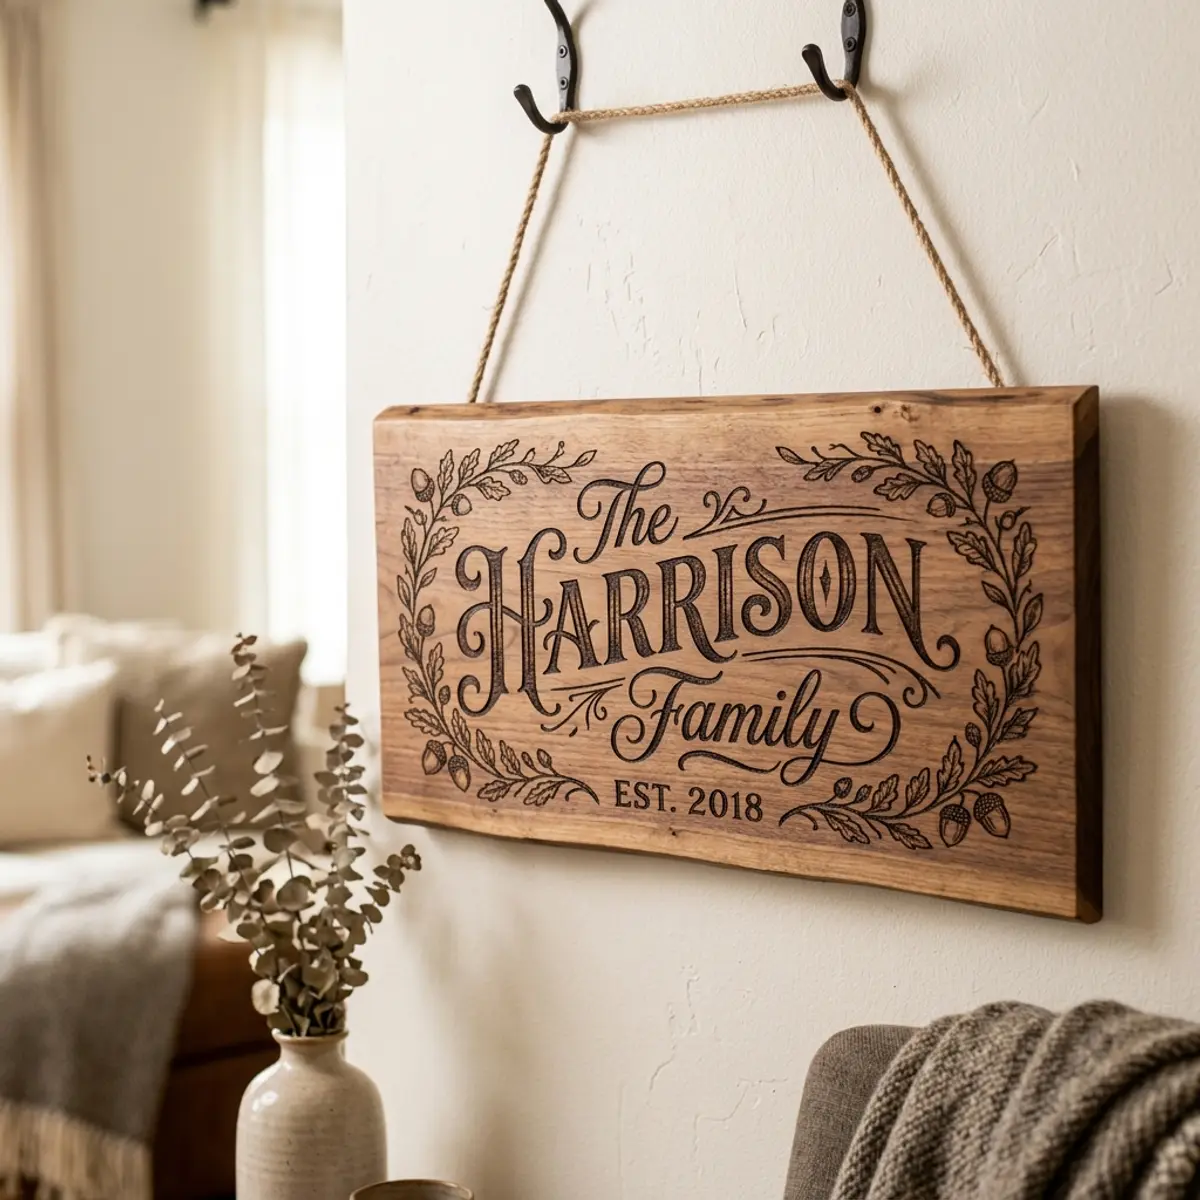
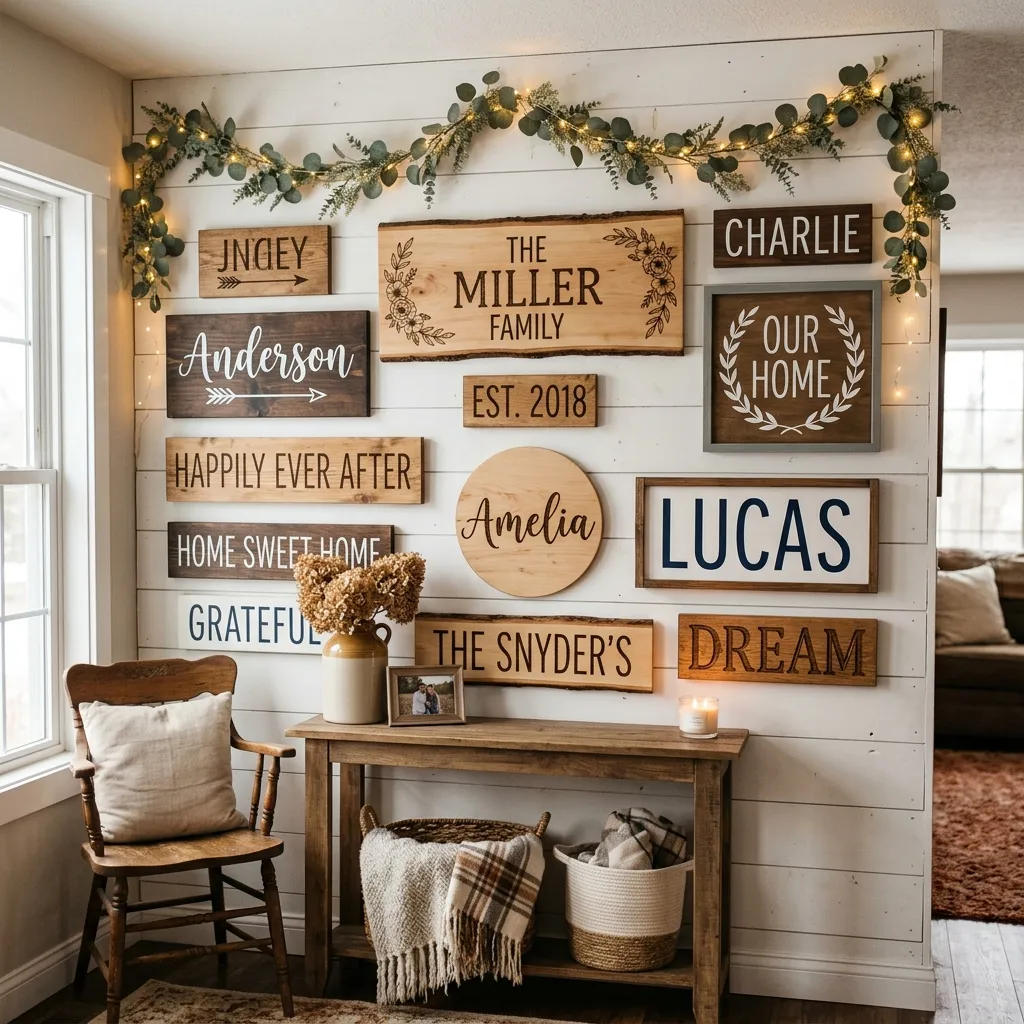
Picture this: a beautifully lettered wooden sign hanging in your entryway, your child’s name above their bedroom door, or a heartfelt gift for a housewarming party — all made by your own hands. Custom name signs add a personal, one-of-a-kind touch to any space, and they’re far easier to make than they look.
Whether you’re drawn to the organic warmth of wood burning or the clean precision of vinyl letters, this guide walks you through both methods from start to finish. You’ll learn which materials to buy, how to prep your wood, and how to execute each technique with confidence — even if you’ve never picked up a pyrography pen or a Cricut in your life.
Let’s get creative.
Why Make Your Own Custom Name Sign?
Store-bought signs are fine, but nothing compares to something made specifically for the person or space in mind. Here’s why more people are picking up this hobby:
- Complete personalization: Choose exactly the name, font, size, and finish that fits your vision.
- Surprisingly affordable: A beautiful sign that would cost $50+ in a boutique can cost as little as $10–15 in materials.
- Two skill levels, one result: Wood burning rewards patience and artistry; vinyl letters are forgiving and fast — pick the method that suits your confidence level.
- Irresistible as gifts: Personalized wooden signs are among the most appreciated handmade gifts for weddings, nurseries, and new homes.
- Scalable hobby: Once you master a simple name sign, you’re ready to tackle larger quote boards, family name signs, and custom business signage.
What You’ll Need — Materials & Tools
Gather your supplies before you start. Both methods share the same wood prep steps, so the list overlaps more than you’d think.
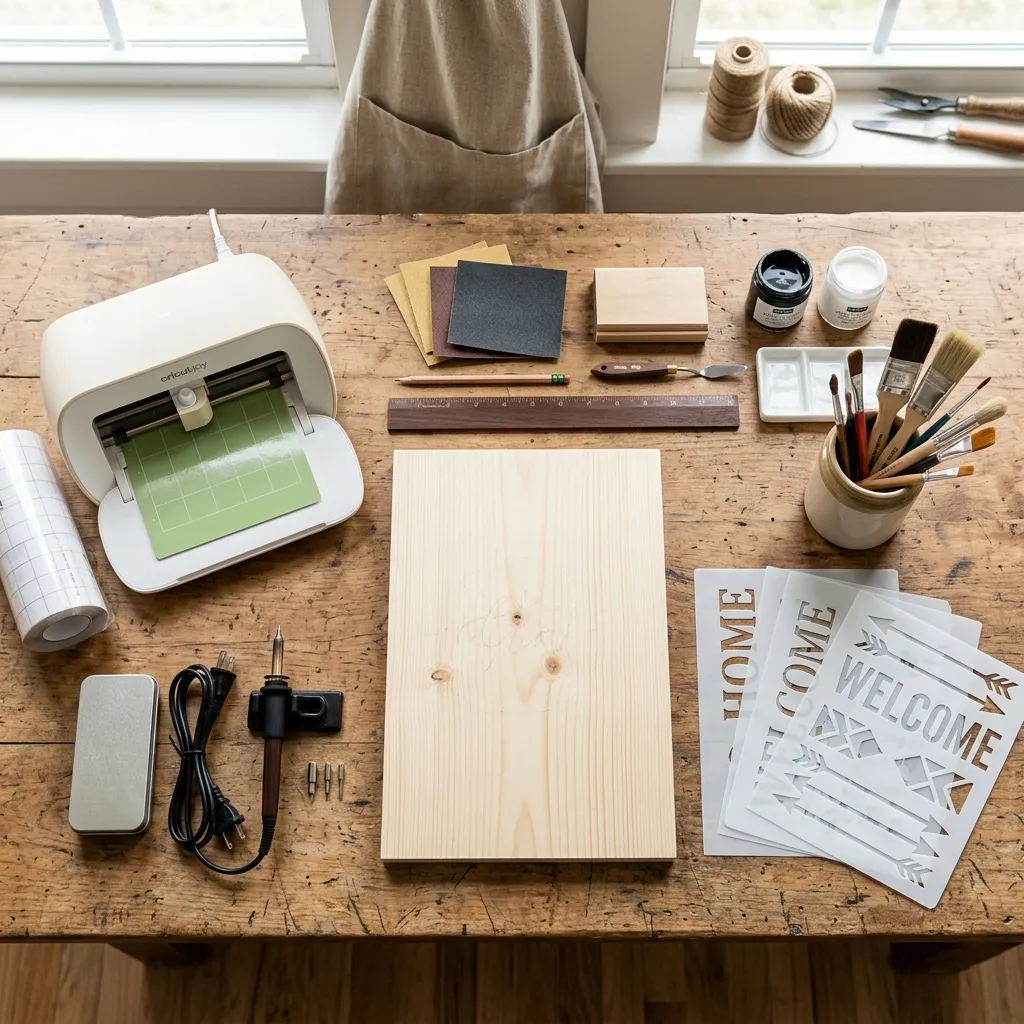
Shared Materials (Both Methods)
- Wood board or plank: Basswood, pine, or poplar work best. A 1×6 or 1×8 board cut to length is ideal. Craft stores also sell pre-cut signs.
- Sandpaper: 80-grit, 150-grit, and 220-grit
- Tack cloth or damp rag
- Pencil
- Ruler or straightedge
- Hanging hardware: D-ring hooks, sawtooth hangers, or twine
For Wood Burning
- Pyrography pen: A starter kit ($15–25) with interchangeable tips is plenty for lettering. Look for variable temperature control.
- Printed letter template or stencil
- Graphite transfer paper (optional but helpful for beginners)
- Clear matte sealant spray
For Vinyl Letters
- Adhesive vinyl sheets: Oracal 651 is the go-to for permanent outdoor/indoor use. Choose your color.
- Cutting machine (optional): A Cricut or Silhouette cuts precise letters, but pre-cut vinyl letters from craft stores work just as well.
- Transfer tape
- Squeegee or credit card
- Paint + primer (optional): If you want a colored background instead of raw wood.
Estimated Cost:
- Wood burning setup: $15–30
- Vinyl letter setup: $20–40 (less if you already own a cutting machine)
Step 1 — Prepare and Sand Your Wood Board
Great results start with smooth, clean wood. Rushing this step is the most common beginner mistake.
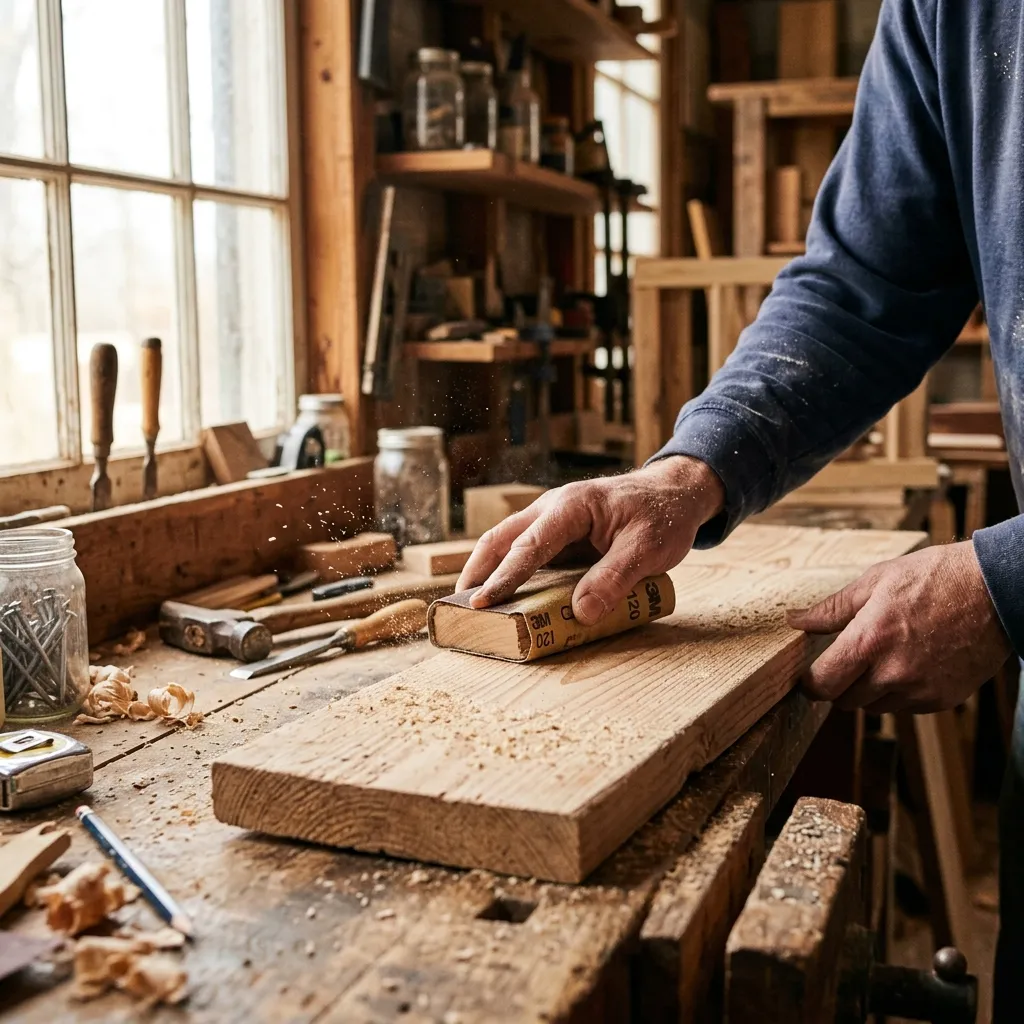
- Start with 80-grit sandpaper to remove any mill marks, rough patches, or grain ridges. Sand with the grain — never against it.
- Move to 150-grit for a finer finish. At this stage, the surface should start feeling noticeably smoother.
- Finish with 220-grit for a silky surface. This is especially important for wood burning — rough grain causes the pen to catch and skip.
- Wipe down with a tack cloth to remove all dust. Even a little sawdust left behind will affect your finish.
- Round the edges slightly with your 220-grit paper for a more finished, store-quality look.
Tip: If you’re painting the board before applying vinyl letters, apply 1–2 thin coats of chalk paint or acrylic after sanding, let it dry fully, then lightly sand again with 220-grit before moving on.
Step 2 — Transfer or Plan Your Lettering Layout
Before you burn or stick anything, plan your layout so the lettering is centered and well-spaced.
- Print your chosen font at the size you need. Free options on Google Fonts include Playfair Display, Lora, and Libre Baskerville for elegant serif styles, or Montserrat and Raleway for modern sans-serif.
- Measure and mark the center of your board lightly with a pencil.
- Tape the printed template onto the board and use graphite transfer paper underneath to trace the letters directly onto the wood. Alternatively, use a light table or window to trace through.
- Check the spacing: Stand back and look. Adjust now — it’s much easier to erase a pencil line than to fix a burned or stuck letter.
Font size guide: For a standard 18-inch board, aim for letters 2–3 inches tall. Scale up for larger boards and down for small signs.
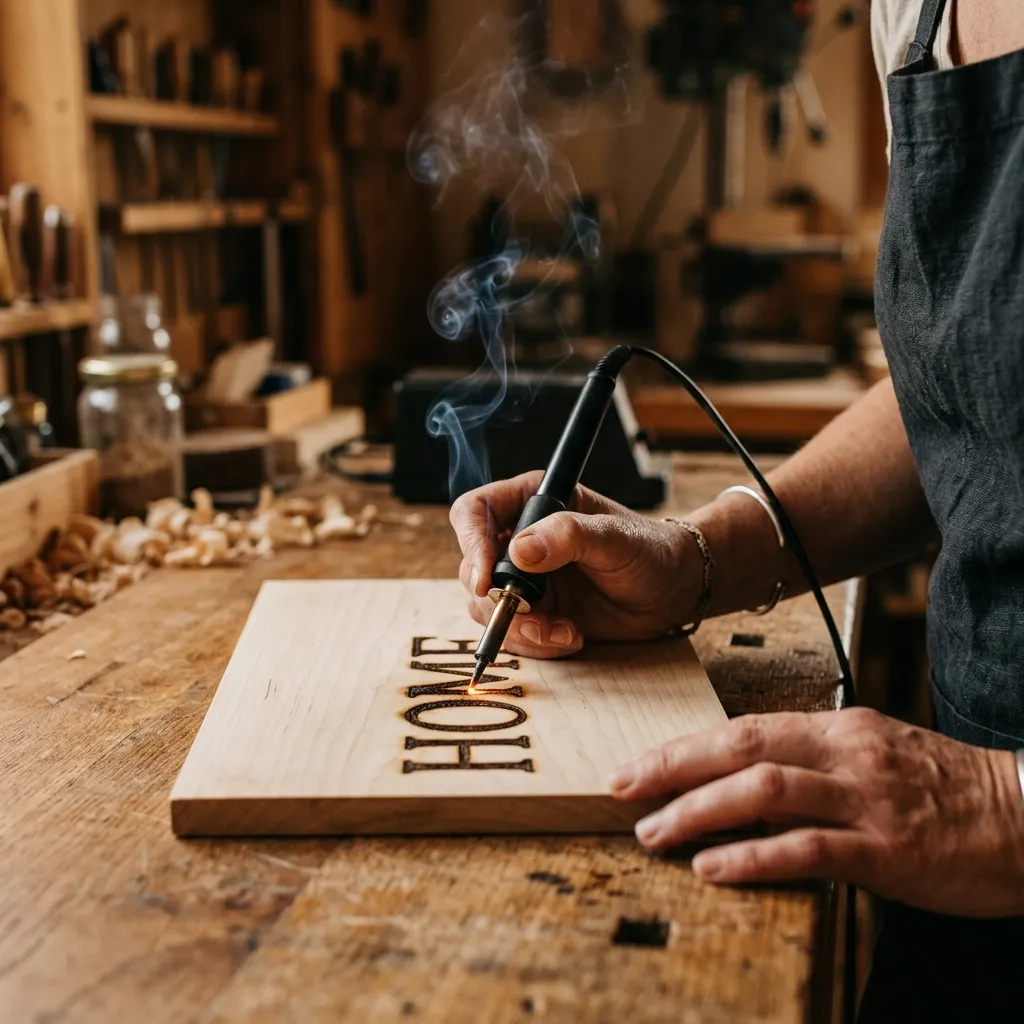
Step 3A — Wood Burning Method
Wood burning (pyrography) gives your sign a rustic, handcrafted character that’s impossible to replicate with any other technique. Here’s how to get clean, professional-looking results.
Setting Up Your Pyrography Pen
- Preheat your pen for 3–5 minutes before touching wood.
- For lettering, a ball tip or fine writing tip gives the most control.
- Do a test burn on a scrap piece of the same wood to find the right temperature. You’re looking for a medium-brown tone — not too pale (tool is too cool) and not too dark or scorched (tool is too hot).
Burning the Letters
- Follow your traced lines with slow, steady strokes. Move the pen at a consistent speed — slower strokes burn darker.
- Outline first, then fill in: Burn the outline of each letter, then fill in the interior with overlapping strokes in the direction of the grain.
- Don’t press hard. Let the heat do the work. Pressing too hard causes uneven burns and tool marks.
- Work in small sections. Burn a few letters at a time and let the pen rest briefly to maintain consistent temperature.
- Clean your tip regularly on fine sandpaper or a leather strop to remove carbon buildup that can cause smudging.
Finishing a Burned Sign
Once you’re happy with the lettering, apply 1–2 coats of clear matte sealant spray to protect the wood and lock in the burned design. Avoid polyurethane in a liquid form — spray is easier to apply evenly without brush strokes disturbing the surface.
Step 3B — Vinyl Letters Method
Vinyl is your friend if you want sharp, graphic lettering in any color imaginable. The Cricut-and-vinyl combo has taken the crafting world by storm for good reason — the results look extremely professional with very little practice.
Cutting Your Vinyl Letters
Option A — Cutting machine (Cricut / Silhouette):
- Design your lettering in the machine’s software (Cricut Design Space is free).
- Mirror the design if needed (not required for standard cuts).
- Load your vinyl sheet and cut. The machine cuts the letters; you weed (remove) the excess vinyl around them.
- Apply transfer tape over the remaining letters and smooth down firmly with your squeegee.
Option B — Pre-cut vinyl letters:
- Purchase adhesive letter stickers in your chosen font and color from craft stores.
- Arrange them on the board before peeling, checking spacing and alignment.
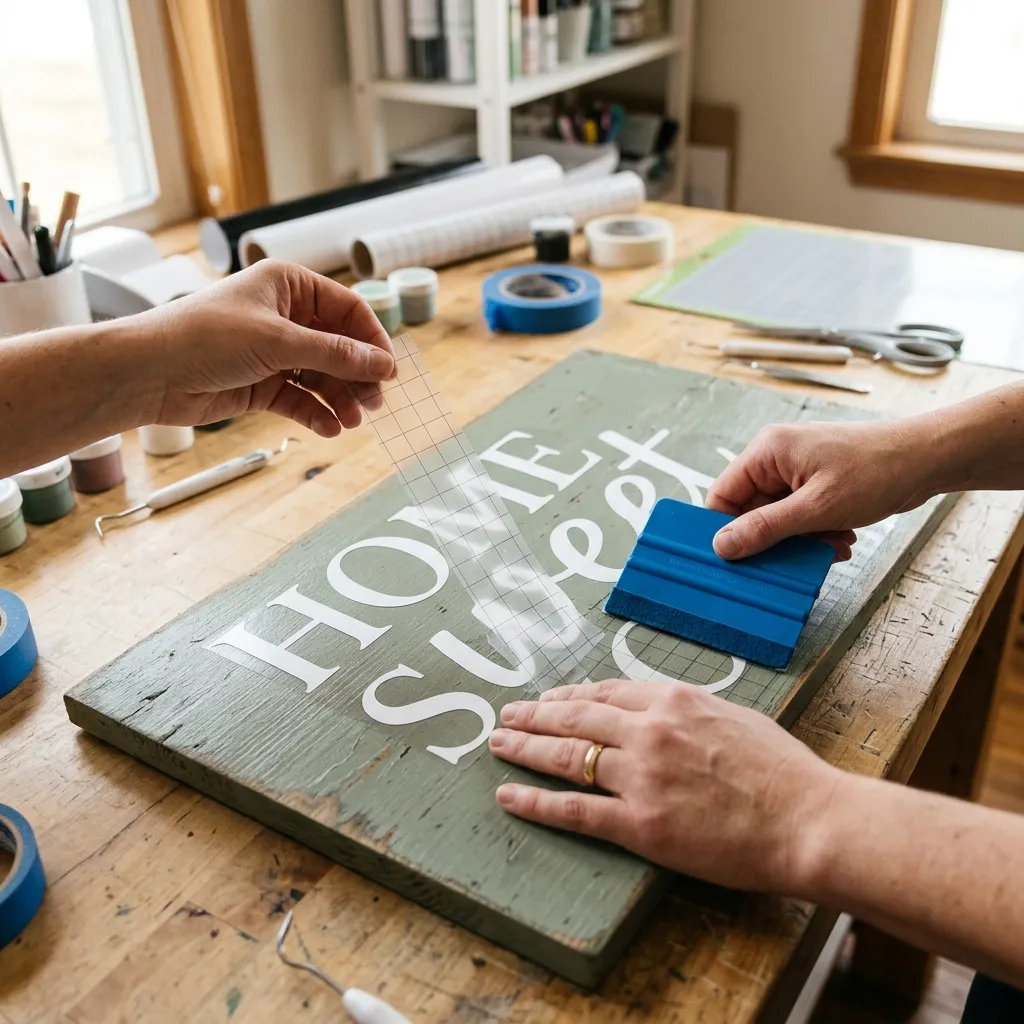
Applying Vinyl to the Board
- Mark your baseline lightly in pencil across the board so your letters sit level.
- Position your transfer tape (or letters) over the board, aligning to your baseline.
- Rub firmly with a squeegee from the center outward, applying even pressure across every letter.
- Peel back the transfer tape slowly at a 45-degree angle. If a letter lifts with the tape, press it back down and rub again before continuing.
- Remove the pencil baseline with a barely damp cloth or eraser once the vinyl is set.
Pro tip: Apply vinyl to a painted surface rather than raw wood whenever possible. The smooth, non-porous surface gives far better adhesion and a cleaner edge.
Step 4 — Finishing Touches and Display
Your sign is almost done — now it’s time to make it look like something from a boutique shop.
Hanging Options
- Sawtooth hanger: Nail into the back center of the board. Quick and level.
- D-ring hooks with two attachment points: More stable for heavier or wider signs.
- Jute or leather twine: Drill two small holes near the top corners, thread twine through, and knot it. Creates a beautiful rustic hanging loop that’s also great for photography.
- Leaning display: Simply lean the sign against a shelf, mantle, or on a picture ledge for a casual, layered look.
Optional Decorative Additions
Once the sign is finished and sealed, consider these finishing touches:
- Attach a sprig of dried eucalyptus or lavender with twine for a farmhouse feel.
- Distress the edges lightly with 80-grit sandpaper for a worn, vintage look (works beautifully on painted boards with vinyl letters).
- Dab the raw wood edges with a matching wood stain for a more polished perimeter.
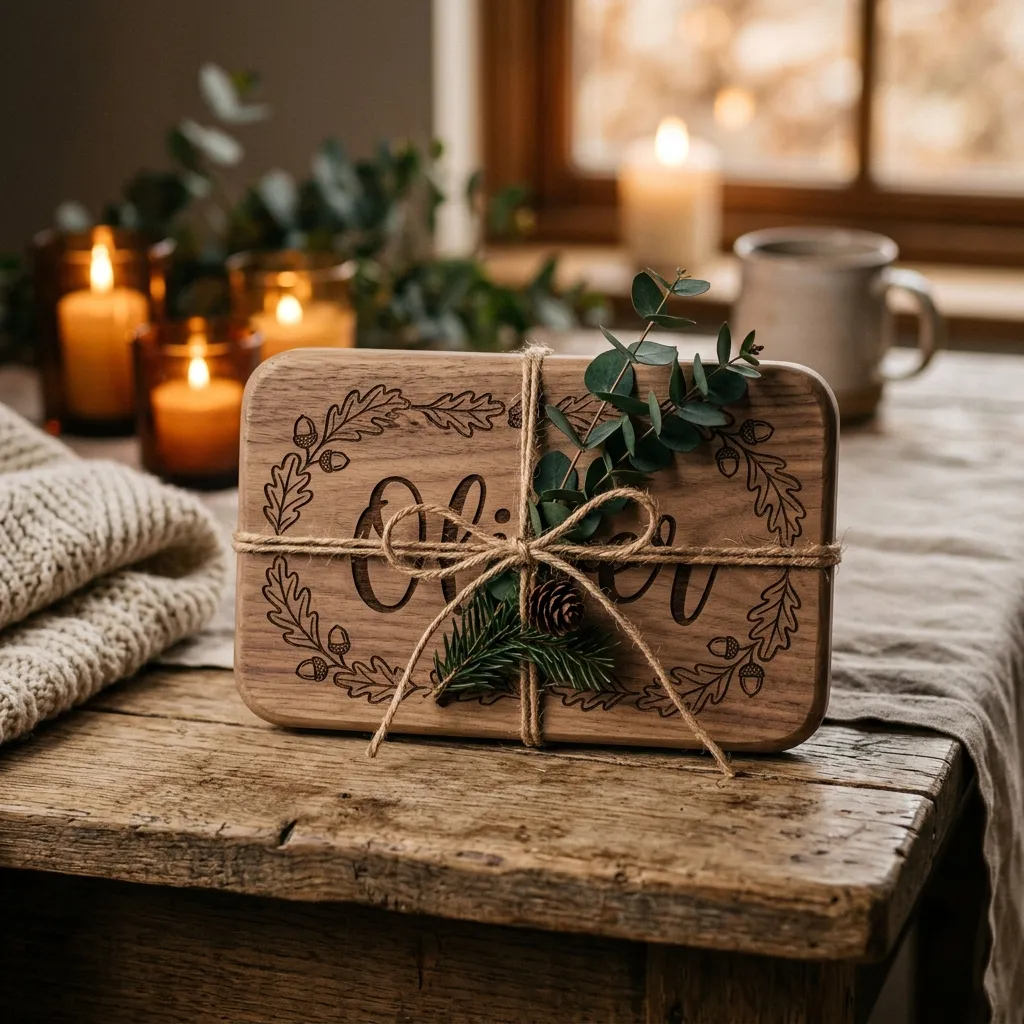
Gifting Your Custom Sign
A personalized wood sign wrapped with kraft paper and twine is one of the most thoughtful gifts you can give. It’s especially popular for:
- Nursery and baby shower gifts: A newborn’s name sign is an heirloom piece parents will treasure for years.
- Wedding and anniversary gifts: A couple’s last name or wedding date makes a stunning keepsake.
- Housewarming gifts: A custom family name above the door is an instant conversation piece.
- Teacher appreciation: A name sign for their classroom desk is always a hit.
If you’re giving the sign as a gift, apply an extra coat of sealant to make it as durable as possible, and consider adding a small tag with care instructions.
Money-Saving Tips
You don’t need to spend much to get great results. Here’s how to keep costs down:
- Check thrift stores and Habitat for Humanity ReStores for cheap lumber and pre-cut boards.
- Buy vinyl in bulk sheets rather than pre-packaged rolls — it’s a fraction of the cost for the same amount.
- Use free fonts from Google Fonts or DaFont instead of purchasing premium font licenses.
- Share a cutting machine with a crafty friend or join a local makerspace that has one available.
- Seal with a rattle-can sealant rather than brush-on coats — one $5 can covers many signs.
- Reuse scrap wood from other projects; irregular shapes can actually look more charming than a perfect rectangle.
Frequently Asked Questions
What type of wood is best for a custom name sign? Basswood is the top choice for wood burning — it’s fine-grained, smooth, and burns evenly without too much smoke. For vinyl projects, any smooth-surfaced board works well, including pine and poplar. Avoid woods with heavy grain patterns like oak or ash for your first project, as they make consistent burning harder to achieve.
Do I need a Cricut to make vinyl letter signs? Absolutely not. Pre-cut adhesive vinyl letters are widely available at craft stores like Michaels or Hobby Lobby in a variety of fonts and sizes. They work just as well for simple name signs. A cutting machine becomes worth the investment once you start making many signs or want full custom font control.
How do I center the letters perfectly on the board? Measure the total width of your lettering string (either by printing it at scale or measuring your vinyl letters laid out) and subtract it from the board width. Divide by two to get the left margin. Mark this lightly in pencil and use it as your starting point.
Can I use a regular pen or soldering iron instead of a pyrography tool? A dedicated pyrography pen is strongly recommended. Soldering irons run too hot for fine lettering and produce harsher, less controllable burns. A basic wood burning kit costs as little as $12–15 and makes a dramatic difference in control and results.
How do I fix a mistake when wood burning? Light mistakes can be sanded away with 220-grit sandpaper — but only if the burn isn’t too deep. For deeper errors, you can sometimes incorporate the area into the design, or reposition a decorative element (like a small star or leaf motif) to cover it. Prevention is best: always test your pen temperature on scrap wood before starting on your sign.
Will vinyl letters peel off over time? Oracal 651 permanent adhesive vinyl is designed to last 6+ years outdoors and much longer indoors. For best adhesion, apply it to a clean, smooth surface. On raw wood (which has pores and texture), paint the board first for a far better bond. Avoid applying vinyl over wax-based chalk paint finishes.
Can I use both techniques on the same sign? Yes — and it looks stunning! A popular approach is to wood burn the main name or surname in the center and use vinyl for a smaller tagline, date, or decorative script beneath it. You can also wood burn a border or simple motifs and use vinyl for the lettering if you find one method easier than the other.
What’s the best way to hang a sign without damaging my wall? For lighter signs (under 1 lb), adhesive wall strips like Command strips work well and leave no holes. For heavier signs, use a single nail or picture hook in a wall stud. If you want a floating look, two small nails spaced to match D-ring hooks on the back of the sign keep everything level and secure.
Making a custom name sign is one of those projects that punches way above its weight — a few hours of your time and a handful of materials yield something that feels genuinely special and completely unique. Whether you go for the rustic warmth of pyrography or the crisp, modern look of vinyl, you’ll end up with a piece you’re proud to display or thrilled to give.
Ready to get started? Tag us on Instagram @NailItHomeCom with your finished sign using #NailItHomeMade — we’d love to see what you create!