How to Build a Simple Floating Nightstand: DIY Tutorial for Beginners
Nail It Home Editorial
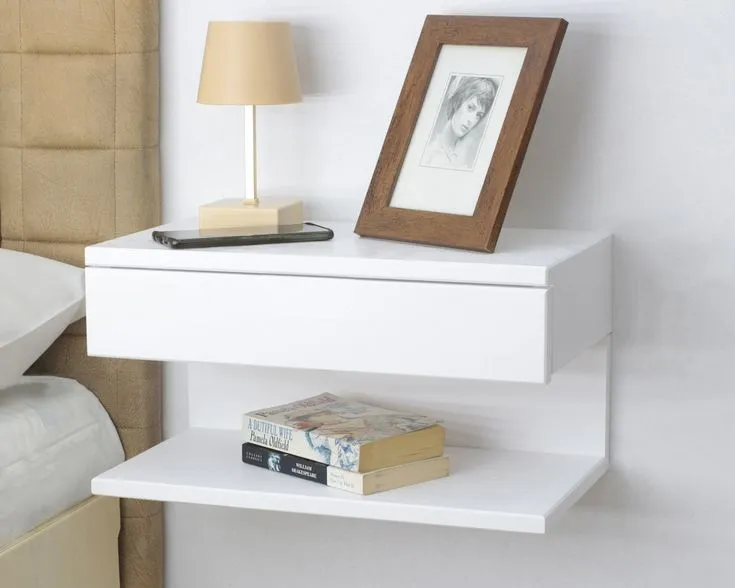
Are you tired of bulky nightstands taking up precious floor space in your bedroom? A floating nightstand is the perfect solution for small bedrooms, modern decor, or anyone wanting a clean, minimalist look. This beginner-friendly project requires minimal tools and can be completed in just 2-3 hours.
 Alt text: Modern wooden floating nightstand with drawer mounted on white bedroom wall
Why Choose a Floating Nightstand?
Floating nightstands offer several advantages over traditional bedside tables:
- Space-saving design perfect for small bedrooms
- Easy cleaning underneath with no legs to work around
- Modern aesthetic that works with any decor style
- Customizable height to match your bed perfectly
- Hidden storage keeps bedroom clutter-free
Materials and Tools Needed
Materials List:
- 1 piece of 1x8x24” pine board (for main shelf)
- 1 piece of 1x6x10” pine board (for drawer front and sides)
- 1 piece of 1x4x6” pine board (for drawer back)
- 1 piece of 1/4” plywood 8”x6” (for drawer bottom)
- 2 heavy-duty floating shelf brackets (rated for 30+ lbs)
- Wood screws (1¼” and 2”)
- Wood glue
- Sandpaper (120 and 220 grit)
- Wood stain or paint of choice
- Drawer pulls (1)
Estimated Cost: $25-35
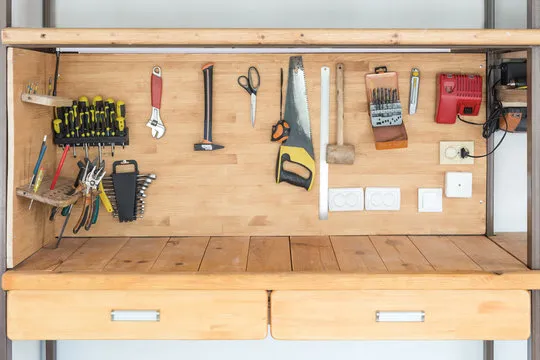
Alt text: All wood pieces, screws, brackets and tools arranged on workbench for floating nightstand project
Tools Required:
- Circular saw or miter saw
- Drill with bits
- Pocket hole jig (optional but recommended)
- Level
- Stud finder
- Measuring tape
- Pencil
- Safety glasses
Step-by-Step Instructions
Step 1: Cut Your Wood to Size
Start by cutting all your pieces to the dimensions listed above. If you don’t have a saw, most home improvement stores will cut lumber for you.
Cut List:
- Main shelf: 24” x 7¼” x ¾”
- Drawer front: 8” x 5” x ¾”
- Drawer sides: 6” x 5” x ¾” (2 pieces)
- Drawer back: 6” x 4¼” x ¾”
- Drawer bottom: 8” x 6” x ¼”
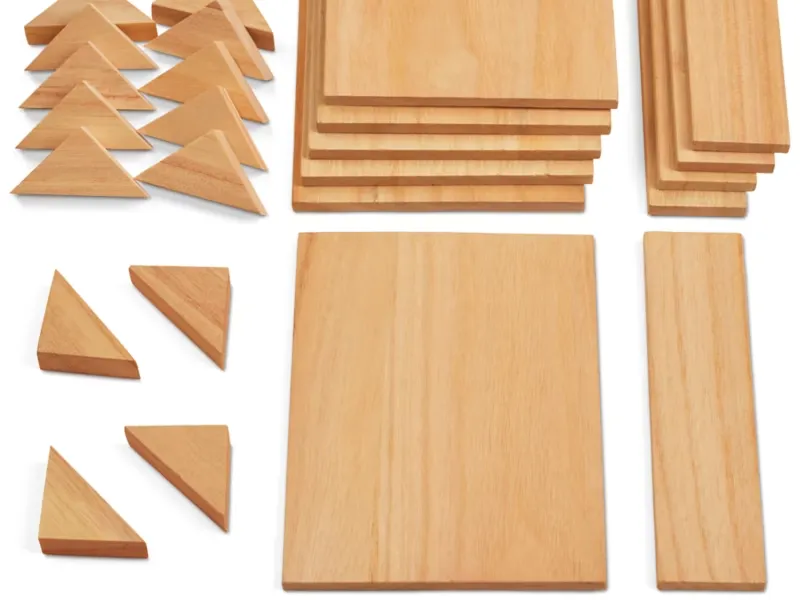 Alt text: Five pieces of cut lumber arranged and labeled for floating nightstand construction
Step 2: Sand All Pieces
Sand all surfaces with 120-grit sandpaper, then finish with 220-grit for a smooth surface. Pay special attention to any rough edges from cutting.
Pro Tip: Always sand with the grain, not against it, to avoid scratches that will show through your finish.
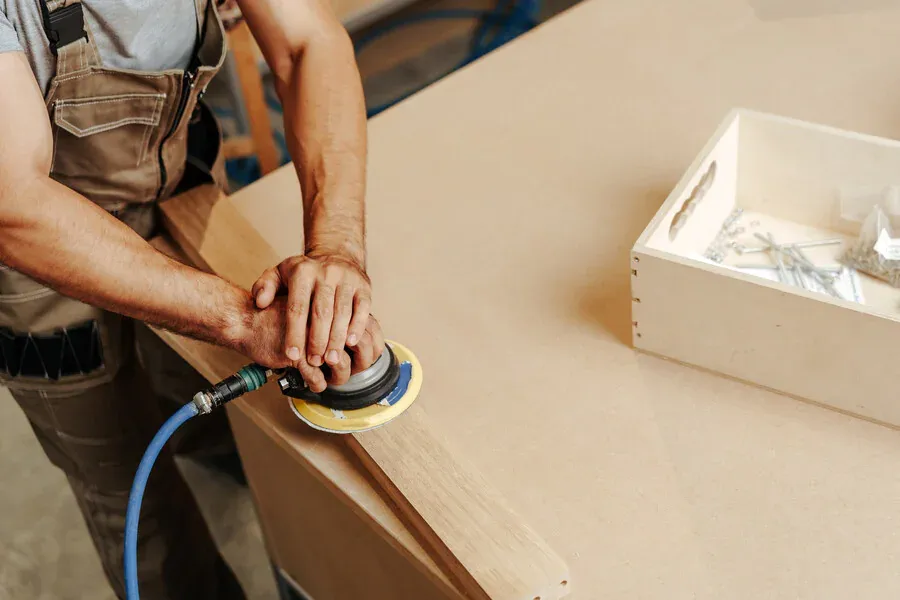 Alt text: Hands using orbital sander on pine board pieces for floating nightstand
Step 3: Create the Drawer Box
Build the drawer first, as it needs to fit inside your main shelf.
- Apply wood glue to the ends of your drawer sides
- Attach the drawer front and back using 1¼” screws
- Slide the plywood bottom into place and secure with small nails or brads
- Check that your drawer is square by measuring diagonally - both measurements should be equal
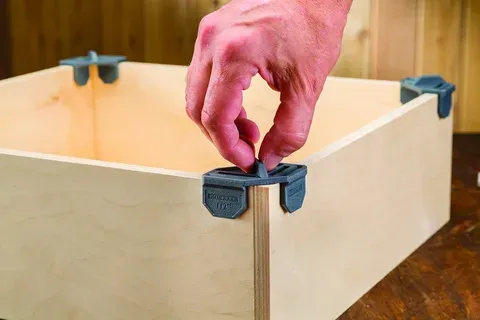 Alt text: Partially assembled wooden drawer box with clamps holding pieces together
Step 4: Route the Main Shelf
Your main shelf needs a groove to hold the drawer. If you don’t have a router, you can create guides and use multiple passes with a circular saw set to shallow depth.
- Mark the drawer opening on your main shelf (centered, 8” wide x 5” deep)
- Route out the material carefully, leaving ¾” sides and back
- Test fit your drawer - it should slide smoothly
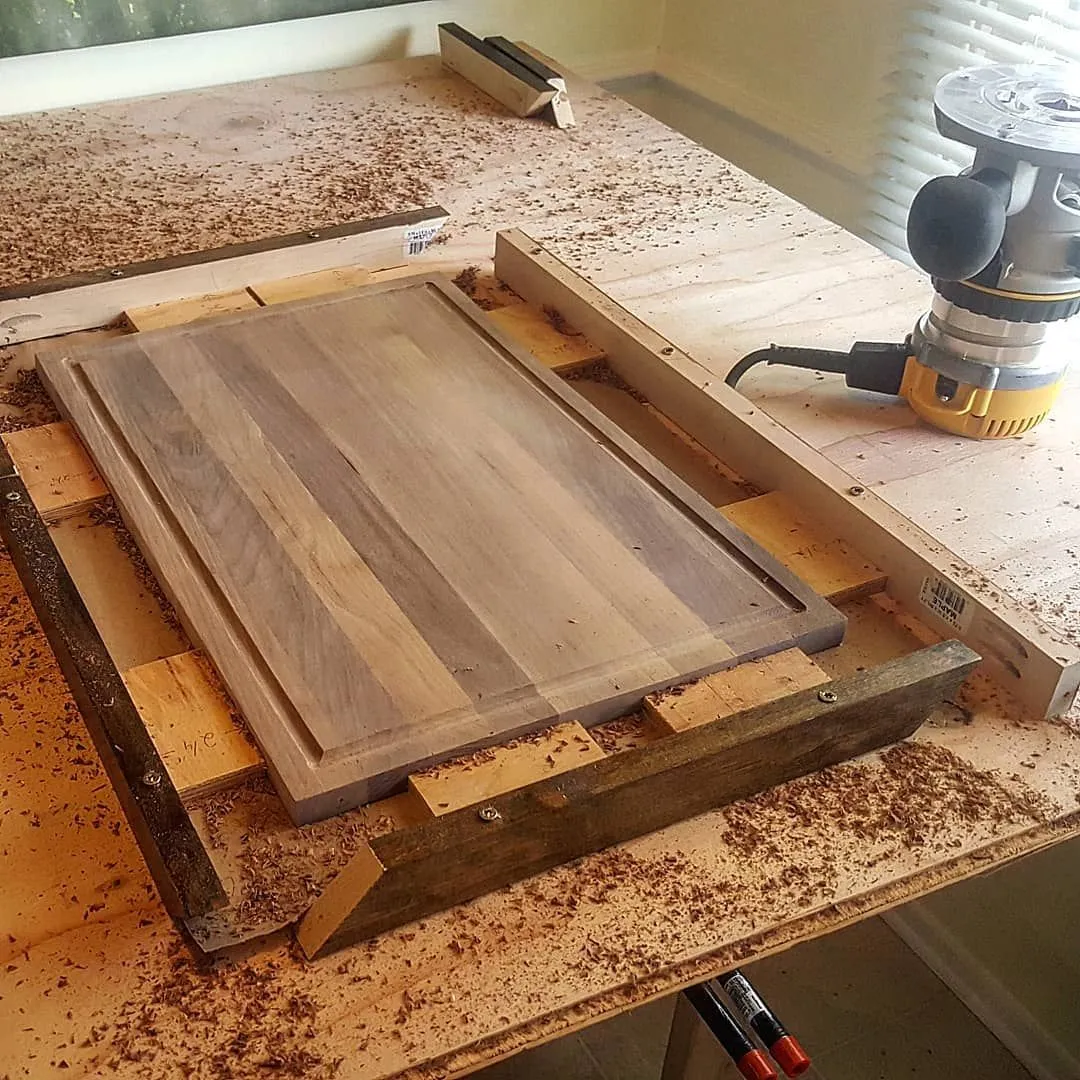 Alt text: Router cutting rectangular groove in wooden board for drawer opening
Step 5: Install Floating Shelf Hardware
The key to a strong floating nightstand is proper mounting hardware.
- Mark the stud locations on your wall using a stud finder
- Install the wall-mounted brackets into at least one stud
- Route matching grooves in the back of your main shelf for the brackets
- Test fit the shelf on the brackets before finishing
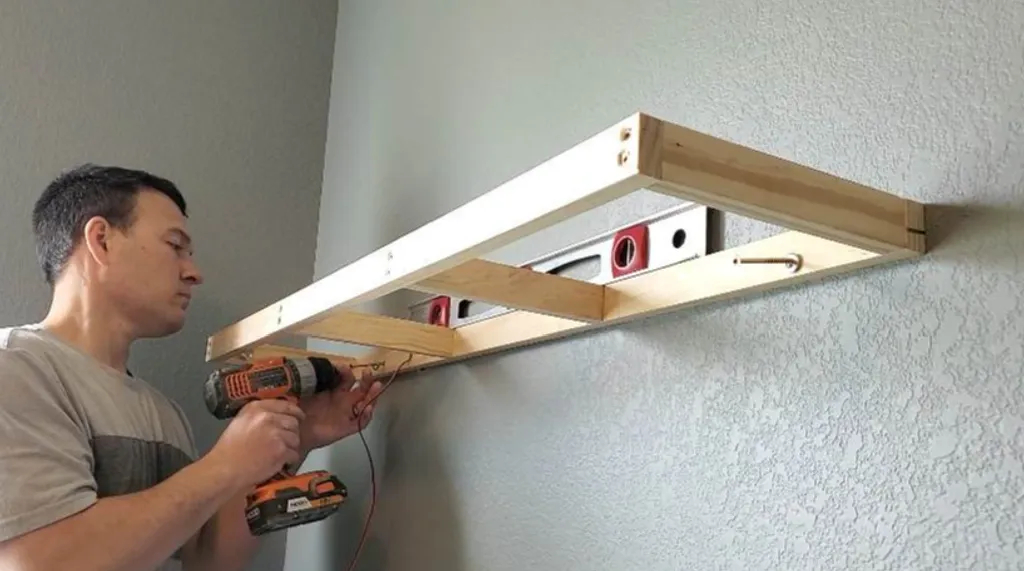 Alt text: Person using drill to install heavy-duty floating shelf bracket into wall stud
Step 6: Apply Your Finish
Now for the fun part - making it look great!
- Apply pre-stain wood conditioner (especially important for pine)
- Apply your chosen stain or paint in thin, even coats
- Allow proper drying time between coats
- Finish with a protective topcoat for durability
Finish Options:
- Natural wood stain for warmth and grain visibility
- White paint for modern, clean appearance
- Black stain for dramatic contrast
- Clear polyurethane to showcase natural wood
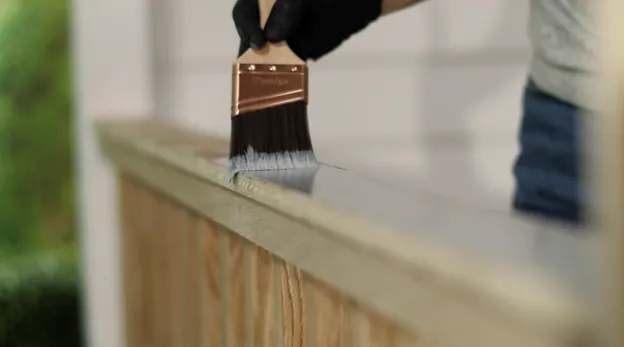 Alt text: Brush applying dark wood stain to floating nightstand shelf
Step 7: Install Drawer Hardware
Once your finish is completely dry:
- Mark the center point on your drawer front
- Drill pilot holes for your drawer pull
- Install the pull from the inside of the drawer
- Test the drawer operation - it should slide smoothly
 Alt text: Hands installing modern black drawer pull on wooden drawer front
Step 8: Final Assembly and Mounting
Time to put it all together:
- Slide your finished drawer into the routed opening
- Mount the main shelf onto your wall brackets
- Use a level to ensure it’s perfectly straight
- Test the weight capacity with a few books
 Floating nightstand being mounted on bedroom wall next to bed
Troubleshooting Common Issues
Drawer sticks or won’t slide: Sand the drawer sides lightly or apply paste wax to the sliding surfaces.
Shelf isn’t level: Adjust the wall brackets slightly or use shims behind the shelf.
Visible bracket lines: Route the bracket channels slightly deeper, ensuring the shelf sits flush against the wall.
Customization Ideas
Make this project your own with these variations:
- Add LED strip lighting underneath for ambient lighting
- Install a charging station by drilling holes for cord management
- Create multiple compartments by adding interior dividers
- Use hardwood like oak or maple for a premium look
- Add a soft-close drawer slide for smooth operation
 Alt text: Floating nightstand with warm LED strip lighting installed underneath
Maintenance Tips
Keep your floating nightstand looking great:
- Dust regularly with microfiber cloth
- Reapply topcoat annually in high-use areas
- Tighten bracket screws yearly
- Avoid overloading - keep weight under 25 lbs
Cost Breakdown
| Item | Estimated Cost |
|---|---|
| Pine lumber | $15-20 |
| Hardware & brackets | $8-12 |
| Screws & glue | $3-5 |
| Finish materials | $5-8 |
| Total | $25-35 |
Conclusion
Building a floating nightstand is an excellent first woodworking project that delivers big visual impact with minimal skill required. The clean lines and space-saving design work in any bedroom style, from modern minimalist to rustic farmhouse.
This project typically takes beginners 2-3 hours to complete and costs under $35 in materials. The skills you’ll learn - measuring, cutting, sanding, and finishing - form the foundation for many other DIY furniture projects.
Alt text: Side by side comparison showing bedroom before and after installing floating nightstand
Ready to tackle your next DIY project? This floating nightstand pairs perfectly with a DIY floating desk or wall-mounted shelving system.
Frequently Asked Questions
Q: What weight can this nightstand hold? A: When properly mounted to studs, this design supports 25-30 lbs safely.
Q: Can I use different wood types? A: Absolutely! Hardwoods like oak or maple work great but cost more. Plywood is a budget-friendly alternative.
Q: Do I need a router for this project? A: While helpful, you can create the drawer opening with careful circular saw cuts and a chisel for cleanup.
Q: How high should I mount it? A: Typically 24-27 inches from the floor, or level with your mattress top.
Share your build! Tag us on social media @nailithome with #DIYNightstand to show off your creation.